
20 DIY Shoe Makeover Ideas: Paint, Glitter, Clips, and More
Twenty shoe upgrades—floral boots, glitter wedges, neon soles, crystal pumps, lace overlays, and novelty heels—with practical steps for each.
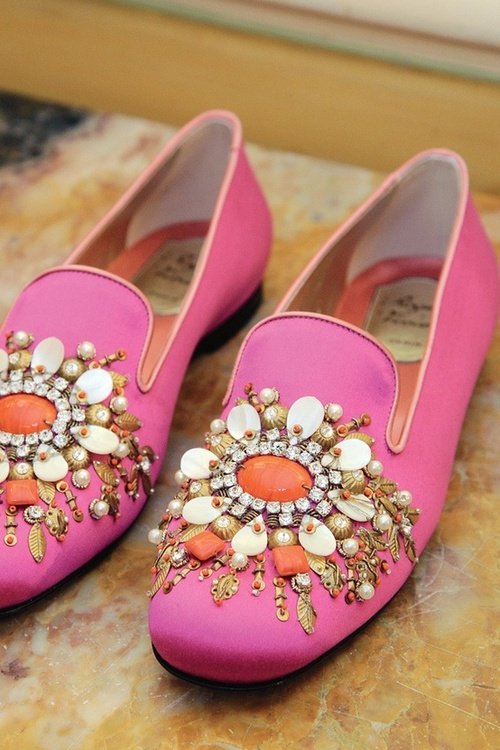
A tired pair of shoes is often one afternoon of paint, glue, and hardware away from feeling new. These makeovers work best on clean, dry pairs you already own—wipe leather and synthetics with alcohol, scuff glossy surfaces lightly so paint grips, and seal finishes meant for footwear when you can. Skip rare designer pairs until you have practiced on thrift finds.
Twenty DIY shoe makeover ideas follow. Keep the local photos as references. Old outbound links are not needed; each project is written to stand alone.
1. Floral boots
Decoupage thin fabric or paper florals onto the shaft of ankle or mid-calf boots with fabric or decoupage medium. Smooth bubbles with a soft brush, wrap with plastic wrap while drying if needed, then seal with a clear waterproofing spray suitable for the material. Cluster blooms toward the outer side so the inner calf does not peel from friction.
2. Glitter wedges
Mask the upper with painter’s tape. Coat the wedge or platform with craft glue or glitter adhesive, pour fine glitter generously, tap off excess, and seal with clear gloss in thin coats. Work outdoors or over newspaper—glitter migrates. A single accent color looks sharper than a rainbow dump.
3. Soft wedding shoe upgrade
Start with plain ivory or blush heels. Add lace appliqués along the toe box or heel cup with fabric glue, plus a small bow or pearl cluster at the vamp. Keep additions lightweight so walking stays comfortable. Test glue on an inside edge first so it does not yellow the satin.
4. Ombré canvas sneakers
Dampen canvas lightly and brush fabric dye or diluted acrylic from dark at the toe to light at the collar. Blend the midzone while wet. Heat-set if the dye instructions require it. Remove laces first and paint them separately or replace with contrasting laces when dry.
5. Studded leather flats
Mark a grid with chalk on the vamp. Push pyramid or round studs through from the outside and bend prongs inside, or use adhesive studs rated for footwear. Keep studs off high-flex crease lines so they do not pop off. A single row along the toe can be enough.
6. Washi-tape geometric flats
On smooth faux-leather flats, lay washi in chevrons or color blocks, burnish well, and seal with a clear shoe-safe topcoat. Washi is a low-commitment trial for color before permanent paint. Replace tape when edges lift.
7. Hand-painted statement heels
Sketch a simple motif—stripes, dots, or a small illustration—on masked heels with paint pens or acrylic. Seal thoroughly. This is where a careful freehand design beats covering every surface; leave negative space so the shoe still reads as footwear, not a craft fair display.
8. Dip-dye or color-block sandals
Tape a clean line across straps or footbed edges and paint one zone in a bold contrast color. Remove tape while paint is slightly tacky for a sharper edge. Re-glue any straps that soften from solvent-based paints—check compatibility first.
9. Lace overlay pumps
Cut stretch lace to wrap the toe and sides, glue from the center outward, and trim excess under the sole edge. Dark lace on nude shoes and light lace on black shoes both work. Finish the edge with a thin line of matching paint so cut lace does not fray visibly.
10. Metallic foil accents
Apply adhesive size to heel caps or toe tips, lay metallic foil, burnish, and seal. Gold or copper tips revive scuffed heels quickly. Foil on flex points will crack—limit it to rigid heel areas.
11. Belt-wrapped boot shafts
Wrap thin belts or leftover leather strips around boot shafts, buckling or gluing at the outer side. Mix widths for a layered look. This add-on is removable if you use buckles only—ideal when you want the option to return to plain leather.
12. Painted soles
Clean the outsole, mask the upper carefully, and paint the sole edge and bottom in a solid or patterned color with flexible paint. Neon and white edges make photos pop; black refreshes dirty rubber. Allow full cure before wearing outdoors or the paint will scuff off immediately.
13. Neon sole heels
Focus paint on the sole edge of classic black or nude heels for a hidden flash of color when you walk. Two thin coats beat one thick coat. Carry a paint pen for touch-ups after the first week of sidewalks.
14. Removable shoe clips
Glue decorations—bows, fabric flowers, vintage brooches—onto clip-on earring findings or dedicated shoe clips. Clip onto pumps for events and store separately. This is the lowest-risk makeover: the shoe itself stays untouched.
15. Crystal and rhinestone shoes
Map a design with dots of gem adhesive and set flat-back rhinestones from the center of the motif outward. Work in short sessions so glue does not skin over. Seal with a light crystal-fixing spray if recommended. Expect some stone loss over time; keep spares matching the size.
16. Graphic two-tone repaint
Sand lightly, prime if needed, and repaint an entire shoe in two blocked colors—toe versus heel, or left versus right as a pair joke. Use leather paint for leather; multi-surface acrylic plus sealant for synthetics. Even coverage matters more than complex art.
17. Lace-up cutout flats
On inexpensive ballet flats you are willing to alter, mark symmetrical side cutouts, punch or cut carefully, and add metal eyelets if the fabric allows. Thread contrasting laces. Reinforce cut edges with fray check. This is an advanced hack—practice on a doomed pair first.
18. Ice-cream-cone heels
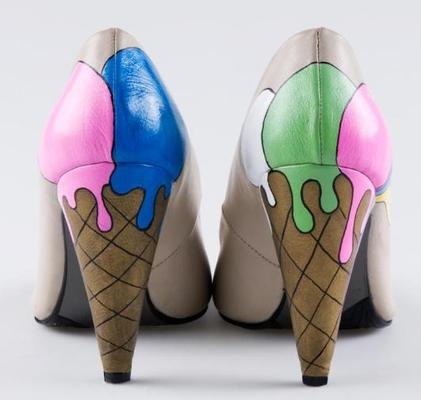
Sculpt or attach cone-shaped covers to chunky heels with strong adhesive, then paint waffle texture and “scoops” at the top in pastel acrylics. Seal well. These are novelty party shoes—wear on clean indoor floors until you trust the bond, and accept that they are conversation pieces first.
19. Strappy pump conversion
Add thin ribbons or leather cords to black pumps by gluing anchor points inside the shoe and wrapping around the ankle to tie. Reinforce anchors with a small patch of fabric. The goal is a temporary strappy look without cutting the original shoe structure.
20. Sprinkle and candy-coated finishes
Coat toe boxes with clear-drying glue and press on polymer clay sprinkles, microbeads, or faux candy pieces. Seal heavily so edges do not catch socks. Pair with a simple silhouette so the texture stays readable. Save these for dry weather and short outings.
Wear and care
Let paints and glues cure longer than you think—overnight is a minimum; forty-eight hours is kinder. Waterproofing spray helps fabric and glitter projects. Reapply sole paint after heavy use. When in doubt, choose shoe clips or belt wraps over permanent cuts.
Pick one quiet upgrade (painted soles, clips) and one bold experiment (glitter wedges, sprinkle toes) so your rotation stays wearable Monday through weekend without a closet full of unfinished glue jobs.

Comments
Continue reading
Simple, Cute Valentine Gift Wrapping Ideas
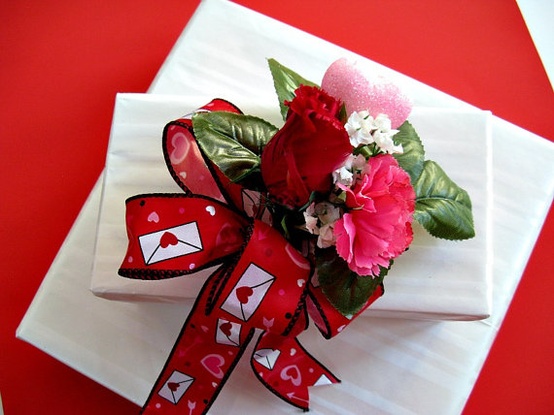
A craft guide to personalized Valentine wraps—kraft bases, paper hearts, ribbon, tags, and texture mixes—using inexpensive supplies and the gallery examples as patterns.
DIY Spring and Easter Napkin Rings for the Holiday Table
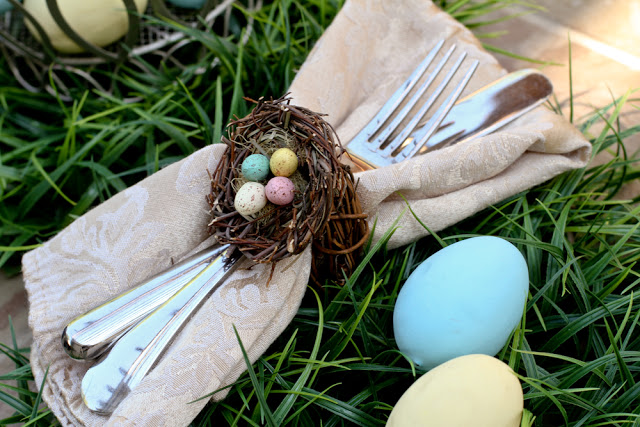
Make Easter and spring napkin rings—nest, knit flower, bunny, scrap-flower, and edible styles—with sizing, food-safety, and batch tips for a calm tablescape.
5 DIY Quote Wall Art Ideas: Fabric, 3D Letters, Canvas, Watercolor, and Subway Type
Five reachable DIY approaches to quote wall art—fabric and canvas lettering, dimensional letters, painted canvas, watercolor words, and subway-style typography.