
Wine Cork DIY Ideas: Coasters, Boards, and More
Turn leftover corks into coasters, trivets, memo walls, stamps, and larger home accents with simple cuts and glue.
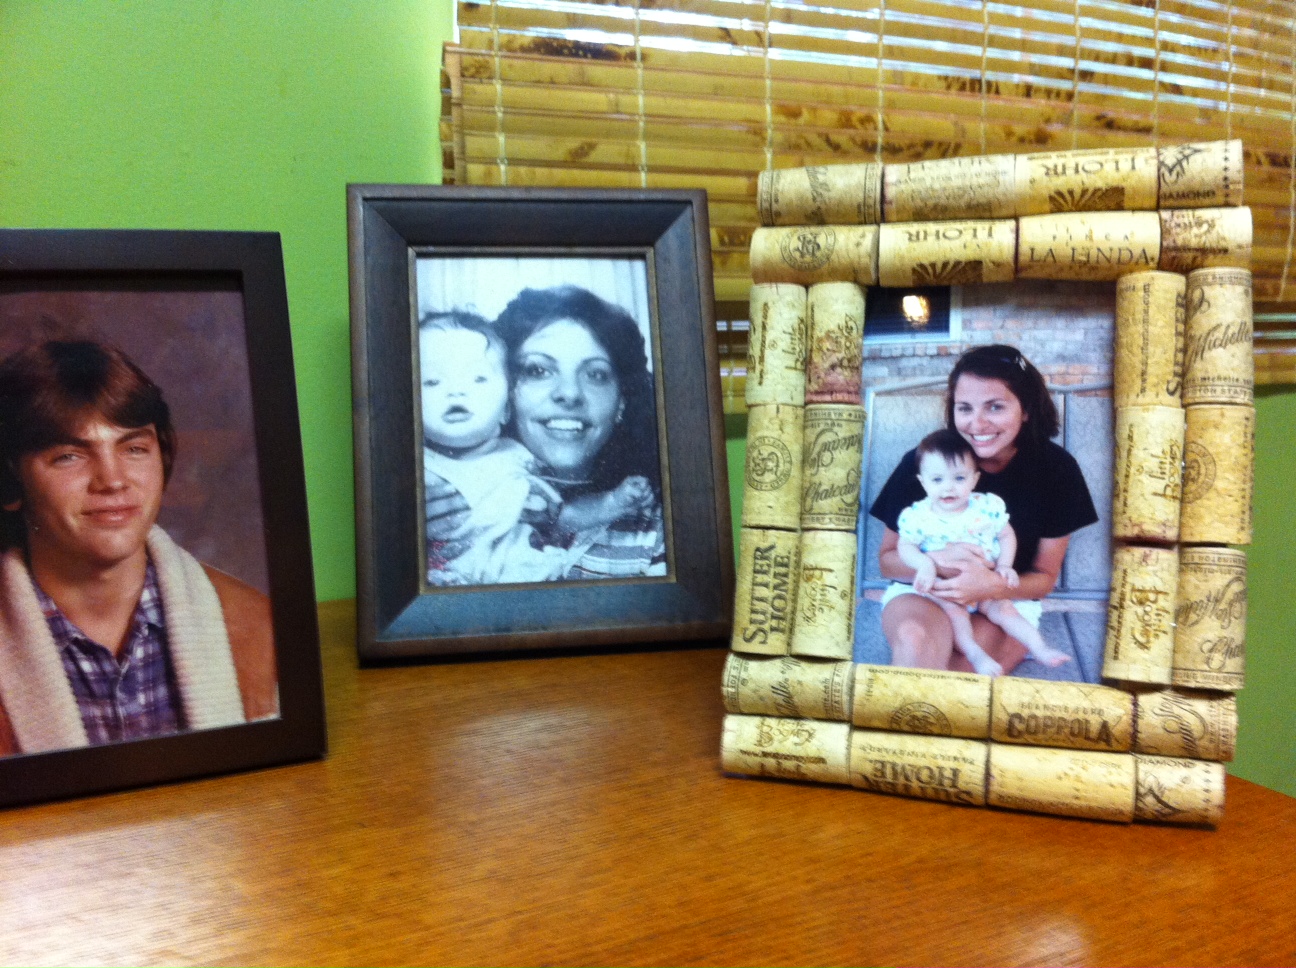
Wine corks pile up quietly. One dinner, then another, then a jar on the counter that nobody wants to throw away because cork feels too useful to trash and too odd to keep forever. That in-between status is why cork crafts endure: the material is already paid for, already interesting to the touch, and already marked by the evenings that produced it.
Natural cork is springy, light, water-resistant, and easy to cut with a sharp craft knife or serrated blade. Agglomerated corks (the molded kind) behave a little differently—denser, sometimes crumblier—but still work for many projects if you sort them. Either way, wash off wine residue, let corks dry fully, and store them in a breathable container so musty smells do not hitch a ride into your living room décor.
What cork is good at
Before choosing a project, match the job to the material. Cork shines as a soft bumper, a warm texture panel, a pin-friendly surface, and a modular “brick” for small architecture. It is less ideal where you need structural strength under heavy load or where constant soaking will occur unless you seal carefully.
Useful properties in practice:
- Compression. Cork forgives slight sizing mistakes when pieces are pressed together.
- Grip. Cut faces can hold friction against glass, wood, and ceramic.
- Insulation feel. Trivets and coasters read as intentional, not scrap.
- Visual rhythm. End grain circles and long side strips create two different patterns from the same leftover.
Sort by size and brand stamp if you care about a uniform look. Mixed stamps can look charming in a casual kitchen; a formal tray may want blank or sanded faces.
Coasters, trivets, and table armor
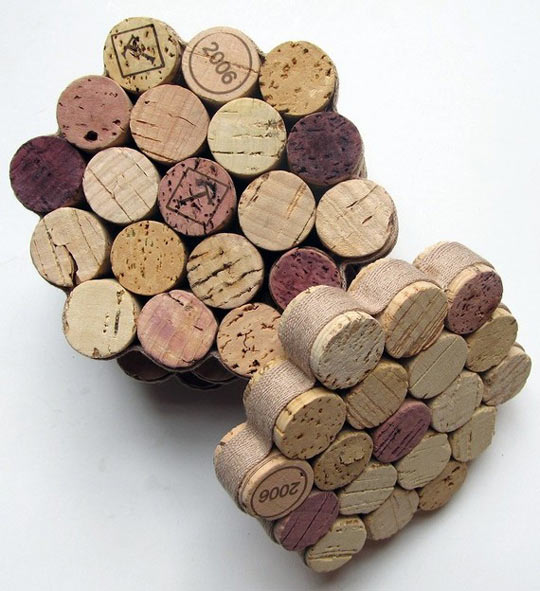
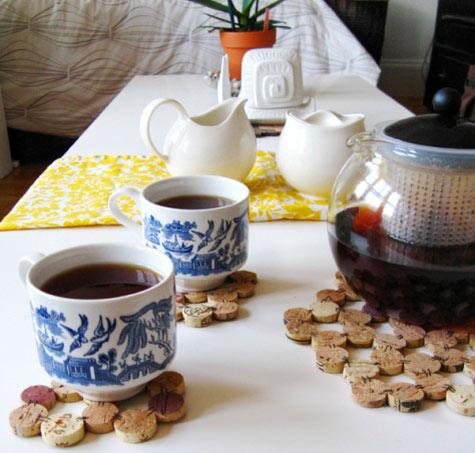
Flat cork projects are the gateway craft for a reason. Slice corks into discs and arrange them in a circle or hex grid on a cork sheet or thin wood base. Strong craft glue or hot glue works; clamp or weight the piece while it sets. A light clear sealer helps against condensation rings.
For trivets, use whole corks on end (standing like candles) glued to a board, or build a denser field of discs. Leave a little space for air if you expect steam, or pack tight for maximum heat buffering. Never assume cork makes a surface fireproof—use common sense with cast-iron straight from a burner.
Place mats and charger-sized rounds follow the same logic at larger scale. They look especially good on rustic tables where the wine-stained history of the corks feels honest rather than twee.
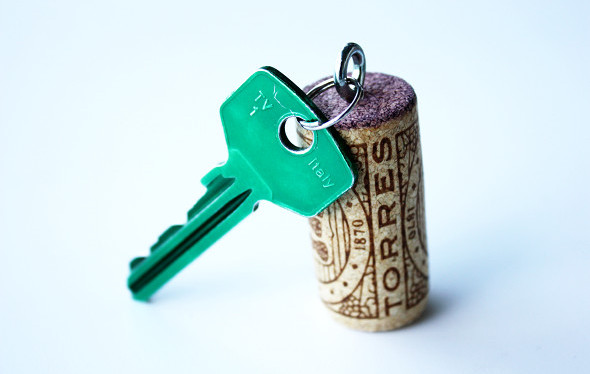
Boards, backdrops, and memo walls
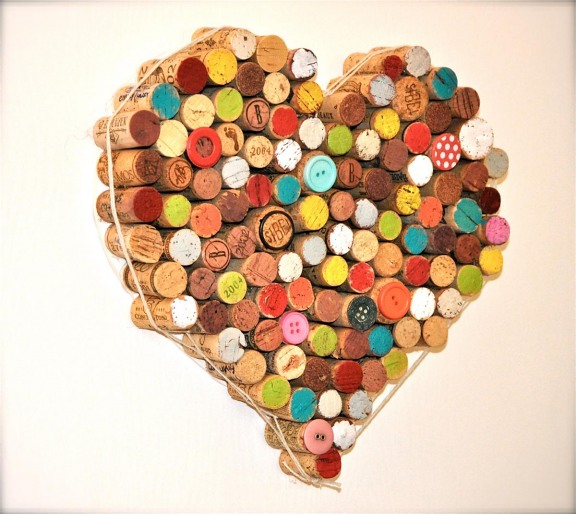
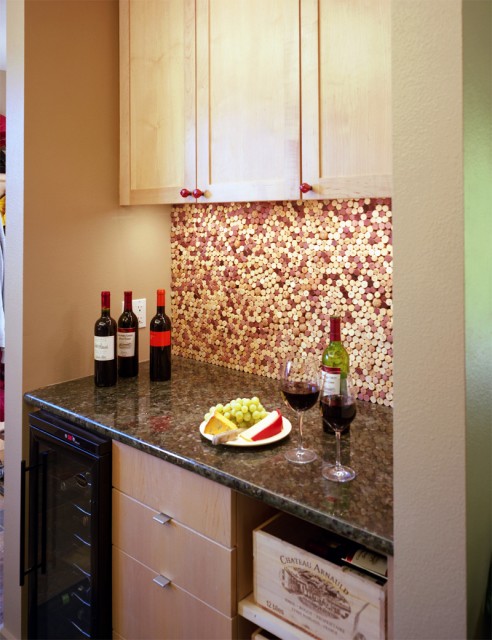
A cork board does not have to be office beige. Cover a frame with tightly packed cork halves or discs, sand lightly for a flatter pin surface, and hang it in a kitchen for recipes, tickets, and Polaroids. The irregular circle pattern turns a utility object into wall texture.
Smaller versions become jewelry holders: push pins or small hooks into a cork field and hang earrings. Key boards work the same way near an entry—label hooks with tiny tags if multiple people share the house.
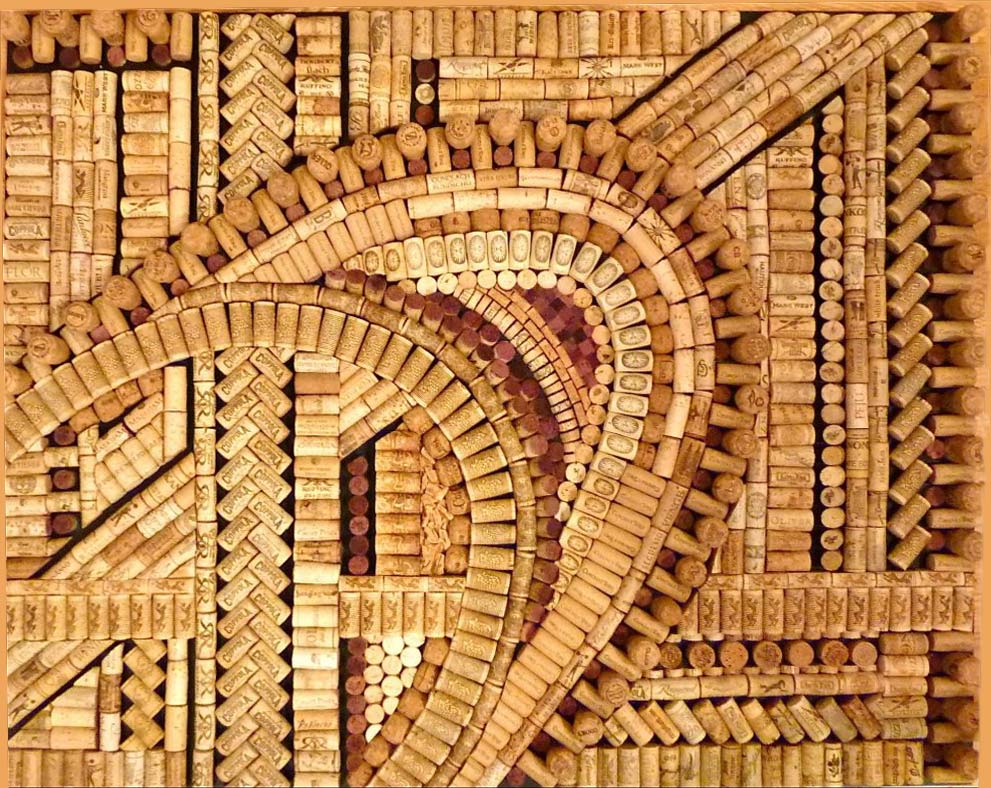
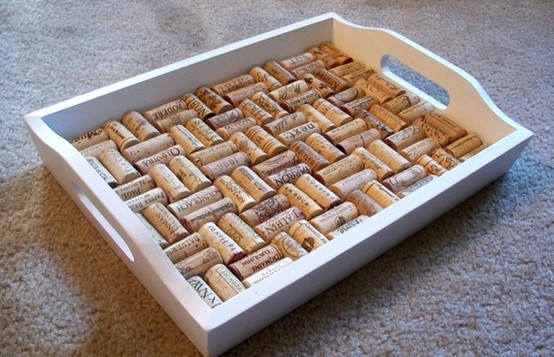
If you want a cleaner face, slice corks lengthwise into planks and tile them like brickwork. The long grain reads more architectural; the round ends read more playful. Choose based on the room, not on which cut is faster.
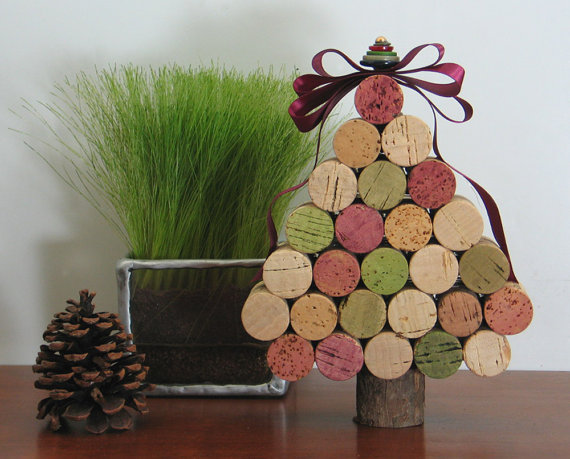
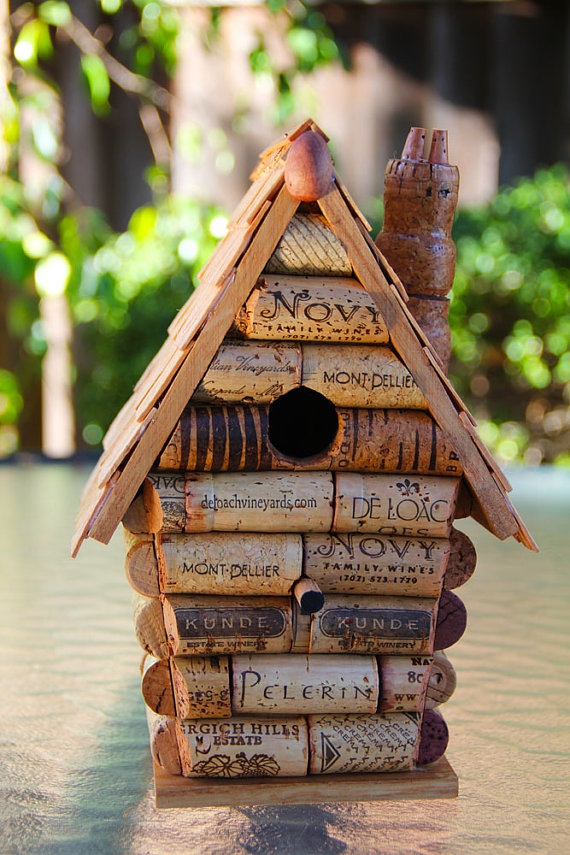
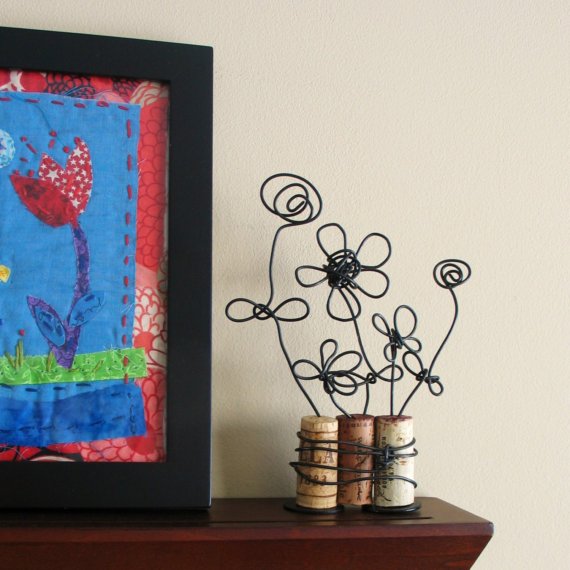
Stamps, place cards, and party details
Carve a simple monogram or leaf into a cork end and you have a stamp for kraft paper, thank-you notes, or fabric scrap tests. Soft linoleum tools or a careful craft knife work; go slowly—cork tears if you rush deep cuts.
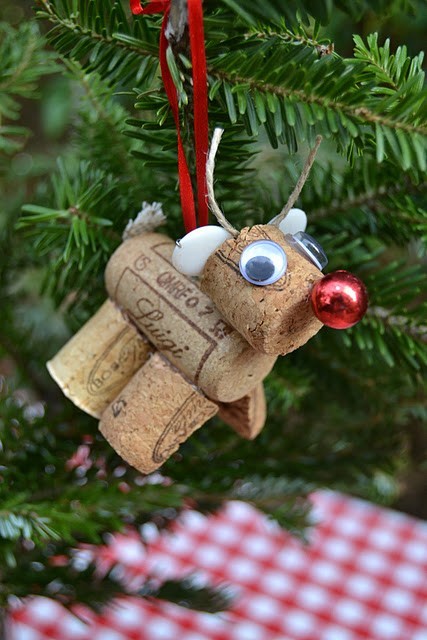
Whole corks also make natural place-card holders: slit the top, slide in a name card, and set one at each plate. For weddings or dinners, matching cork heights looks neater than a random jar dump. A thin ribbon or twine wrap can unify mixed brands without hiding the material completely.
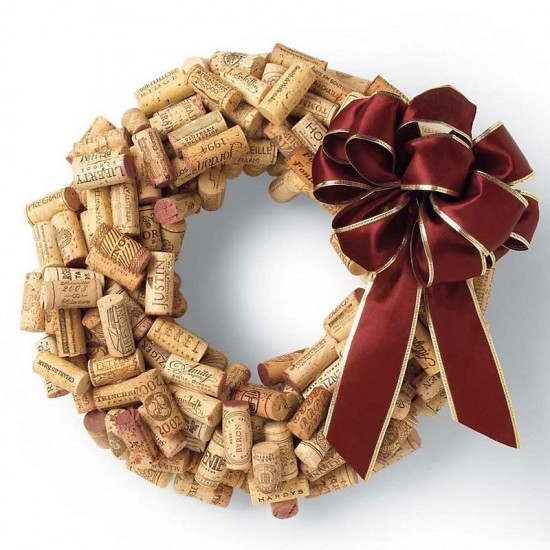
Mini wreaths and napkin rings follow holiday logic: wire or hot-glue corks into a ring, add dried citrus or a single sprig of greenery, and keep decorations removable so the cork base can return next year.
Furniture accents and larger builds
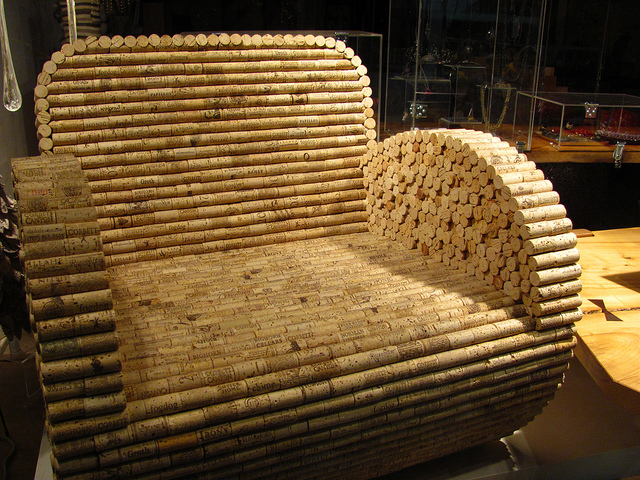
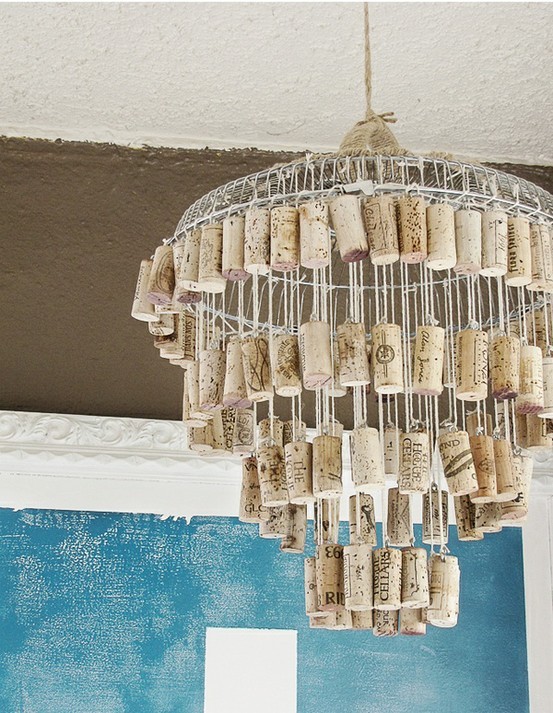
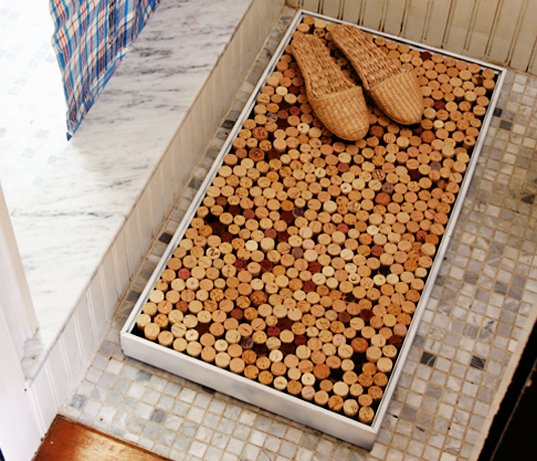
Once you have hundreds of corks, ambition grows: stool tops, bench cushions under a clear tray, drawer pulls, even bathtub mats in some home projects. Larger builds need planning. Glue quality matters. A rigid backing matters. And sealing matters if the piece will see spills.
A practical approach for bigger surfaces:
- Build on plywood or MDF cut to final size.
- Dry-fit corks in your pattern before any glue.
- Work in sections so glue does not skin over.
- Weight the surface overnight.
- Trim proud edges with a flush saw or sandpaper block.
- Seal if the piece will live near food or water.
Handles and knobs are smaller commitments: drill carefully, use a bolt through the cork with washers, and accept that cork knobs are charming more than indestructible. Replace them when they wear—that is part of the recycled-material deal.
Plant, bath, and kitchen odds
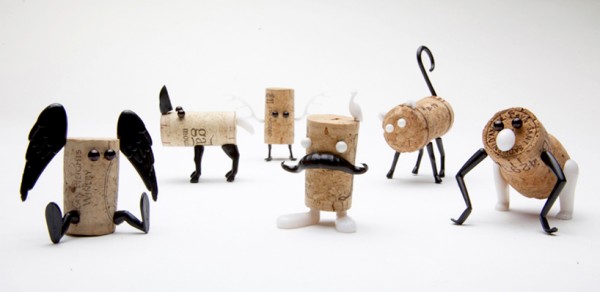
Corks can float as mini plant markers in herb pots—write varieties on the side with a permanent marker. They can lift soap dishes or act as soft feet under a tray. In drawers, a few glued cork discs quiet rattling lids. None of these projects need a craft store beyond glue and a blade.
Be cautious with anything that will sit in standing water for days. Cork can mold if kept wet and dark. Dry thoroughly between uses, or stick to splash zones rather than submersion.
Tools, glue, and safety
A cutting mat, sharp knife, gloves if your hands slip easily, and outdoor or well-ventilated glue time will prevent most frustrations. Hot glue is fast for prototypes; PVA or contact cement can be cleaner for display pieces. Sandpaper rounds sharp cut edges so coasters do not shed crumbs onto glasses.
Keep unfinished corks away from pets that chew. Some synthetic corks are not the same as natural bark; if a project must be food-adjacent, favor natural cork and food-safe finishes, or keep cork as a base under a sealed surface.
If your jar is already overflowing, start with coasters: one evening, twelve discs, a round base, and a weight on top while the glue cures. Tomorrow night’s glass will sit on last month’s dinners—and the jar on the counter will finally have a reason to empty a little.

Comments
Continue reading
DIY Dollar Store Decoration: Lamps, Vases, Mirrors, Sconces, and Candle Holders
Turn dollar-aisle glass, mirrors, and candle holders into lava-style light jars, enamel vases, a silverware starburst mirror, stone-look sconces, and finished candle bases.
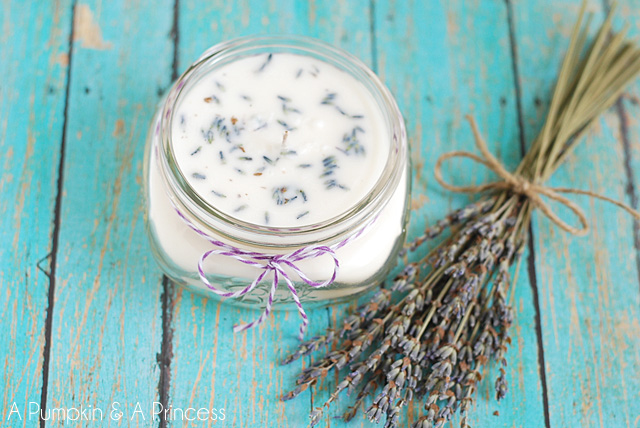
How to Make Mason Jar Candles: Pour, Tint, Hang, and Gift
Clean jars, size the wick, pour wax safely, then branch into coloured glass, hanging lanterns, lavender scents, remelted stubs, floating lights, and favor-ready finishes.
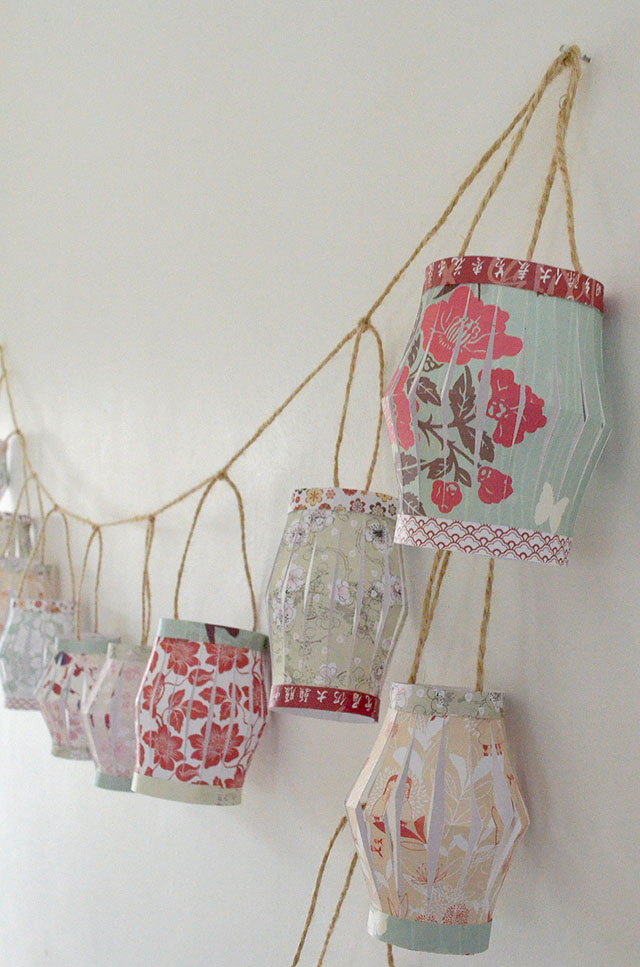
Colorful Paper Lantern DIY: Garlands, Flowers, Geometry, and Chandeliers
Build festive paper lanterns with safe LED lighting—garlands, floral skins, geometric overlays, and clustered chandeliers—using materials and a build order that actually hold up.