
DIY T-Shirt Redesign Ideas: Hems, Ribbons, Ladders, and Braids
Restyle closet tees with scalloped hems, ribbon lacing, knotted ladder backs, and braided cutouts—inspiration for cuts that look intentional, not accidental.
Most closets hold at least one soft, slightly faded T-shirt that no longer earns a full day of wear—logo cracked, hem stretched, color dull, but fabric still good. Redesign work starts from that honesty: the tee is raw material, not a failed purchase. Cut, knot, braid, scallop, lace, or contrast-trim it, and the same cotton can look intentional again without buying a new wardrobe.
This collection is about inspiration more than numbered tutorials. Look at silhouettes and details first—where the eye lands, how the shirt sits on the body, what layering reveals through open backs—then decide which idea fits a garment you already own. Jersey forgives imperfect cuts; it rolls rather than frays. That forgiveness is why T-shirt DIY became a craft category of its own, and why a dull grey crewneck can leave the house again after one careful afternoon with chalk and scissors.
Hemline experiments
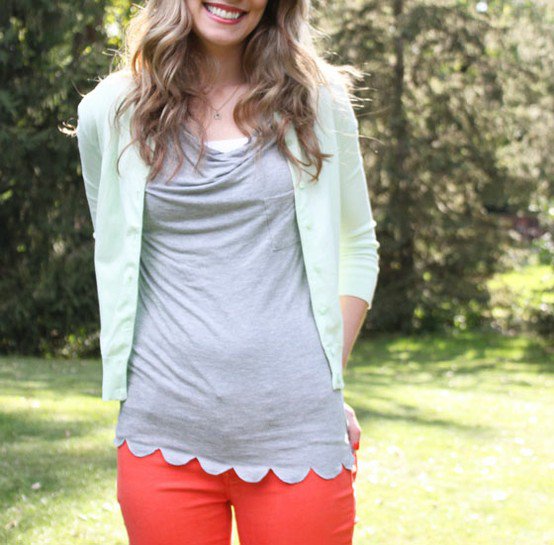
Changing only the bottom edge can shift a whole outfit. A scalloped hem—even, rounded bites cut along the lower edge—softens a heather grey tee and pairs easily with a light cardigan and brighter pants. Trace a glass or cardboard template so each curve matches; uneven scallops read accidental. Leave the neckline alone if you want the redesign to feel subtle rather than costume-like. The pocket and drape of the original shirt can stay; the hem does the talking.
Asymmetrical hems pull one side higher, often toward a side detail such as ribbon lacing. They flatter when the high point sits near the hip bone and the low point still covers the waistband of jeans or a skirt. Mark with chalk while wearing the shirt (or on a dress form) before you cut; fabric hangs differently on a body than flat on a table. If you hesitate, cut longer than your target and take a second pass after trying the shirt on with the shoes you actually wear.
Ribbon, contrast, and one-shoulder drama
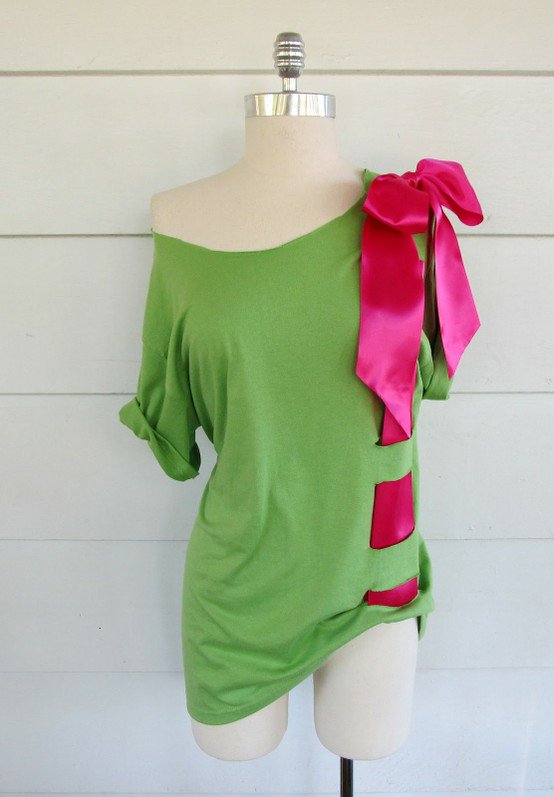
Bright satin against cotton is a fast visual upgrade. Wide ribbon woven through vertical side slits, finished with a shoulder bow, turns a loud lime tee into a party piece. Choose ribbon that can take a wash or plan to remove it first—satin and cotton shrink differently. Cut slits slightly narrower than the ribbon so the weave stays snug. An off-shoulder or one-shoulder cut on the opposite side balances the bow so the design does not tip visually toward one hip.
Contrast is the design rule here: if the shirt is neon, the trim can be glossy and deep; if the shirt is black, try metallic or pastel. The redesign should announce itself from across a room without needing embroidery skill. Keep bottoms simple—straight jeans or a plain skirt—so the ribbon remains the loudest surface rather than competing with a print.
Open backs: ladders and cages
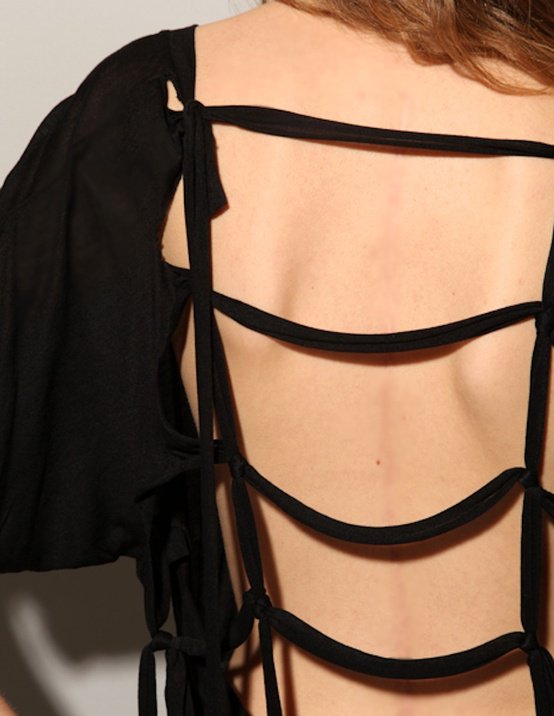
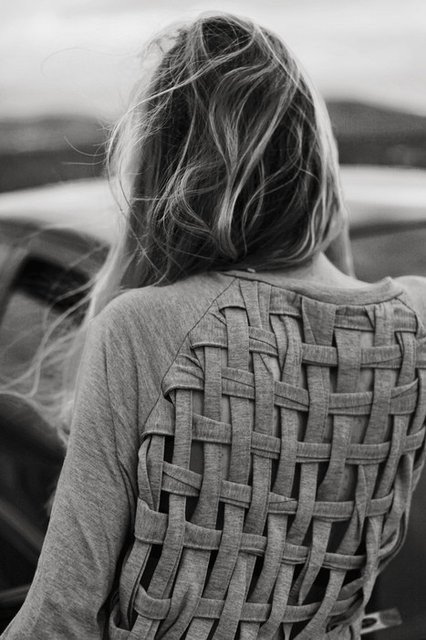
Removing a back panel and rebuilding it with horizontal strips knotted to side borders creates a geometric “ladder” that shows skin or a contrasting cami. Black jersey makes the knots read as intentional hardware. Space rungs evenly—uneven gaps look like repairs. This silhouette works best on shirts that were slightly oversized to begin with; skinny tees may not leave enough fabric for stable side rails after you remove the center panel.
Wear something you like underneath. The open back is half the outfit. A bright tank, a patterned bralette, or a simple nude layer each changes the mood of the same cut. If you commute or sit in offices with aggressive air conditioning, keep a light cardigan in the bag; ladder backs are summer clothes first.
Braided and latticed spines
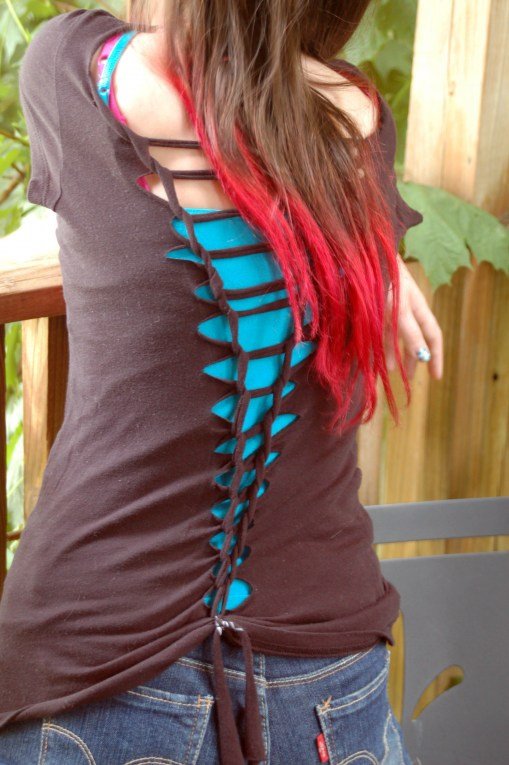
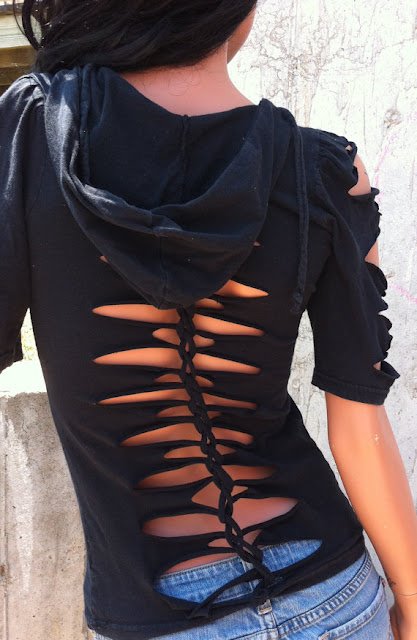
Parallel horizontal slits down the center back, then looped into a chain, produce a raised braid that sits like a textile zipper. Layer a turquoise or other high-contrast tank underneath so every loop pops. Keep slit width consistent and stop a few inches above the hem so you have fabric left to knot and secure the chain. This look photographs well from behind—plan outfits around that view if you are redesigning for travel, concerts, or any day when people walk behind you more than they face you.
Start with a practice tee you do not love. Looping is easy to understand and easy to twist unevenly on the first try. Once the motion feels rhythmic, move to a better shirt. If a loop twists, undo two steps and redo rather than forcing the chain tighter; tension that is too high pulls the shoulder seams forward.
Sleeves, necks, and side cutouts
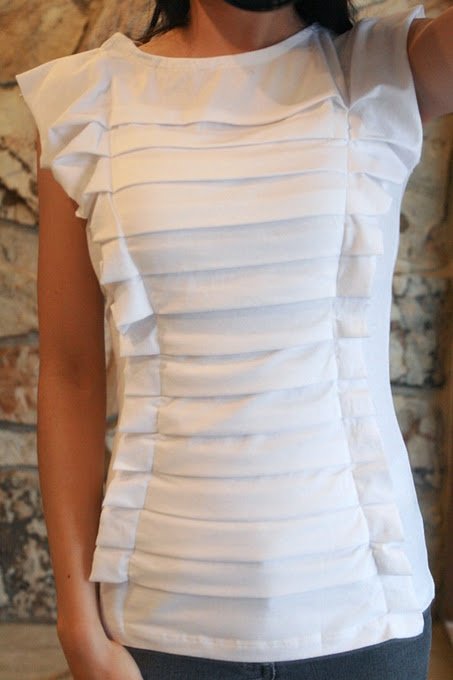
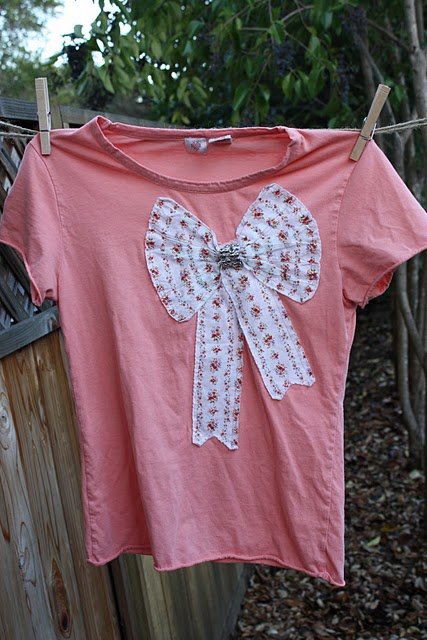
Not every redesign needs a dramatic back. Cap the sleeves shorter, scoop the neckline, or add a single side cutout that flashes a stripe of skin when you move. Small changes suit work-casual closets where a full cage back would feel out of place. Press hems with a low iron and a press cloth if you want a cleaner finish; raw jersey edges are fine when the cut is confident and smooth.
Think in terms of one focal move per shirt. A redesigned hem plus a braided back plus a ribbon bow usually fights itself. Pick the detail that fixes what bothered you about the original garment—baggy length, boring front, or a logo you wanted to interrupt—and stop there. Restraint is what separates a restyle from a craft-fair accident.
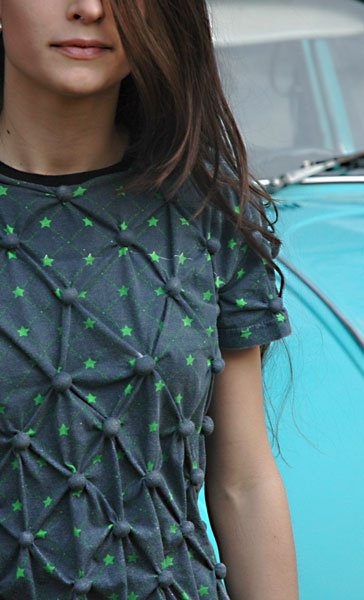
Choosing which shirt to cut
Prefer cotton or cotton-blend jersey with a little body. Paper-thin tees tear at stress points once you open the back. Pre-wash and dry so shrinkage happens before you cut. Avoid shirts with thick side seams if you plan side slits; the seam allowance fights clean weaving. Graphic tees can still work—place cuts so the print remains readable, or bisect a tired logo on purpose so the redesign feels like commentary rather than sabotage.
Tools stay simple: sharp fabric scissors, chalk or disappearing marker, a ruler, and an optional seam ripper for cleaning serged hems you want to remove. A cutting mat helps when you work flat. No sewing machine is required for most of the looks in this gallery, though a few hand stitches at stress points—where a ladder meets the shoulder, where ribbon exits a slit—never hurt longevity.
Styling the finished piece
Redesigned tees often need a partner garment. Open backs ask for a tank or statement underlayer. Scalloped hems look polished under open cardigans. Ribbon-heavy designs pair best with simple bottoms so the shirt remains the loudest surface. If the cut feels too casual for where you are going, add structured jewelry or a tailored jacket; the handmade detail then reads as fashion, not unfinished craft.
Color strategy helps too. A black ladder back loves color underneath. A grey scalloped tee loves one bright pant or shoe. A neon ribbon shirt wants neutrals everywhere else. Match the energy of the cut to the rest of the outfit instead of stacking every loud idea you own into one look.
Lay three candidate tees on the bed tonight and match each to one idea from the images above. Cut only the one you would actually wear next weekend. Closet redesigns stick when the finished shirt leaves the house, not when it returns to a “maybe” pile beside the sewing kit.

Comments
Continue reading
DIY T-Shirt Redesign Tutorials: Knot, Fringe, Dye, Appliqué, Paint
Step-by-step methods for knotted crops, fringe, iron-on appliqué, ombré dye, lace inserts, galaxy spray, and painted patterns—plus order of work and care tips.
6 Easy DIY Shoe Makeovers: Polka Dots, Canvas Paint, and Glitter Stripes
Six DIY shoe makeovers—painted refresh, pink polka dots, walking-shoe accents, canvas slip-ons, bibliophile party heels, and jailhouse-stripe glitter.
Craft Projects From Old Neck Ties
Turn abandoned ties into bags, wristlets, bracelets, home accents, and pieced waistcoats—fabric upcycling with prep tips for silk and polyester.