
Impressive Craft Ideas With Buttons: Projects With Clear Done Criteria
Sort your stash, then turn buttons into mosaics, jewelry, wearables, home accents, and gifts—with practical criteria, adhesives vs stitch advice, and safety notes.
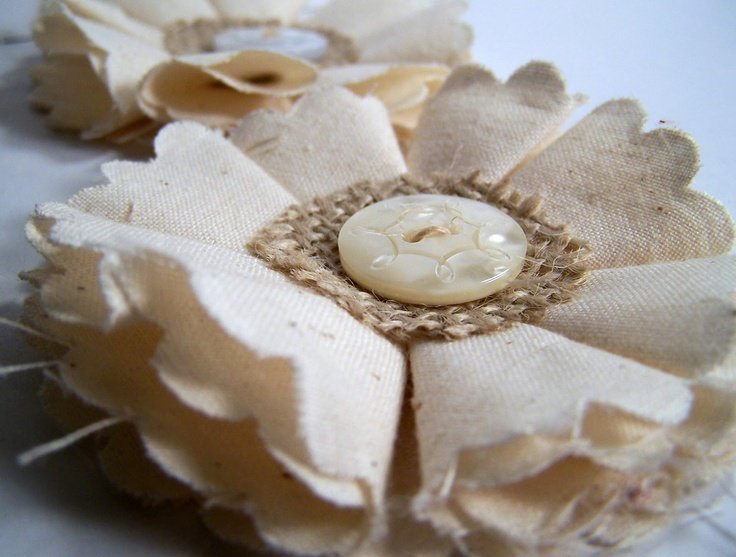
A jar of mixed buttons is a small materials library: color, diameter, thickness, shank versus flat back, matte versus pearlescent, plastic versus glass versus metal. Impressive button crafts rarely need exotic tools. They need sorting, a clear idea of how the finished object will be used, and adhesives or stitches that match that use. This guide turns a colorful stash into projects you can actually finish—wall art, jewelry, wearables, home accents, seasonal gifts, and playful sculptures—without treating every photo as a mystery link farm.
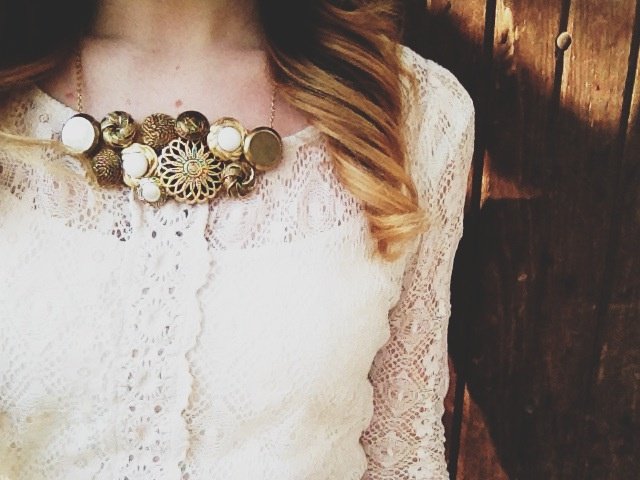
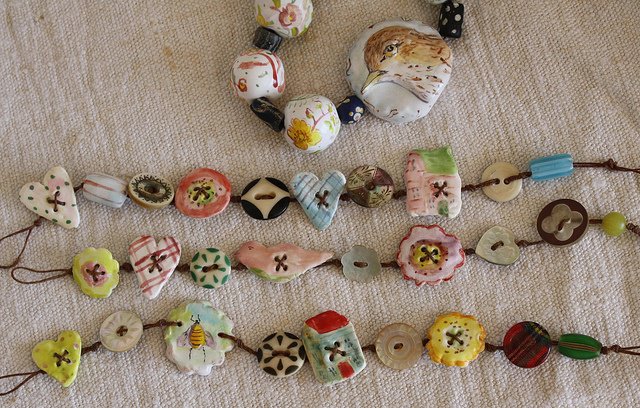
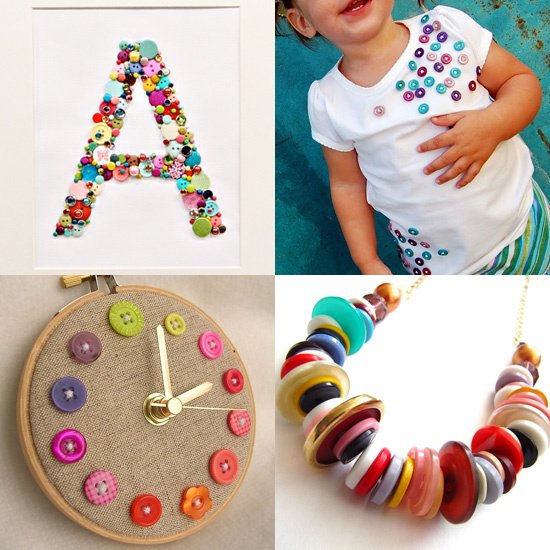
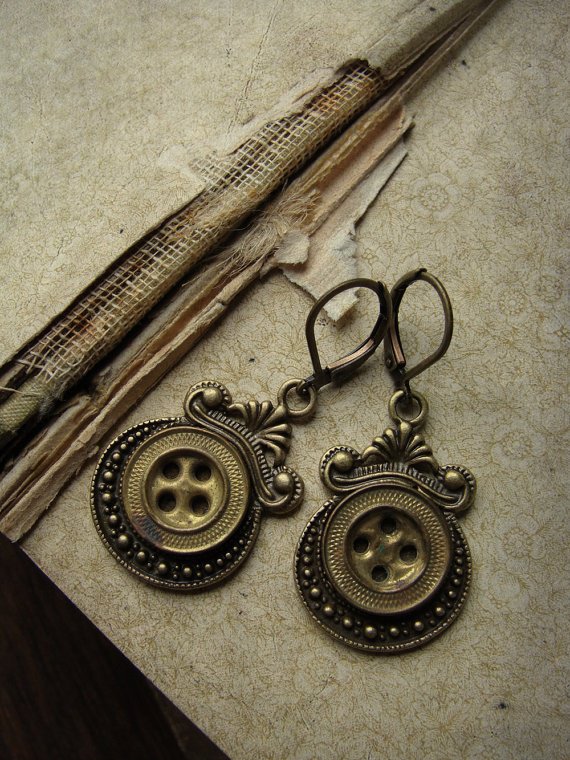
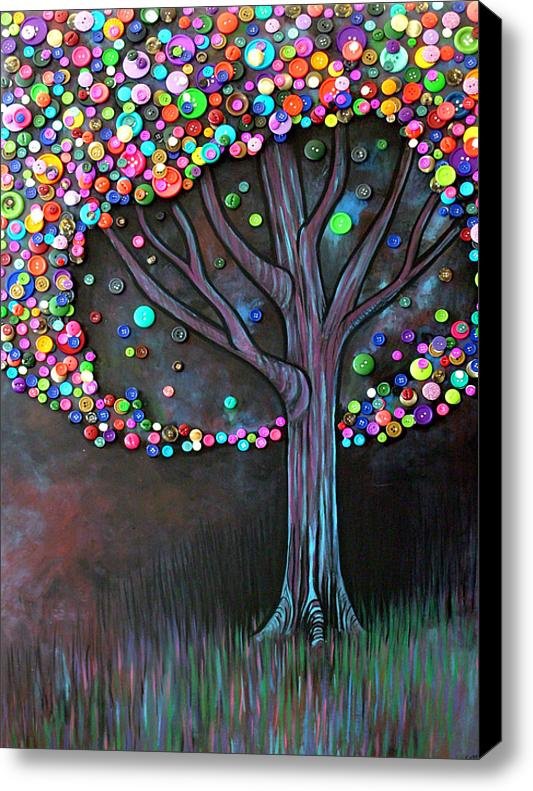
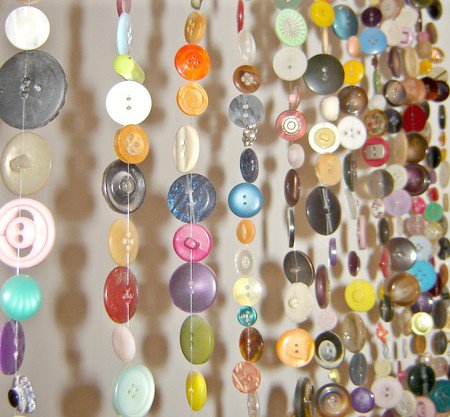
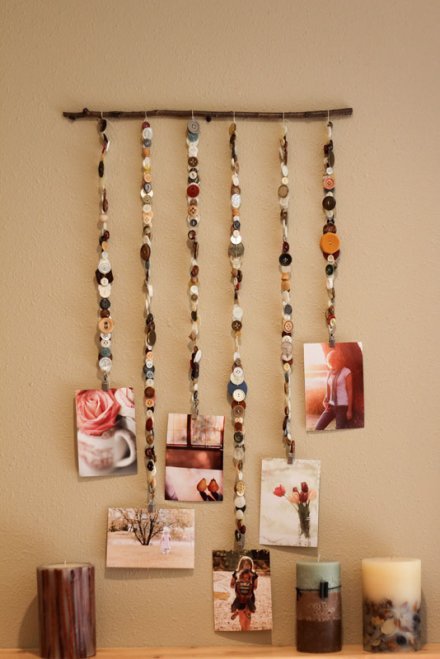
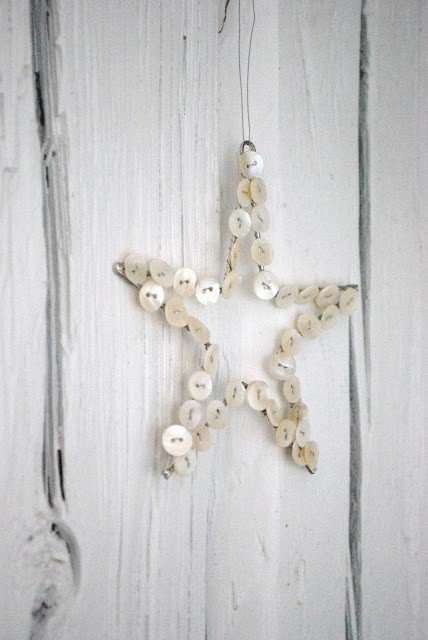
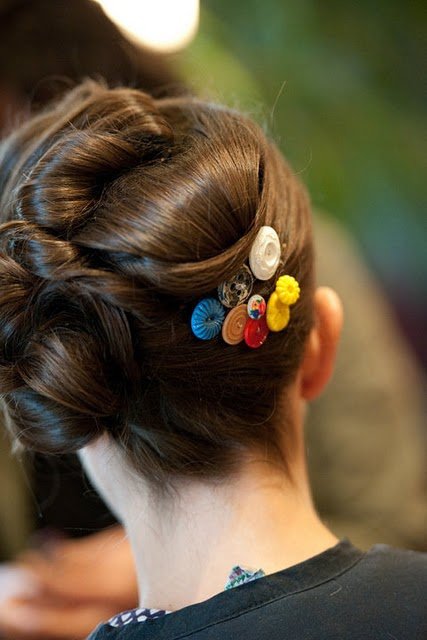
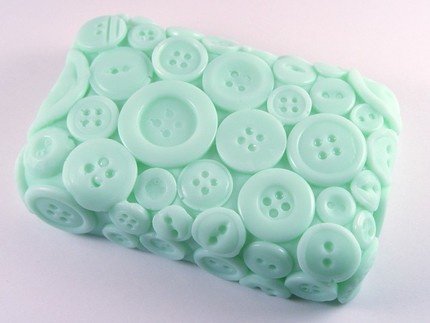
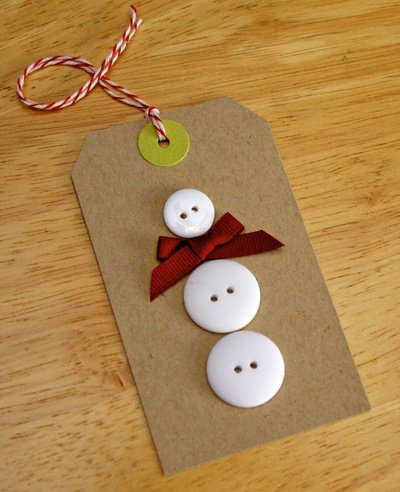
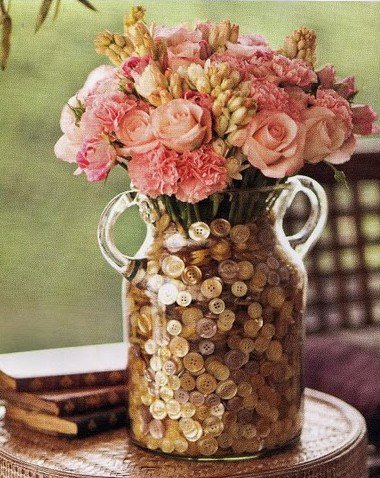
Use the images below as style references. For each project type, match the look to practical criteria: which buttons to pick, what base to use, how durable the piece should be, and when to stop adding more so the design still reads from across the room.
Sort the stash before you glue
Dump buttons into trays by size and color family. Separation saves time later and prevents the common mistake of starting a delicate necklace with your heaviest vintage glass. Group them like this:
- Sew-through (2- or 4-hole): best for stitching onto fabric, cards, soft toys, and anything that must survive washing.
- Shank buttons: good for jewelry and layered clusters where the stem becomes a natural spacer.
- Heavy vintage, metal, or glass: beautiful focal points, but test weight on thin fabrics, paper, and delicate chains before you commit a whole design.
- Lightweight plastic craft buttons: fine for kids’ projects, cards, and low-wear décor; avoid high-heat methods and do not treat them as heirloom jewelry hardware.
Wash dusty thrift buttons in mild soapy water and dry them fully. Discard cracked glass and buttons with sharp chips if the piece will be handled often or worn against skin. Label jars by size once you are done—future you will thank present you.
Wall art and framed mosaics
Button mosaics work when you treat the surface like a painting. Establish a background color first, then build shapes with consistent gaps so the eye reads form instead of random sparkle. Use a rigid base—stretched canvas, wood panel, or heavy card inside a frame. Lay the design out dry before any glue touches a button. Work from the outline inward so edges stay crisp and you do not trap yourself into awkward leftover gaps in the middle.
Criteria: buttons of similar thickness sit flatter and photograph better; mixed heights need a deeper frame or shadow-box so nothing scrapes the glass. Use a clear-drying craft glue rated for the button material and the base. Press and wait—sliding buttons while wet ruins alignment and leaves glue rings. A finished mosaic looks even from arm’s length, with no cloudy blobs at the rims and a silhouette you can name in one word (flower, city, initial, abstract wave).
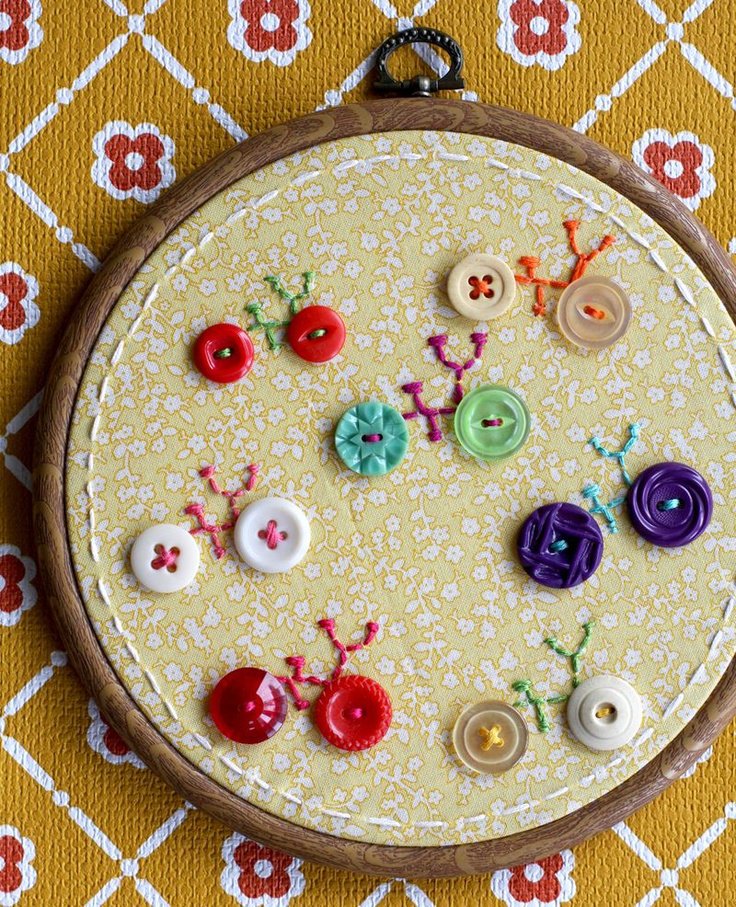
If you are new to mosaics, start with a small square panel rather than a full poster. Large fields eat buttons and patience; a small finished piece teaches spacing faster than a half-abandoned canvas.
Initials, monograms, and word art
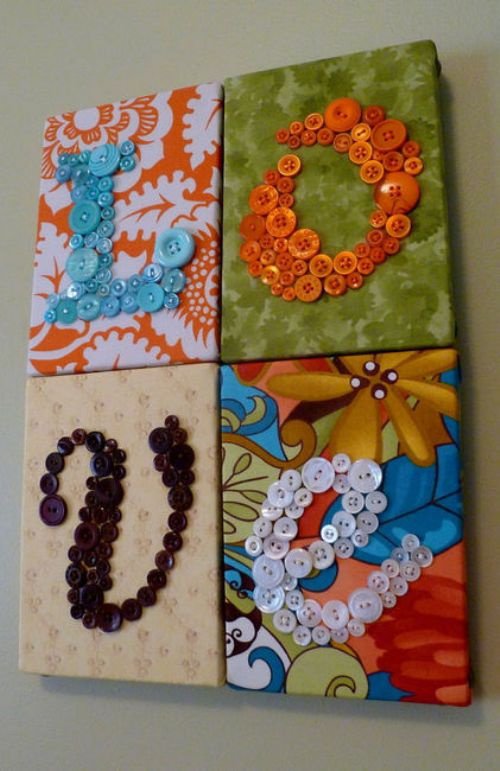
Letterforms made of buttons read best with high contrast—pale buttons on a dark board, or saturated buttons on white or natural wood. Sketch the letter lightly in pencil, then fill. Keep the stroke width generous. Skinny strokes fall apart when button diameters vary, and the letter becomes a speckled smear instead of a readable character.
Criteria: choose one dominant size for the main stroke, and save tiny buttons for corners, joins, and serifs only. Stand back every few minutes. If you cannot read the letter from across the room, simplify the alphabet shape before adding more color. Skill level is beginner if you accept that “done” means readable, not that every millimeter is tiled.
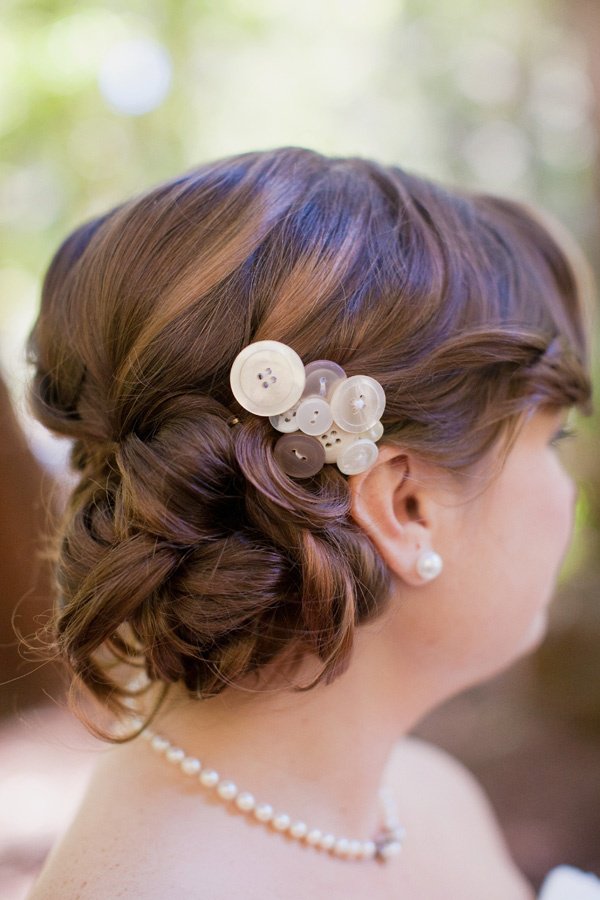
Jewelry: bracelets, necklaces, earrings
Button jewelry succeeds when hardware matches weight. Lightweight plastics can hang from ordinary ear wires; heavy glass needs stronger findings, shorter drops, and sometimes a second attachment point. For bracelets, sew-through buttons on cord or ribbon stay flexible; flat buttons glued onto metal blanks designed for cabochons look polished if the blank is flat and the glue joint is full-coverage.
Criteria: no sharp reverse edges against skin; knots and clasps tested with a gentle tug; glue fully cured before the first wear. Avoid gluing buttons directly onto cheap base-metal that bends—the metal flexes, the bond fails, and the button is gone by lunch. For children’s wearables, prefer stitched attachments over glue alone, and skip anything small enough to be a choking hazard if it detaches.
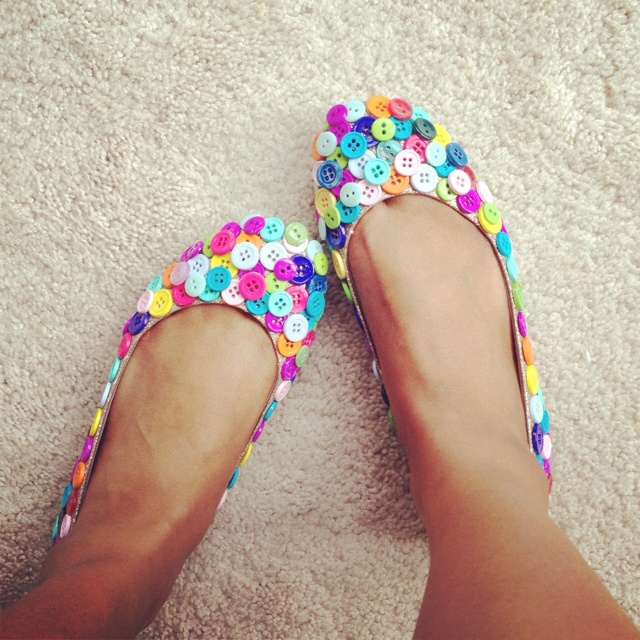
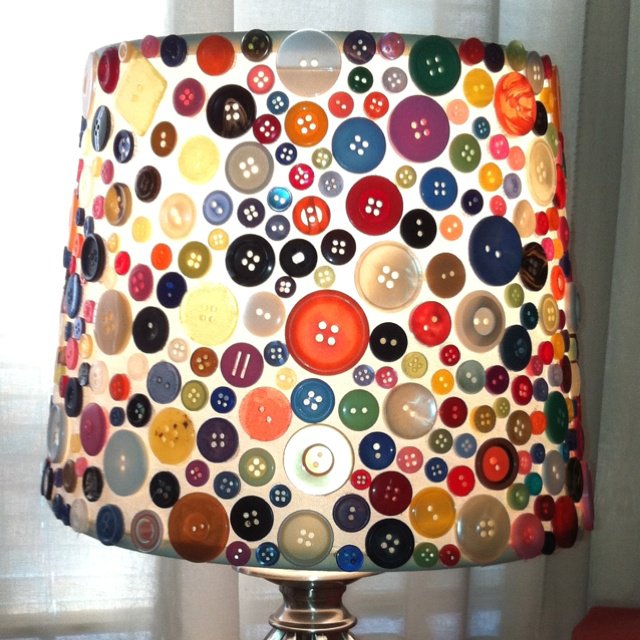
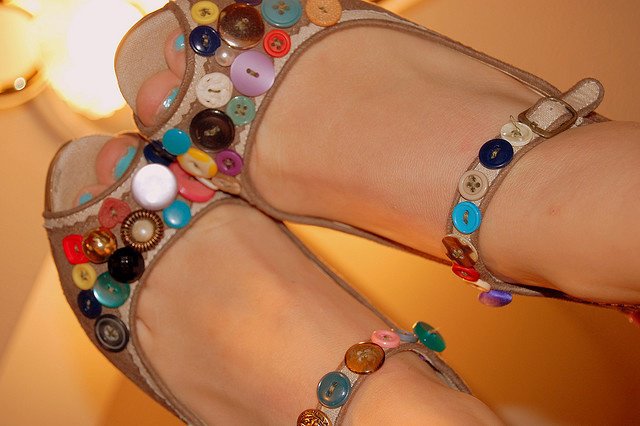
A practical test: wear the piece around the house for an hour before gifting it. If a button spins oddly, digs into a wrist, or loosens, fix it now—not after someone else has already fallen in love with a fragile version.
Wearable accents: bags, belts, collars
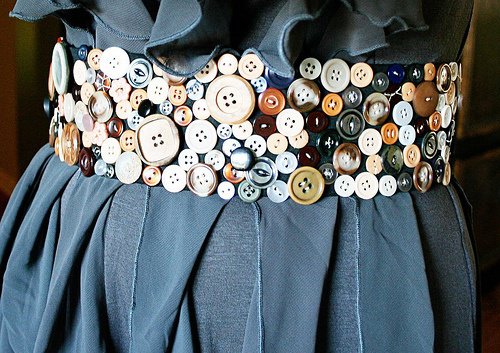
Sewing buttons onto a denim jacket, canvas tote, wool collar, or fabric belt creates wearable texture that glue-only décor cannot match. Mark placement with chalk or disappearing ink. When you cluster heavy buttons, reinforce thin fabric with a patch or interfacing behind the stitches so the textile does not tear through after a few wears.
Criteria: anything washable needs thread, not only glue. Keep dense clusters away from seat belts, bike straps, and bag straps that rub constantly—buttons snag, dig, and pop under abrasion. Done means the piece survives a normal day’s movement without shedding hardware onto the sidewalk.
Home accents: pillows, lampshades, curtains
Buttons on pillows and throws add pattern if you space them deliberately—a grid, a border, or a clustered corner—rather than scattering at random. On lampshades, use only lightweight buttons and heat-safe adhesive, and keep clear space away from the bulb. Curtain tie-backs and napkin rings are low-risk practice projects that teach spacing without a large time sink.
Criteria: removable pillow covers should still zip or turn inside-out after embellishment. Skip buttons on infant bedding or anything a baby can chew and swallow. For lampshades, test adhesives on a scrap away from the heat zone first, and prefer LED bulbs that run cooler. Done looks intentional from the sofa, not busy from the doorway.
Seasonal and gift objects
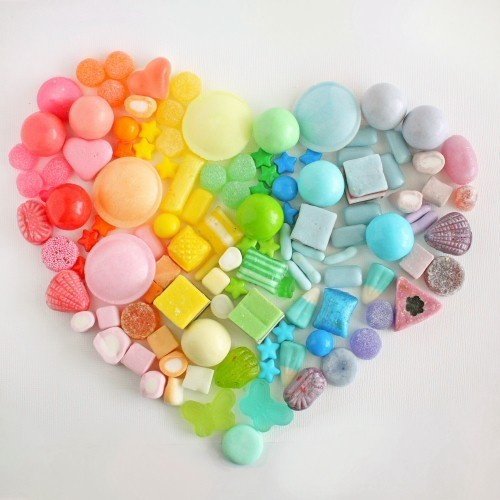
Trees, wreaths, hearts, and hanging ornaments are classic button subjects because a clear silhouette does half the design work. Build on foam, cardboard, or wire forms. For hanging ornaments, add a secure loop before you cover the top with buttons so you are not digging through glue later.
Criteria: ornaments need balance so they hang straight; wreaths need a hidden sturdy base that can take door weight; gift tags and card fronts only need a few buttons—overloading cardstock causes curl and postal tears. Skill level is beginner; the hard part is stopping before the silhouette disappears under too many colors.
Figurines, flowers, and playful objects
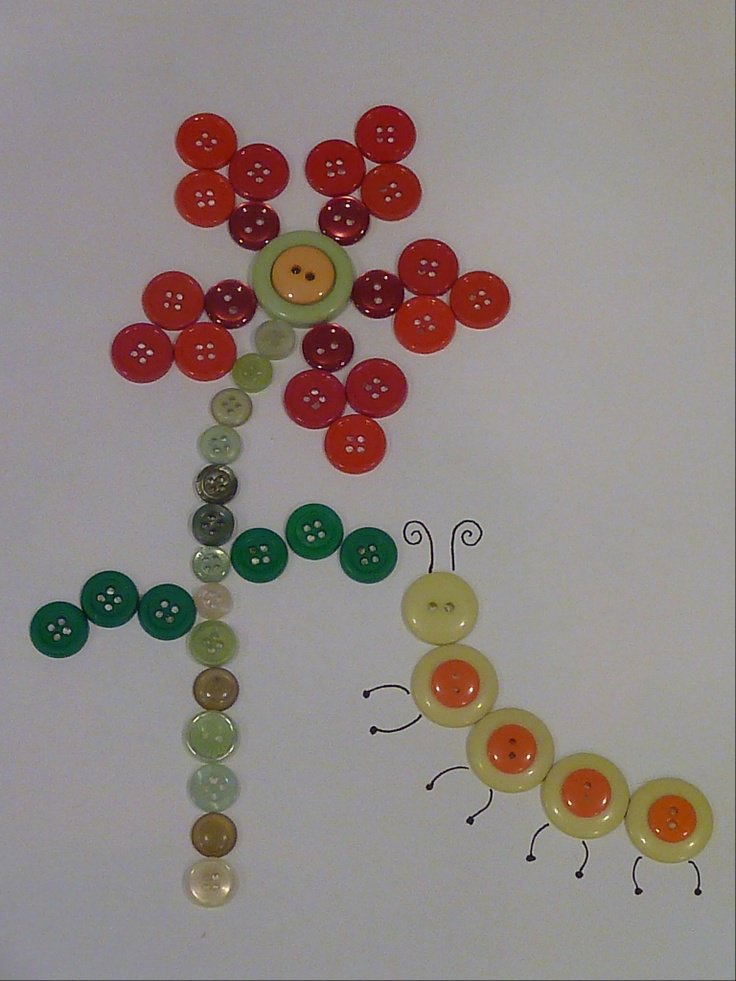
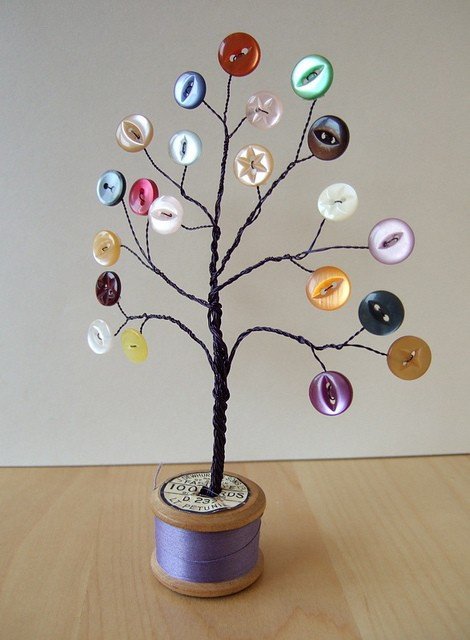
Stacked buttons become flowers, caterpillars, animals, or abstract sculptures when you vary diameter the way petals vary. Thread wire through shanks or holes for stems; wrap with floral tape for a clean finish. For freestanding figures, a weighted base prevents tip-overs on shelves and mantelpieces.
Criteria: stems must support the head weight without bowing; glue joints need full cure time before display or gifting. Keep tiny detachable parts away from toddlers. These projects are ideal for leftover odds and ends that do not match a strict color scheme elsewhere in your stash—mismatch can be the charm if the silhouette stays clear.
Adhesives, thread, and safety
Choose the attachment method for the life of the object, not for the speed of the afternoon:
- Fabric that will be washed: sew. Glue belongs on framed art, ornaments, and non-laundered décor.
- Work in a ventilated spot with solvent glues; keep cyanoacrylate off skin and out of children’s reach.
- Supervise kids around small buttons—choking hazard is real, not theoretical.
- Sand or cover sharp shank edges on anything worn against skin.
- Store leftovers labeled by size and color family so the next project starts in minutes, not in a scavenger hunt.
Pick one object you will actually display or wear this month. Finish that before opening a second glue bottle—button projects multiply fastest when nothing ever reaches “done.”

Comments
Continue reading
DIY Dollar Store Decoration: Lamps, Vases, Mirrors, Sconces, and Candle Holders
Turn dollar-aisle glass, mirrors, and candle holders into lava-style light jars, enamel vases, a silverware starburst mirror, stone-look sconces, and finished candle bases.
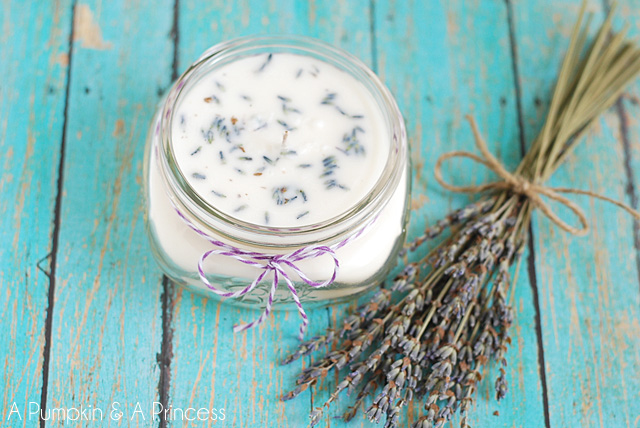
How to Make Mason Jar Candles: Pour, Tint, Hang, and Gift
Clean jars, size the wick, pour wax safely, then branch into coloured glass, hanging lanterns, lavender scents, remelted stubs, floating lights, and favor-ready finishes.
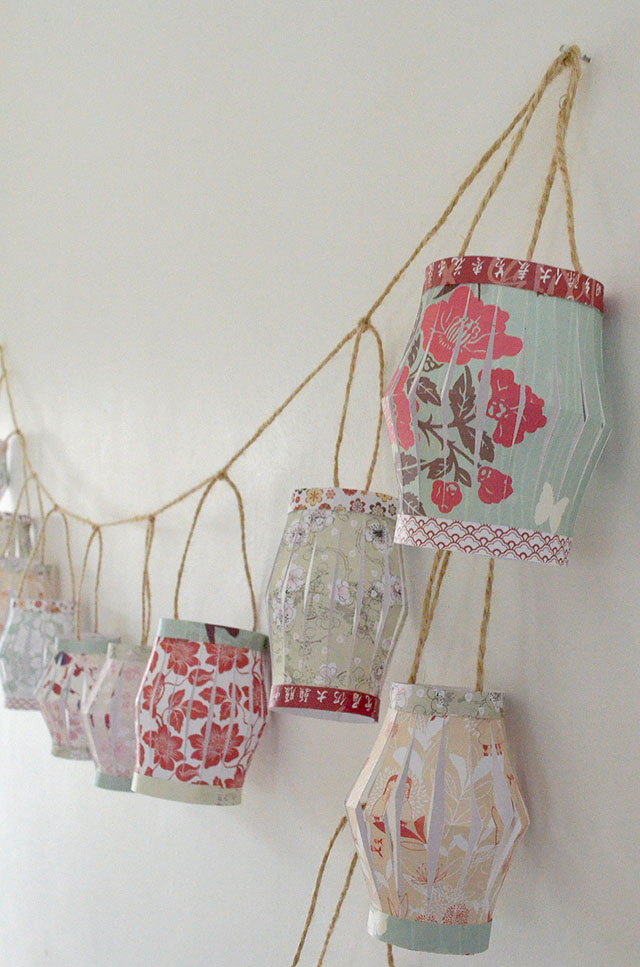
Colorful Paper Lantern DIY: Garlands, Flowers, Geometry, and Chandeliers
Build festive paper lanterns with safe LED lighting—garlands, floral skins, geometric overlays, and clustered chandeliers—using materials and a build order that actually hold up.