
DIY Garden Planters: Upcycled Ideas with Drainage and Safety Basics
Turn crates, vessels, and scrap wood into garden planters—with practical drainage, plant-safe materials, and workshop safety for weekend builds.
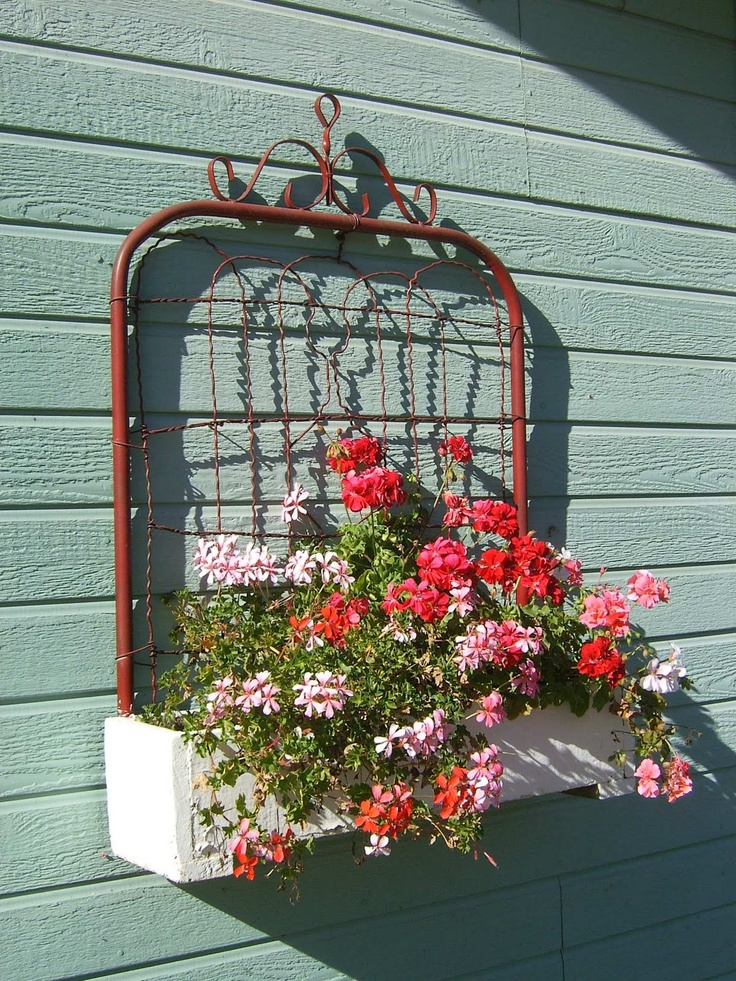
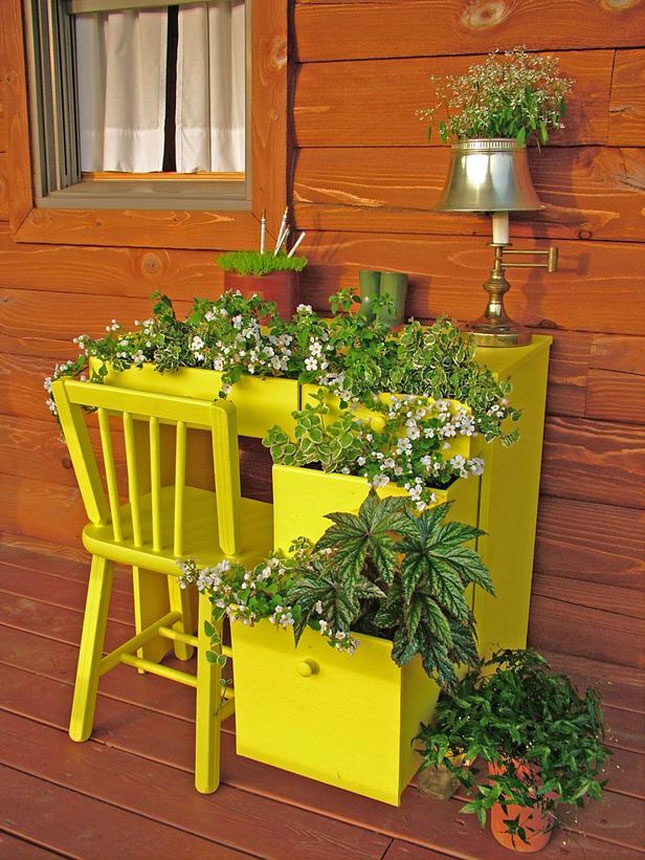
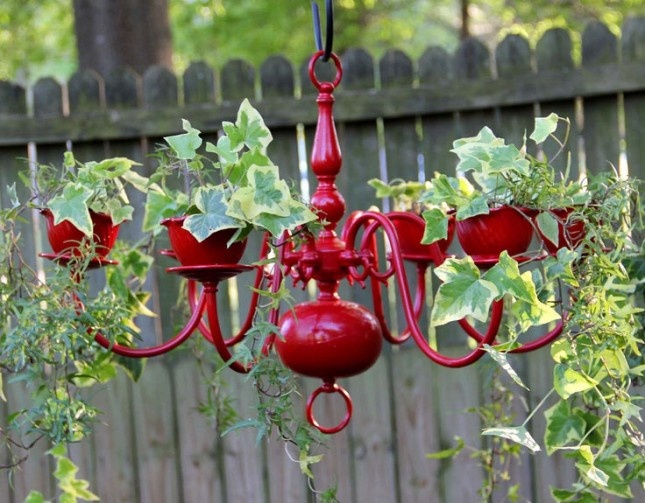
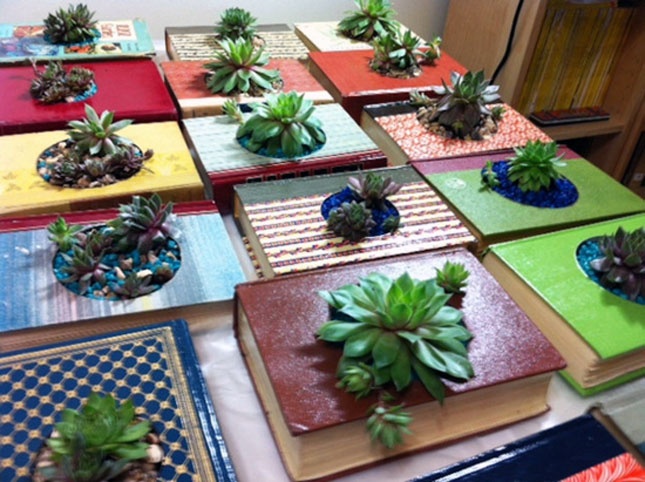
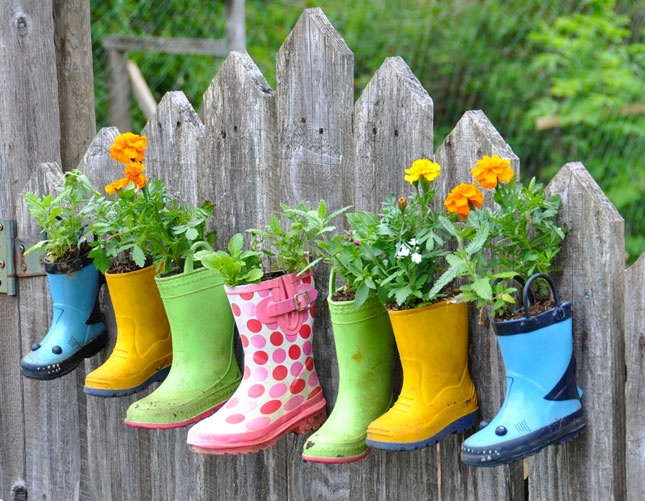
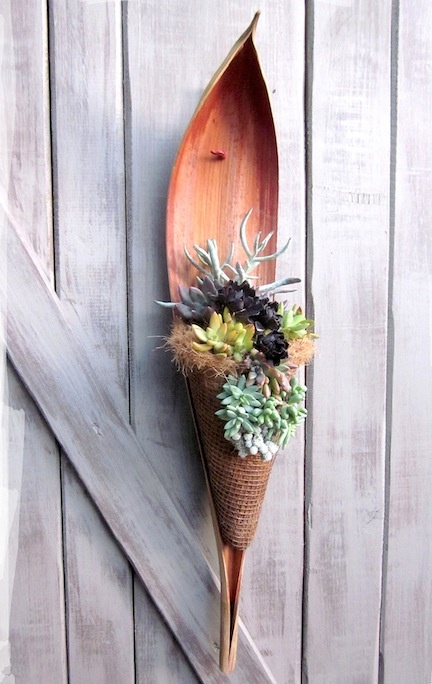
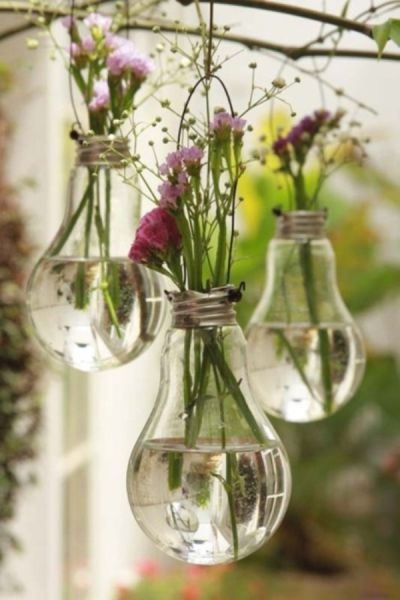
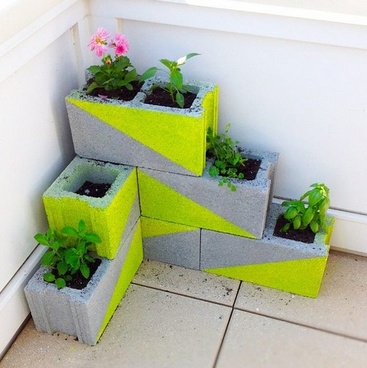
DIY garden planters turn spare containers, scrap wood, and odd household finds into homes for herbs, flowers, and trailing greens. The appeal is practical as much as decorative: you control size, drainage, and placement, and you can build for a balcony, a porch step, or a full yard bed without buying a matching set from a catalog. The projects pictured here celebrate that inventiveness—upcycled vessels, timber boxes, and playful forms—while the guidance below keeps the work plant-friendly and safe.
A planter only succeeds if roots can breathe, water can escape, and the container itself does not leach harmful residues into soil. Pretty comes second. Before you fall for a charming object, ask whether it can hold soil without rotting overnight, whether you can add drainage holes, and whether it will stay stable in wind. Those three questions filter most failed DIY experiments. The rest of this piece expands those filters into materials, tools, plant choices, and a simple build sequence you can adapt to the gallery’s moods.
Weekend makers often underestimate weight and water. Wet soil is heavy; tall narrow vessels tip; sealed bottoms drown roots after a storm. Treat every upcycled idea as an engineering sketch first and a style board second. That mindset is what separates a planter that thrives through a season from one that looks clever for a week and then molds, cracks, or topples.
Drainage, soil, and plant choice
Every container needs a way out for excess water. Drill or punch holes in the base; for metal or ceramic that you cannot drill safely at home, use a liner pot with holes set inside a decorative shell, and empty standing water after rain. Elevate boxes on feet or bricks so the bottom does not sit in a puddle. Skip the myth of a thick gravel layer as a cure-all; a free-draining potting mix and open holes matter more.
Use potting mix designed for containers, not heavy garden soil that compacts and smothers roots. Match plant to pot: shallow bowls suit succulents and alpine herbs; deeper boxes suit tomatoes, peppers, and small shrubs. Trailing plants soften tall vessels; upright herbs look tidy in mid-height tins and crates. Group plants with similar water needs so one schedule does not drown half the arrangement.
Fertilizer is optional at planting if your mix includes a starter charge, but containers leach nutrients faster than in-ground beds. A light, regular feed during the growing season usually beats a single heavy dump. Water deeply, then let the top of the mix dry slightly for most ornamentals—constant sogginess invites fungus gnats and root rot. Herbs in hot sun may need daily checks in midsummer; shade planters may need far less.
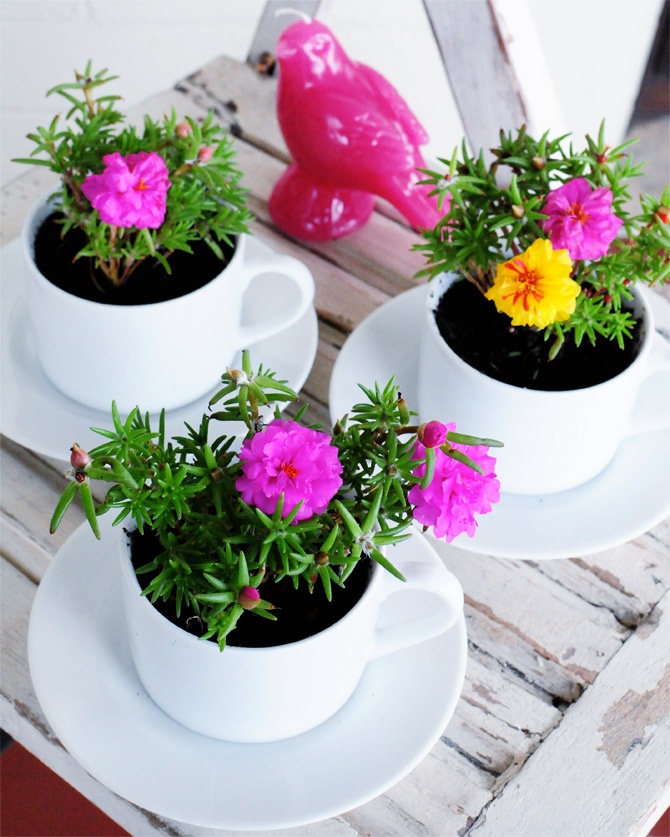
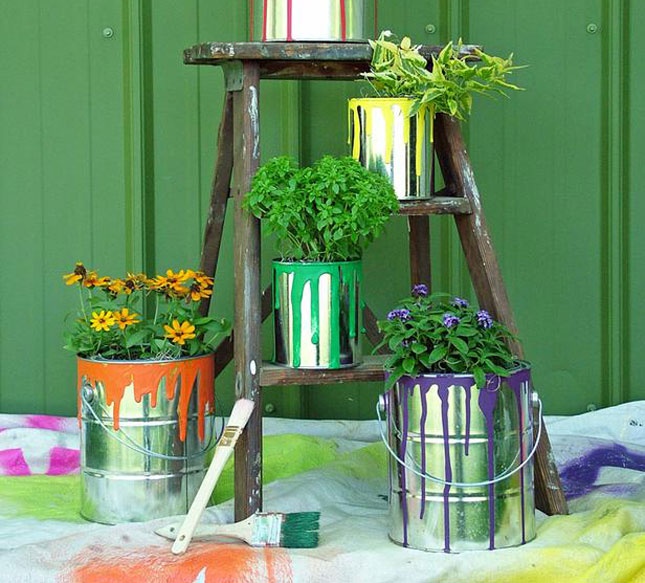
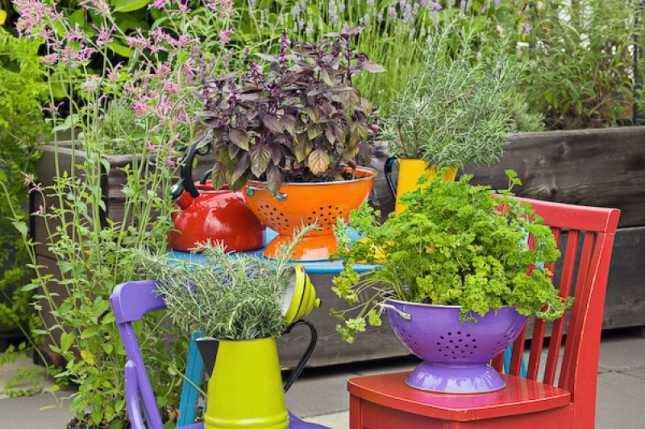
Materials that work—and materials to avoid
Untreated cedar, redwood, and other naturally durable woods last longer outdoors than soft construction lumber. If you use pine or spruce, expect a shorter lifespan or protect the exterior with a plant-safe finish, keeping coatings off interior faces that touch soil unless the product is labeled for that use. Food-grade plastic tubs and clean ceramic pots are reliable. Galvanized metal can work for ornamentals; for edible crops, prefer food-safe liners if you are unsure about coatings.
Be cautious with painted furniture, industrial drums, and mystery plastics. Old paint may contain lead; some barrels once held chemicals. When in doubt, skip the vessel or use it only as a decorative outer shell around a clean insert. Never plant edibles in containers that stored solvents, fuels, or pesticides. That rule is non-negotiable.
Fabric grow bags are another practical option when timber is scarce: they drain well and fold for storage, though they dry out faster and need more frequent watering. Concrete and hypertufa look permanent and stay cool in heat, but they are heavy—plan placement before you fill them. Whatever material you choose, sand sharp edges and stabilize wobble before plants go in. A beautiful planter that cuts ankles or tips onto a child is a failed project.
Workshop safety for weekend builders
Most planter projects involve drills, saws, and fasteners. Wear eye protection when drilling ceramic, metal, or dense wood. Clamp pieces instead of holding them by hand against a spinning bit. Cut away from your body; keep blades sharp so you are not forcing tools. If you use pressure-treated lumber from older stock, research local guidance—some older treatments are unsuitable for vegetable beds. Prefer new untreated wood or products rated for garden contact when growing food.
Gloves help with splinters and rough metal edges, but remove them around rotating blades where fabric can catch. Work outdoors or in a ventilated space when cutting or painting. Keep children and pets clear of tools and wet finishes. A tidy bench prevents most accidents: put the drill down before you chase a rolling screw across the floor.
When drilling ceramic or glazed pottery, use a masonry bit, start slow, and support the piece so it cannot spin. Masking tape over the hole location can reduce skate. For metal cans, file the cut rim smooth—raw tin edges are surprisingly sharp. If you are new to power tools, practice on scrap before cutting the piece you care about. Pride of craft includes knowing when a project is beyond your current skill and asking for help or choosing a simpler vessel.
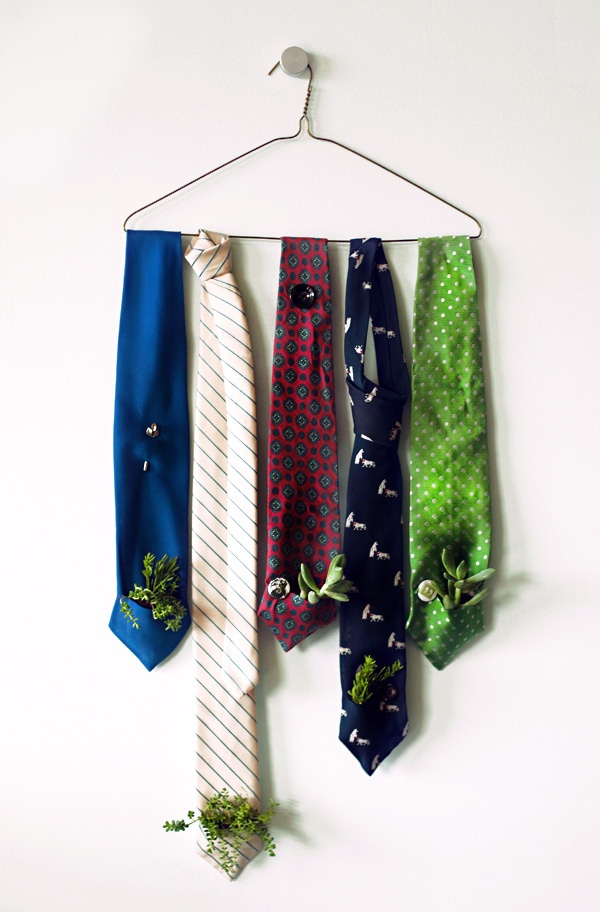
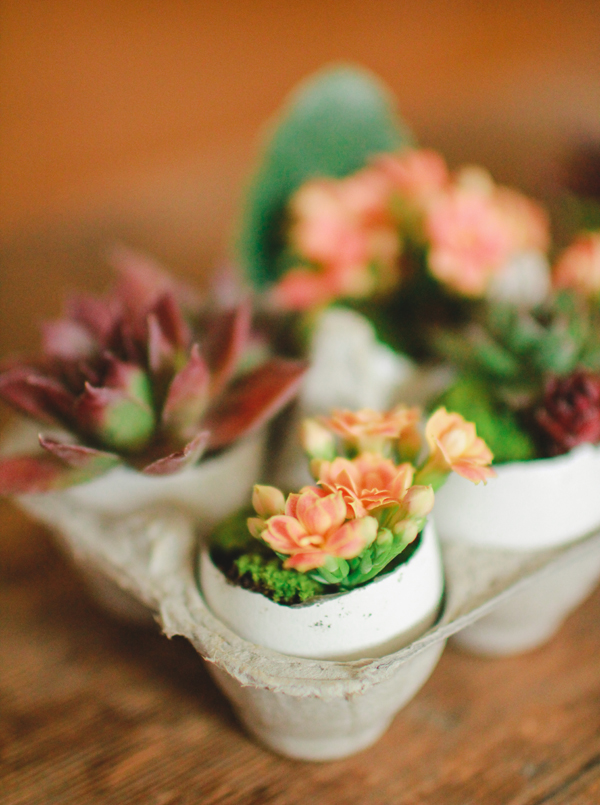
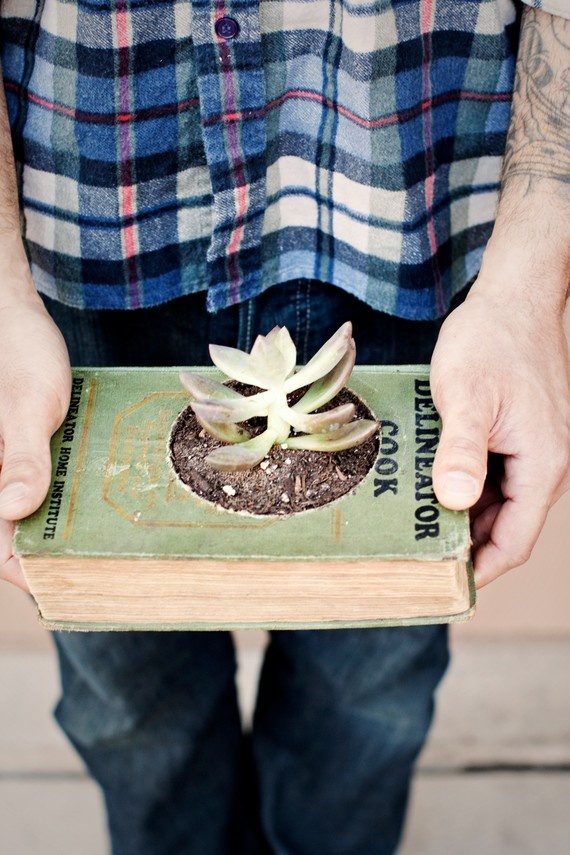
Ideas worth adapting from the gallery
Look at the collection as a menu of approaches rather than a set of exact copies. Wooden crates become herb stations when lined and drilled. Vertical towers save patio square footage. Hanging forms free floor space but need strong anchors and lighter soil mixes. Whimsical shapes—boots, chairs, toys—work best as short-term annual displays where drainage is solved and weight is managed. For long-lived shrubs, choose sober structures that will still look intentional in year three.
Stacked and tiered designs look abundant, but each level needs its own drainage path so water from the top does not drown the bottom. Vertical pocket planters dry unevenly; check upper pockets more often. Hanging baskets should use rated hooks into solid framing, not into weak soffit panels. If you garden on a balcony, confirm weight limits with your building rules before filling large timber beds—wet soil plus wood plus water reservoir can surprise you.
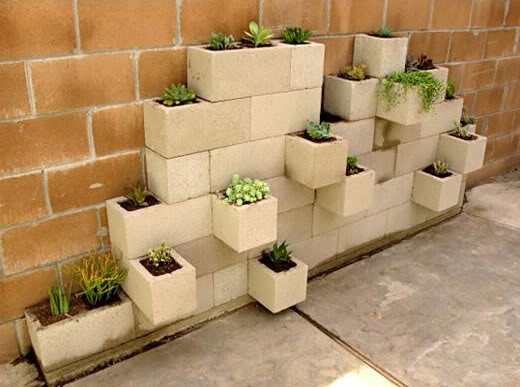
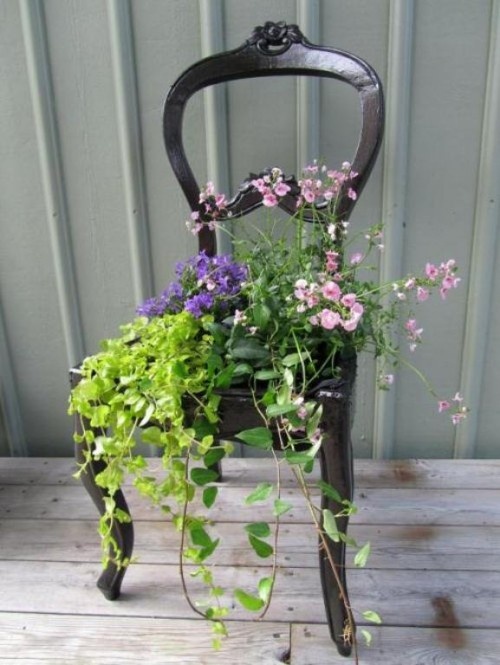
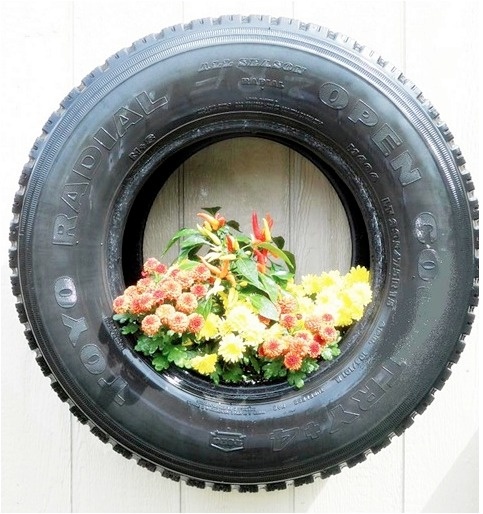
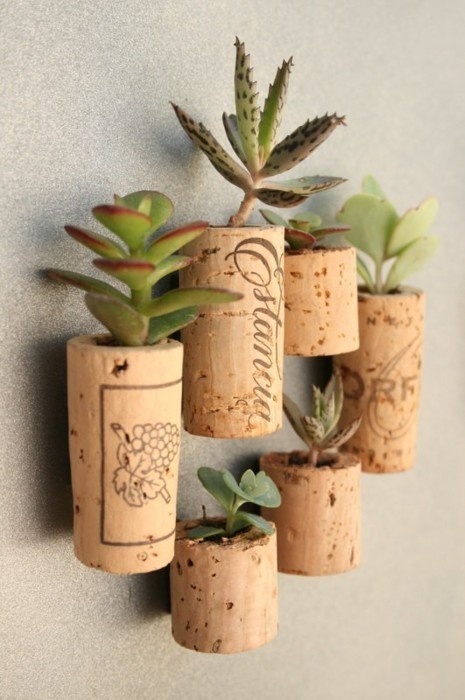
Placement finishes the design. South-facing walls bake small pots dry; north corners stay damp. Group containers so watering is efficient, and leave space behind boxes for airflow against fences and house siding. Use saucers indoors or on finished decks, and empty them so mosquitoes and wood rot do not become part of the project. Rotate ornamental pots a quarter turn weekly if light comes from one side, so growth stays even.
A simple build sequence
For a basic wooden box that matches many of the gallery moods:
- Cut four sides and a base from outdoor-rated boards; dry-fit before fastening.
- Assemble with exterior screws; pre-drill to reduce splitting.
- Drill a grid of drainage holes in the base; sand sharp edges.
- Optional: line with landscape fabric to slow soil loss while keeping holes open.
- Fill with potting mix, plant, water thoroughly once, then settle into a regular schedule.
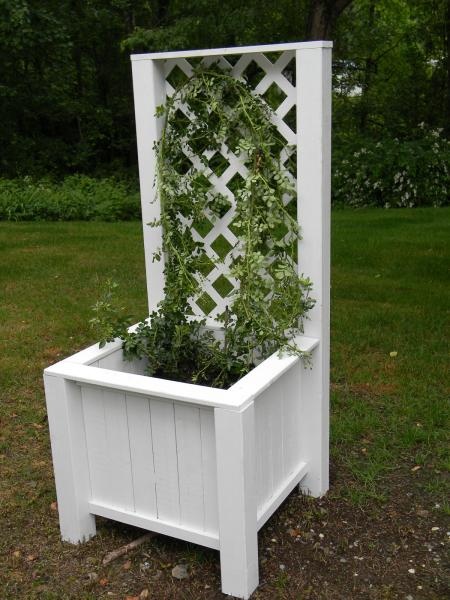
One last habit that saves plants and projects alike: after the first heavy rain, check that water actually exits the base and that the box did not twist or lean. Adjust feet, clear clogged holes, and retighten any screws that worked loose. A planter that drains cleanly and stands square will outlast the cleverest paint job every time.

Comments
Continue reading
DIY Dollar Store Decoration: Lamps, Vases, Mirrors, Sconces, and Candle Holders
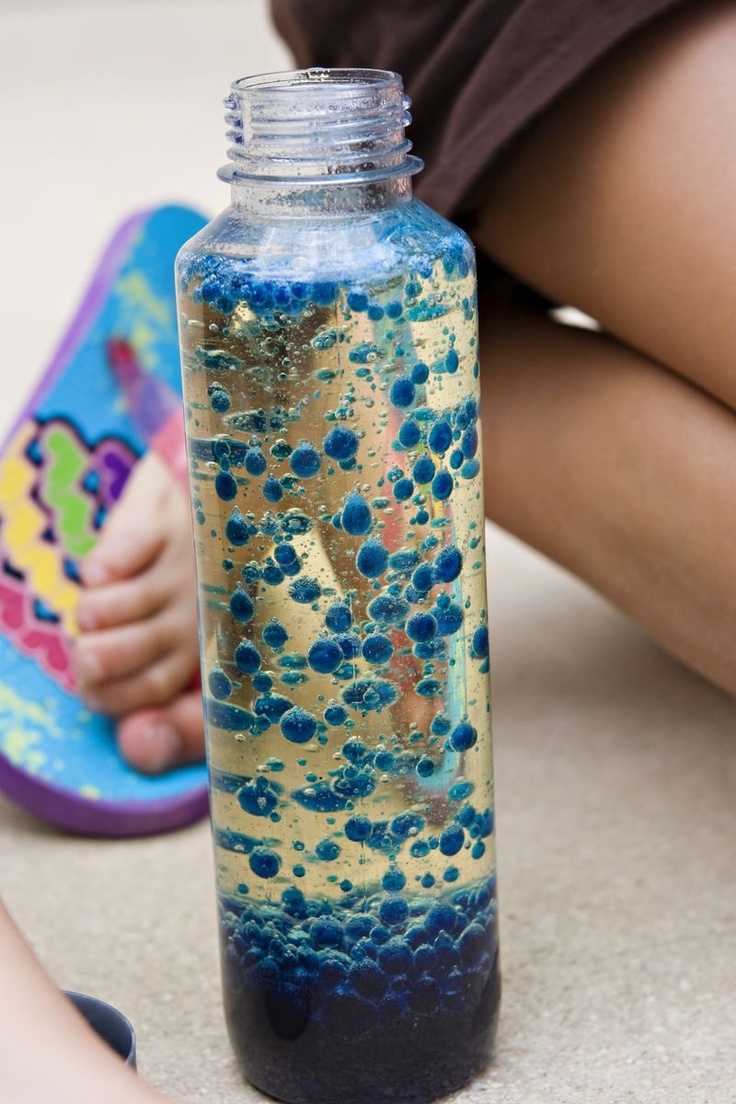
Turn dollar-aisle glass, mirrors, and candle holders into lava-style light jars, enamel vases, a silverware starburst mirror, stone-look sconces, and finished candle bases.
How to Make Mason Jar Candles: Pour, Tint, Hang, and Gift
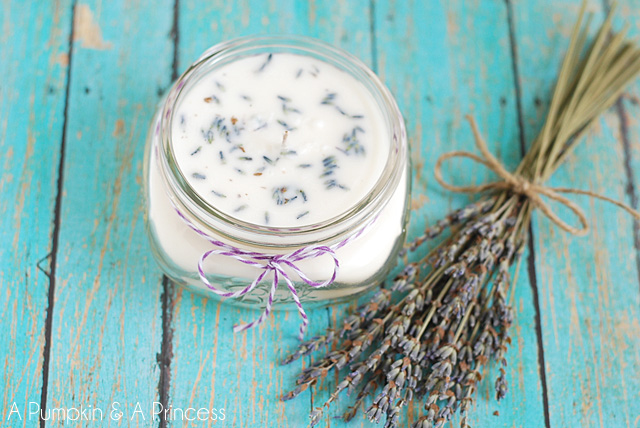
Clean jars, size the wick, pour wax safely, then branch into coloured glass, hanging lanterns, lavender scents, remelted stubs, floating lights, and favor-ready finishes.
Colorful Paper Lantern DIY: Garlands, Flowers, Geometry, and Chandeliers
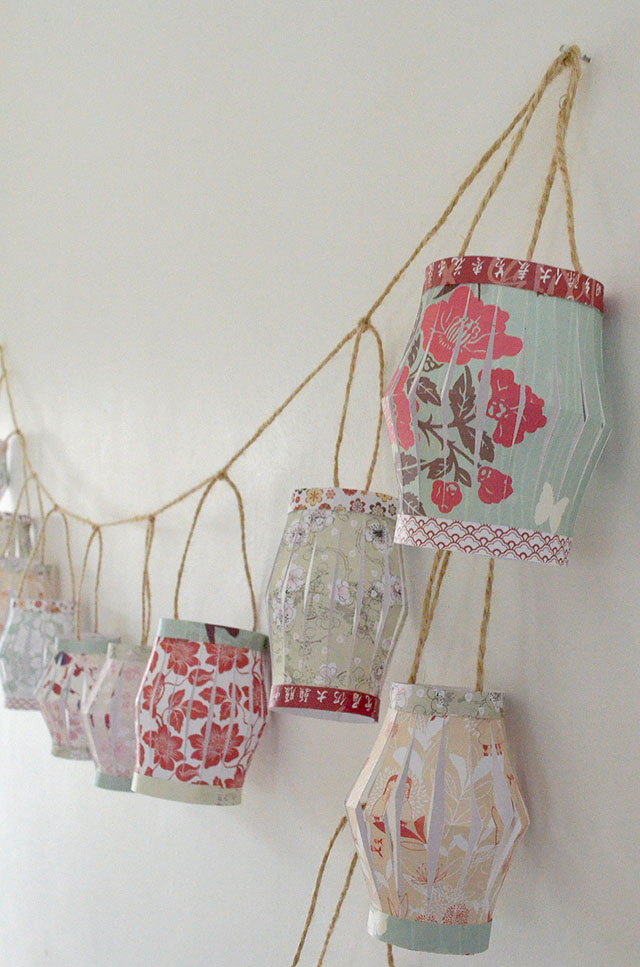
Build festive paper lanterns with safe LED lighting—garlands, floral skins, geometric overlays, and clustered chandeliers—using materials and a build order that actually hold up.