
Ombre Nail Designs for Summer: Gradients, Palettes, and How-Tos
A seasonal guide to summer ombre nails—sunset and coastal palettes, sponge and gel techniques, glitter fades, and wear tips that keep the blend clean.
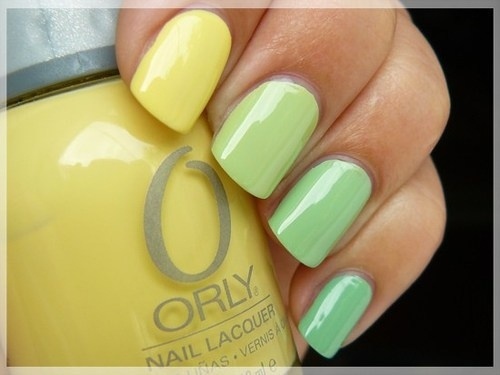
Ombre nails—color fading softly from one shade into another—are a summer staple for a reason. Warm weather invites gradients that feel like sunsets, melting ice cream, ocean shallows, and fruit stands. The look is louder than a single polish but calmer than full nail art, which is why it keeps cycling back every season: one manicure, multiple colors, no hard line.
This guide covers how ombre works, which summer palettes photograph well, and how to build a gradient at home or in the salon without turning the free edge into a muddy stripe. One surviving gallery image from the original feature sits below as a reminder that the trend was already camera-ready years ago; the methods still hold.
What “ombre” means on nails
On nails, ombre usually means a vertical fade from cuticle to tip—or tip to cuticle—using two or more polishes blended until the transition disappears. Horizontal fades across the nail and “skittle” hands (each finger a different gradient) are cousins of the same idea. French ombre, sometimes called a baby boomer fade, softens the classic smile line into a milky blur. Glitter ombre concentrates sparkle toward the tip so you get drama without full-nail chrome.
Summer versions lean saturated: coral into peach, yellow into orange, turquoise into white, hot pink into nude. Pastel stacks—mint, lilac, butter yellow—work for softer vacations and office-adjacent weeks. The season does not require neon; it rewards color that looks good against tanned or sun-warmed skin and against bright daylight photos.
Summer palette ideas that actually wear
- Sunset fade. Creamy yellow into orange or orange into hot pink. Reads vacation without needing beach props.
- Coastal blue. Soft blue into turquoise or white into sea glass. Cool contrast on warm skin.
- Sorbet stack. Peach into coral, or pink into melon. Dessert colors that stay friendly at short lengths.
- Citrus pop. Lemon into tangerine. High energy; best if you seal well against tip wear.
- Milky neutral with a blush tip. For minimalists who still want a seasonal shift.
- Glitter tip ombre. Sheer pink or nude base with gold or iridescent glitter denser at the free edge—party-ready without a full design.
Pick undertones on purpose. Warm corals fight cool lavenders; if you want both, separate them nail-by-nail instead of forcing one muddy blend. Two neighboring colors on the wheel blend more cleanly than opposites.
Prep that decides whether the fade lasts
Ombre fails for the same reasons solid polish fails—only more visibly, because texture shows in the blend zone.
- Push cuticles gently and dehydrate the nail plate so polish grips.
- Apply a thin base coat and let it set fully.
- Decide direction: dark tip / light base is classic for summer drama; light tip / deeper base can look like a reverse sunset.
- Keep layers thin. Thick polish pills under a sponge and telegraphs every dab.
- Plan a generous glossy top coat; it is what optically smooths sponge texture.
Shape matters less than people think. Almond and oval show vertical fades elegantly; short squoval still carries a soft gradient if contrast is not extreme. Stiletto and coffin lengths give more runway for three-color blends.
Technique 1: sponge method (lacquer)
The makeup-sponge method remains the most common at-home approach for regular polish.
- Paint your two (or three) colors in stripes on a damp makeup sponge, overlapping slightly where they meet.
- Dab—do not swipe—onto the nail. Build opacity in two or three passes rather than one heavy stamp.
- Clean the skin around the nail with a small brush and remover as you go; sponge methods throw speckles.
- Finish with a thick, leveling top coat. If the surface still feels pebbled, a second thin top coat after the first sets helps.
Patience beats pressure. Hard pressing dumps too much polish and creates harsh bands. Light tapping keeps the fade airy.
Technique 2: brush blend (gel)
Gel ombre often looks cleaner with a brush than with a sponge because curing locks thin layers in place.
- Lay down the base color and cure according to the system.
- Float the second color near the tip (or cuticle), then use a clean ombre or detail brush with tiny strokes to pull color into the mid-nail.
- Wipe the brush often. Contaminated bristles muddy the midpoint.
- Cure, refine with another sheer pass if needed, then top coat.
Gel rewards thinness. If the blend looks striped after the first attempt, add a sheer midpoint shade rather than scrubbing aggressively.
Technique 3: glitter fade (lowest skill floor)
If blending terrifies you, skip hue gradients and fade glitter density instead. Apply a sheer or solid base, then sponge or brush glitter heavier toward the tip. The eye reads it as ombre even when the base color is uniform. Summer golds, champagne, and aqua glitter all work; keep particle size mixed so the tip does not look like a single chunky line.
Salon notes and wear tips
Ask for “soft ombre” if you want a misty transition, or “high-contrast ombre” if you want two distinct poles with a short blend zone. Bring a photo with similar lighting to your life—phone pics under yellow bathroom bulbs mislead everyone. For holidays, schedule the appointment a day before travel so tips can settle before suitcase chaos.
To stretch wear in heat and salt water:
- Reapply top coat every two to three days on lacquer.
- Wear gloves for cleaning; gradients show chips early at the free edge.
- Avoid using nails as tools—ombre’s beauty is the unbroken fade.
- If one tip chips badly, a glitter rescue coat can camouflage until your next full set.
Quick summer checklist
- Choose two neighboring warm or two neighboring cool shades.
- Keep the darker or brighter pole where you want the eye to land (usually the tip).
- Build thin layers; seal with a glossy top coat.
- Clean skin edges so the gradient looks intentional, not messy.
- Match intensity to nail length—short nails prefer softer contrast.
If you try only one combination this season, start with a peach-to-coral sponge fade on a well-prepped base and a patient top coat. Once that transition looks like melted sherbet instead of a stripe, every other summer ombre becomes an easier remix.

Comments
Continue reading
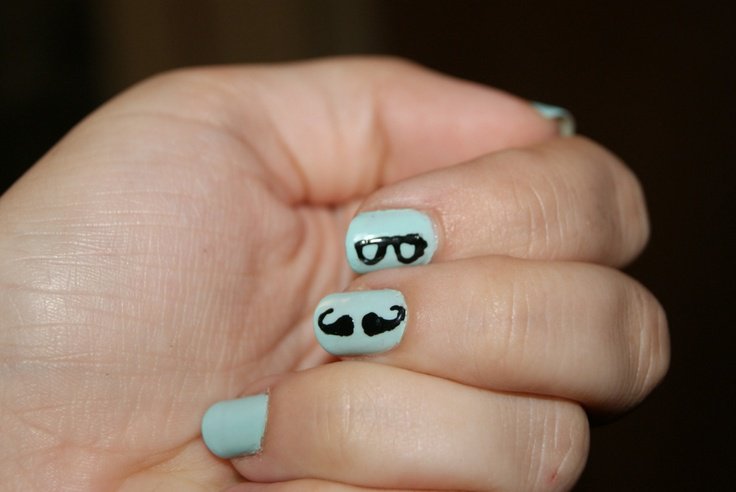
Cool Mustache Nail Art: Handlebars, Accents, and Playful Manicure Layouts
Mustache-themed nail art ideas—pastel bases with black handlebars, stickers and stamping shortcuts, color stories, and layouts from one accent nail to a full set.
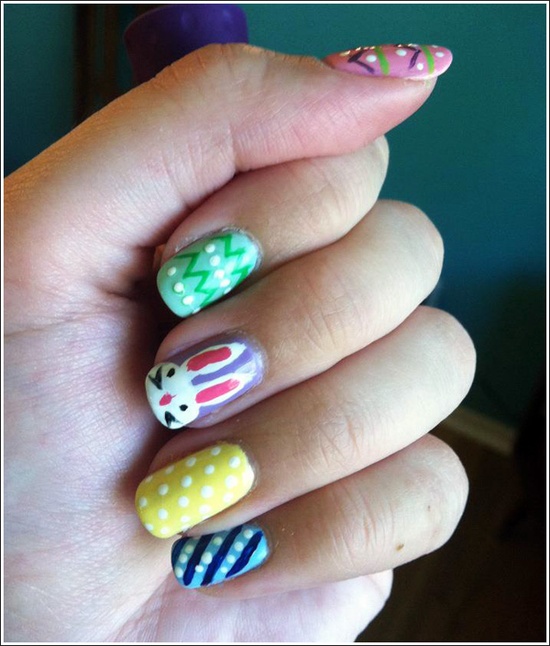
Easter Nail Art Ideas: Palettes, Motifs, and Wearable Accents
Spring nail art criteria for Easter—pastel bases, simplified motifs, accent nails vs full sets, and salon or at-home briefs that last through the week.
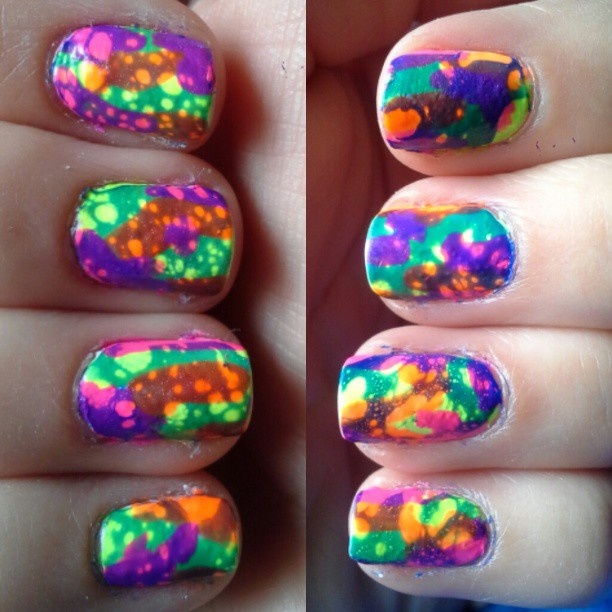
Neon Nails for Summer: Bright Colors, Wearable Looks, and Application Tips
How to wear neon manicures in warm weather—color families, white-base application, French tips and accents, plus longevity in sun and water.