
How to Paint on Glass at Home
Clean thoroughly, use glass-rated paint, work in thin layers, and cure as directed—a practical DIY tutorial for jars, bottles, and décor.
Painting on glass turns ordinary jars, bottles, drinking glasses, and plates into décor, gifts, or table accents. You do not need a studio or expensive blanks. What you do need is clean glass, paint meant for nonporous surfaces, a clear design plan, and patience while the paint cures.
Important safety note up front: most craft glass paints are not food-safe. Keep paint on the outside of cups, bowls, and plates, away from lips and food-contact surfaces, unless the product label explicitly says otherwise and you follow its instructions exactly.
Choose glass you are happy to experiment on
Start with pieces you already own: empty jam jars, wine bottles, thrift-store tumblers, candle holders, or plain picture frames with glass inserts. Smooth, clear glass shows color cleanly. Textured or frosted glass can look interesting but may make fine lines harder.
Inexpensive finds work well for practice. Once you like a technique, move to better blanks. Avoid glass with heavy factory logos if you want a clean canvas, or plan to cover logos with opaque paint or etch-style layers.
Decide the end use before you paint. A vase that will hold water needs well-cured paint and gentle washing. A purely decorative bottle can handle more delicate finishes. Items that will sit outdoors need paints rated for weather or a protective clear coat recommended by the paint maker.
Clean until nothing greasy remains
Paint fails on glass mostly because of residue. Wash the piece in hot, soapy water or run it through the dishwasher. Dry it fully, then wipe the painting surface with isopropyl alcohol on a lint-free cloth. Handle the cleaned areas by the edges so fingerprints do not return.
Let the glass sit until it is completely dry. Moisture trapped under paint can cause clouding, peeling, or uneven color. If you are working in a humid room, give yourself extra drying time between cleaning and the first coat.
Gather tools before the first brushstroke
Stopping mid-design to hunt for supplies usually means smudges and dried brush tips. Lay out:
- Glass paint in the finishes you want—opaque, transparent, stained-glass style, gloss, or glitter—labeled for glass or multi-surface use
- Brushes in a few sizes, plus foam sponges for soft color blocks
- Cotton swabs, toothpicks, and paper towels for cleanup while paint is wet
- Painter’s tape or vinyl stencils if you want crisp edges
- A soft pencil or water-based marker for guidelines that wipe away
- A protected work surface and a place where pieces can dry undisturbed
Read the paint bottle before you open it. Some formulas air-dry only; others recommend oven curing for durability. Mixing brands casually can cause adhesion problems, so stick to one system when possible, especially for clear topcoats.
Plan the design on paper first
Sketch the motif at actual size. Simple shapes—leaves, dots, stripes, geometric bands, lettering—read better on curved glass than tiny crowded scenes. For bottles and jars, wrap a paper template around the form to check spacing.
If you are painting lettering, print a template, tape it inside a clear glass, and trace from the outside. On opaque or colored glass, draw lightly on the surface with a marker made for glass, then paint over the lines.
Decide which areas stay clear. Negative space is part of the design on glass; covering every inch can look heavy. Leave windows of clear glass so light can pass through, especially on vases and lantern-style pieces.
Paint in thin layers
Shake or stir paints as directed. Apply thin coats. Thick blobs take longer to cure, sag on vertical surfaces, and chip more easily. Let each layer dry to the touch before adding the next color or a second coat of the same color.
Work from background to detail when using opaque paints. With transparent or stained-glass effects, think about how overlapping colors will mix when light shines through. Keep a damp swab handy to lift mistakes while the paint is still wet. Once cured, some paints need scraping or specialty removers—harder than a quick wipe.
On curved surfaces, rotate the piece slowly rather than stretching your wrist into awkward angles. Rest bottles on a towel “cradle” so they do not roll. For plates and flat panels, paint flat and keep dust off while drying.
Sponges create soft washes and frosted-looking fields of color. Fine brushes handle outlines and lettering. Toothpicks pull tiny highlights or correct pinholes. If paint beads up, the surface may still have residue—stop, clean that spot with alcohol, dry, and continue.
Cure properly, then care gently
Follow the manufacturer’s curing instructions. Air-dry times can stretch from hours to days. Oven curing, when recommended, usually means placing the dry piece in a cold oven, heating to a stated temperature for a set time, then cooling in the oven. Do not rush with high heat that the label does not allow—thermal shock can crack glass.
After curing, wash painted pieces by hand with mild soap when needed. Avoid soaking, dishwashers, and abrasive scrubbers unless the paint brand says they are safe. Even durable glass paint prefers gentle treatment.
If a project will be handled often, consider a clear sealer compatible with your paint. Test sealer on a scrap first; some topcoats dull transparent colors or yellow over time.
Project ideas that teach technique
Striped jar: Tape even bands, sponge opaque paint, peel tape while slightly tacky for clean lines. Good practice for patience and edge control.
Dot mandala bottle: Use the tip of a paint bottle or a stylus for raised dots. Start from the center of a motif and work outward. Mistakes are easy to blot early.
Transparent color blocks: On a clear vase, brush thin transparent paint in vertical panels. Hold it up to a window as you work so you see the real effect.
Outline and fill: Draw a simple leaf or geometric shape with an outliner (or a steady fine brush), let the outline set, then flood the inside with transparent color. This mimics a stained-glass look without leading.
Reverse painting on a frame: Paint on the back of picture-frame glass so the front stays smooth. Remember that you paint details first and backgrounds last when working in reverse.
Troubleshooting common problems
- Peeling: Surface was dirty, or paint was not glass-rated, or curing was skipped.
- Streaks: Brush was too dry or paint too thick; thin coats and a softer brush help.
- Bubbles: Shake less aggressively or let paint sit after stirring; pop bubbles with a pin while wet.
- Cloudy patches: Moisture or soap film left behind—reclean and repaint that area.
- Uneven opacity: Add another thin coat after full dry time rather than loading the brush.
Keep a small test jar for trying new colors and cure methods. Ten minutes of testing saves a favorite bottle from a ruined finish.
Once you can clean well, paint thin, and cure on schedule, glass stops feeling tricky. Pick one clear jar this weekend, tape a simple pattern, and learn how your chosen paint behaves—then move on to the piece you actually care about displaying.

Comments
Continue reading
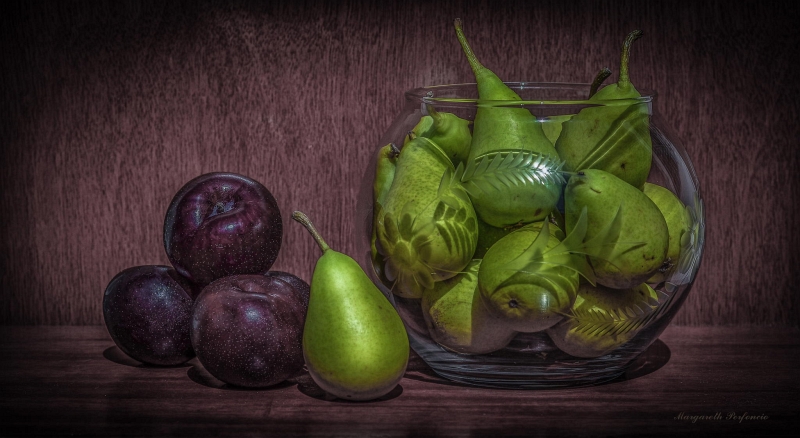
Still-Life Photography by Margareth Perfoncio
São Paulo photographer Margareth Perfoncio’s still lifes of food and flowers—Old Master light, dark wood, and tables that feel inevitable.

Meaningful Love Quotes for Inspiration (and Ink)
Meaningful love quotes that still feel true — short lines for tattoos, gifts, and everyday reminders, with placement and wording tips.

Christina Hess’s Animals From History: Costumed Pets as Playful Portraits
Illustrator Christina Hess reimagines historical icons as ornate animal portraits—Elvis Petme and friends—mixing puns, costume detail, and soft history lessons.