
Turning an Old Dresser into a Bench That Actually Holds Up
How to judge a dresser for conversion, brace a real seat, finish storage drawers, and know when the job needs a carpenter.
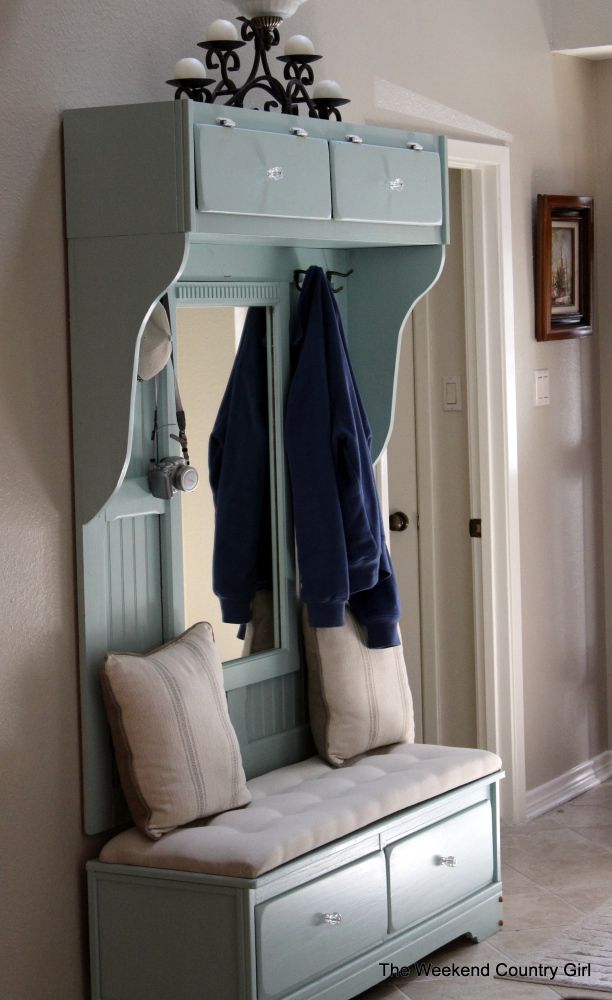
An old dresser often sits in a garage or spare room long after the drawers stick and the finish dulls. Throwing it out feels wasteful; keeping it as storage may no longer make sense. Turning a dresser into a bench is one of the more useful furniture conversions: you keep the wood character, gain seating, and often retain drawers or cubbies underneath for shoes, bags, or blankets. Done well, the piece looks intentional rather than like a half-demolished chest of drawers. Done poorly, it becomes a wobbly hazard.
This guide walks through how to judge whether a dresser is a good candidate, how common conversions are structured, what to watch for structurally, and when to hand the job to a pro.
Choose a dresser worth the work
Start with structure, not paint color. Press on the carcass corners; if the case racks easily, glue joints are failing and a bench will rack under people. Look for solid wood or sturdy plywood sides. Particleboard that already swells at the edges rarely survives cutting and reassembly. Check that the top is removable or cuttable without destroying the only square reference surface you have.
Width matters. A bench for two people usually wants a seat at least 36–48 inches wide. Tall dressers can become benches if you remove upper sections, but you need a clear plan for the leftover parts. Low dressers and wide chests convert more cleanly. Drawer depth becomes storage depth under the seat—deep drawers are useful for boots; shallow ones suit gloves and scarves.
Skip pieces with active mold, heavy water damage, or mystery stains you cannot seal. Lead paint is a real concern on older furniture; if you suspect it, test before sanding and follow local rules for safe handling. When in doubt, buy a cleaner piece at a thrift store rather than fighting a toxic finish.
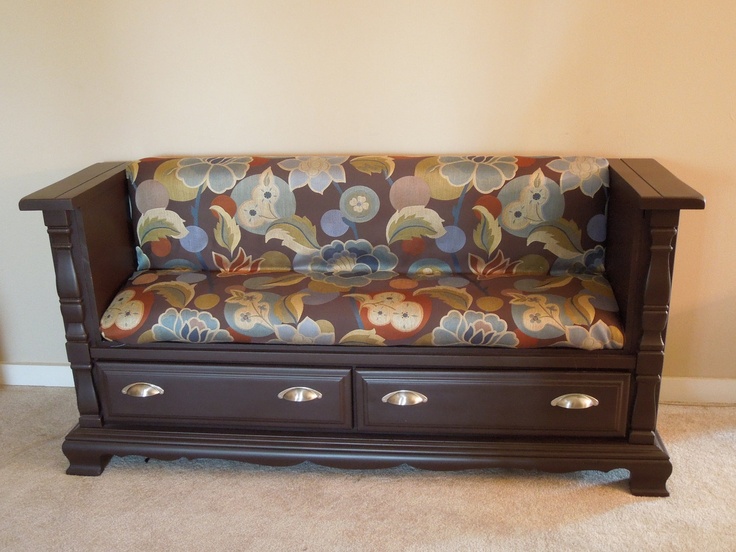
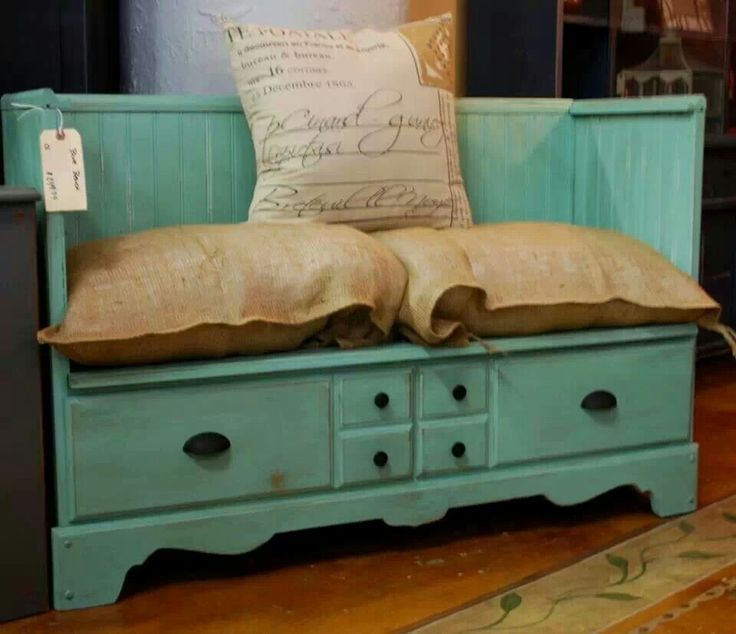
Common conversion patterns
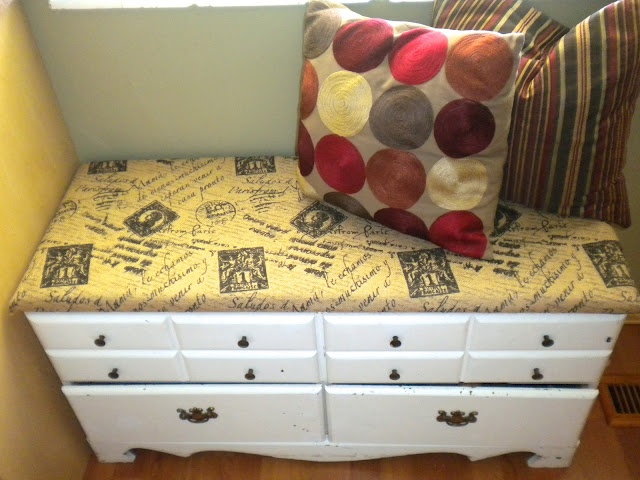
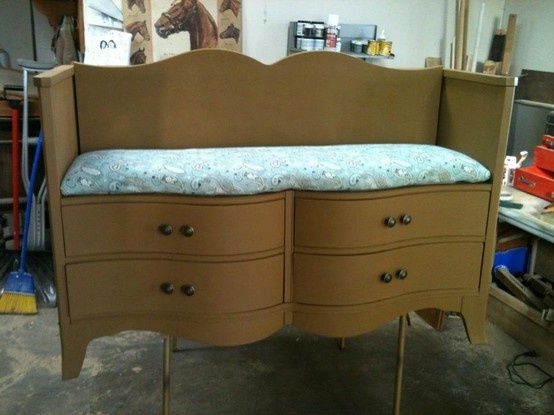
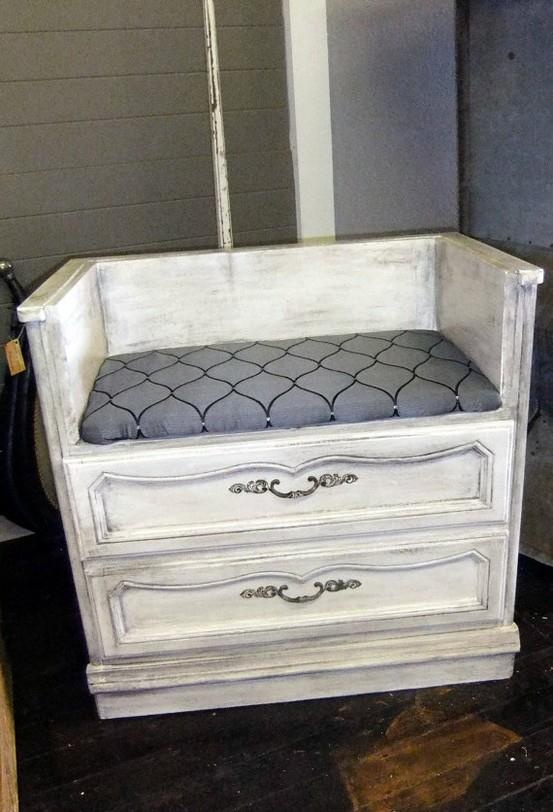
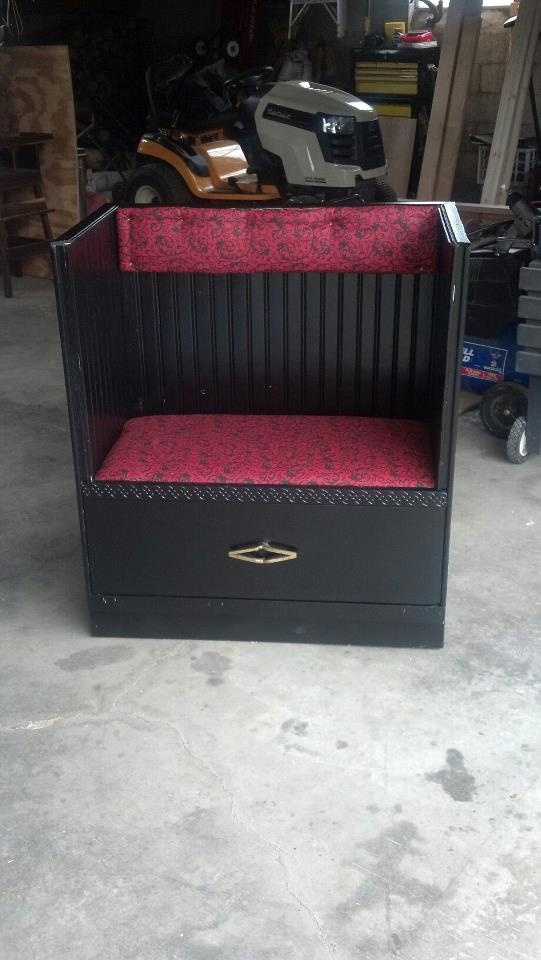
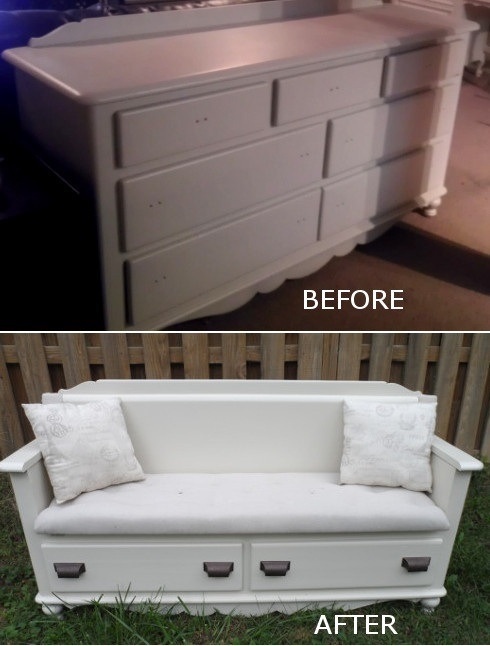
Most dresser-to-bench projects follow one of a few layouts. The mudroom style keeps the lower drawers or open cubbies and builds a padded seat on top of a shortened case. You remove the upper drawers and rails, cut the sides down to seat height, reinforce the top frame, and add a cushion. The remaining drawers hold shoes or outdoor gear.
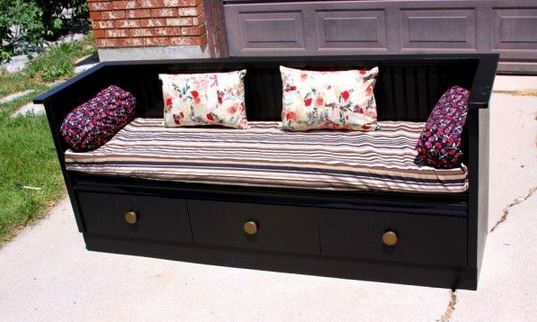
Another approach removes all drawers, adds a solid seat platform, and uses the open bays as cubbies with baskets. That layout is lighter and easier to clean but needs careful bracing so the open fronts do not flex. A third pattern keeps a single wide drawer under a long seat—good when you want a cleaner silhouette and less visual clutter.
Some makers cut a dresser in half lengthwise or widthwise to make two shorter benches. Only attempt that if the remaining joints can be rebuilt; a free cut through weak particleboard usually fails. Photograph every step before you cut so you remember how drawers and runners were oriented.
Height, depth, and comfort
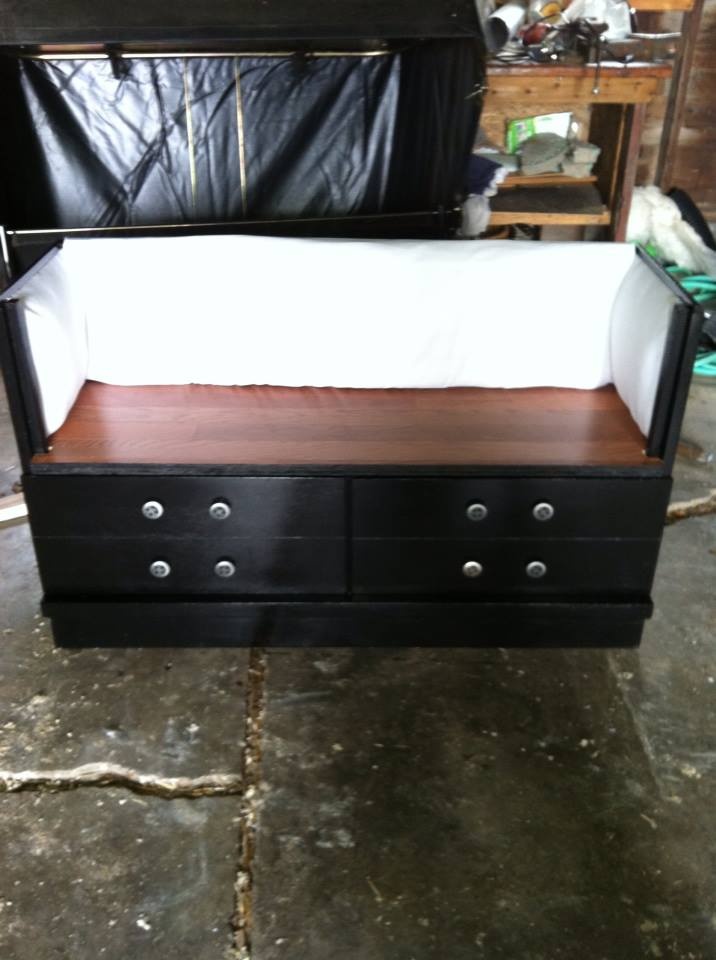
Seat height for most adults lands near 17–19 inches including the cushion. Measure from the floor to the top of the finished seat, not to the bare wood. A thick foam cushion can add two inches; plan for that before you cut the case down. Seat depth of 15–20 inches feels usable; deeper seats need a backrest or they swallow smaller guests.
If the bench will sit against a wall, decide whether you need a back. Some projects keep the dresser back panel and raise a simple rail; others add a padded back for comfort in an entryway. Free-standing benches in the middle of a room should look finished from all sides—fill old screw holes, sand edges, and paint or stain the reverse face.
Test the footprint in the room with tape on the floor. Entry benches need clearance for doors and for people putting on shoes. Dining benches need knee space under the table. Do not finish a beautiful piece that blocks a radiator or a doorway.
Structure: the part you cannot fake
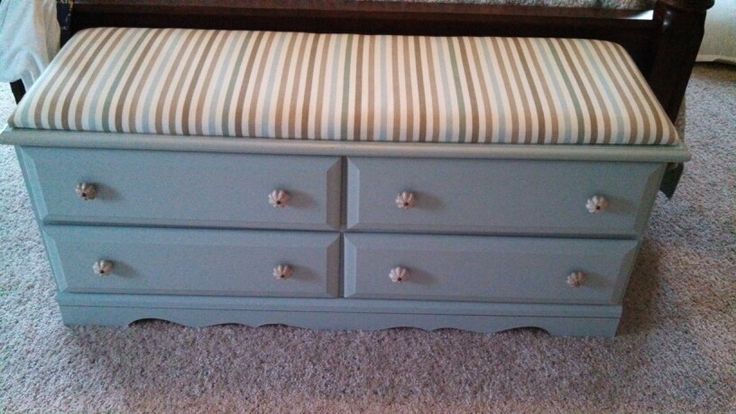
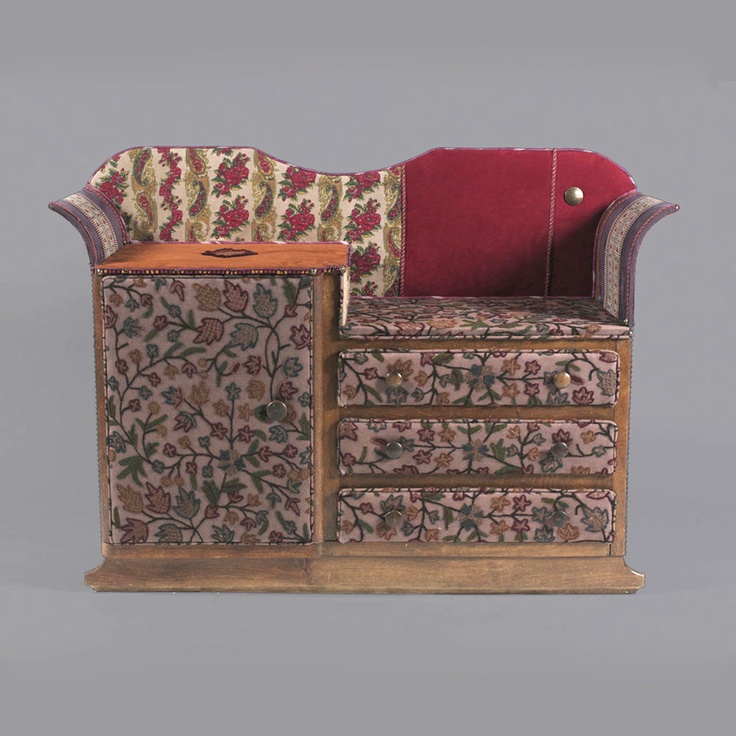
People sit with dynamic weight. A dresser top that once held folded shirts was not designed as a seat. After you remove drawers and rails, add cross braces, corner blocks, and a solid seat platform screwed into the case from below or into reinforced rails. Pocket screws, hardwood cleats, and construction adhesive used appropriately all help. Glue alone is not enough.
Legs and base must stay square. If you shorten legs or replace them, keep the bench level on uneven floors with adjustable feet or careful shimming. Rocking benches annoy everyone and stress joints. Keep drawer boxes that remain in good repair; sticky drawers can be planed or waxed, but broken bottoms should be replaced before you paint over problems.
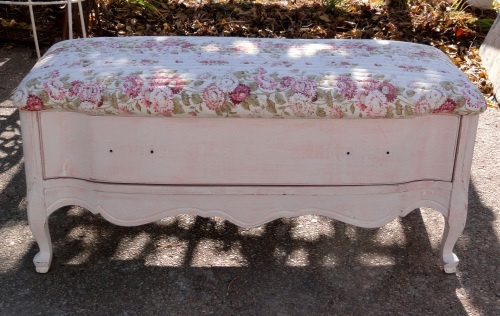
Sand and finish after structural work. Primer on raw cuts prevents blotchy paint. For high-traffic seats, use a durable topcoat. Fabric for cushions should be sturdy—canvas, outdoor fabric in entries, or a washable cover. Foam density matters; cheap pillow foam collapses in months.
Tools, time, and finishing choices
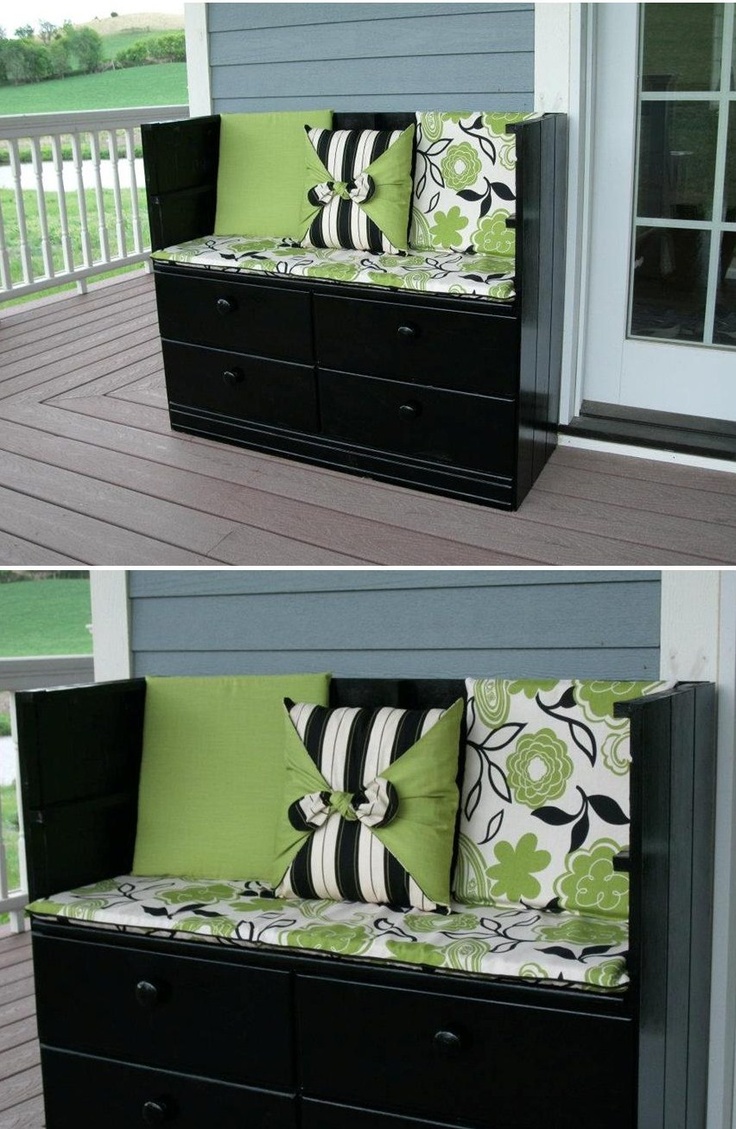
Expect a circular saw or handsaw for case cuts, a drill/driver, square, clamps, sander, and basic measuring tools. A pocket-hole jig helps with braces. Paint sprayers are optional; a good brush and roller still work. Budget more time for stripping ornate finishes than for cutting wood—finish work often takes longer than carpentry.
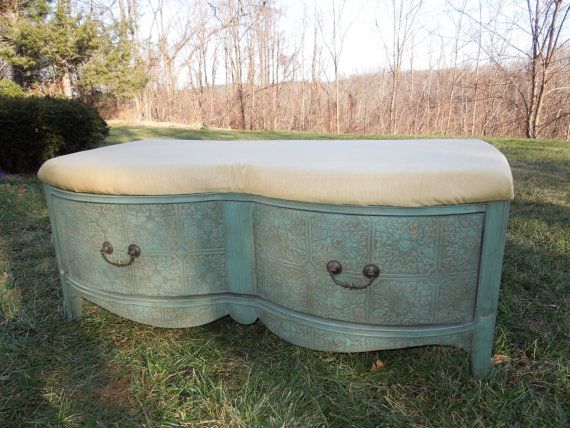
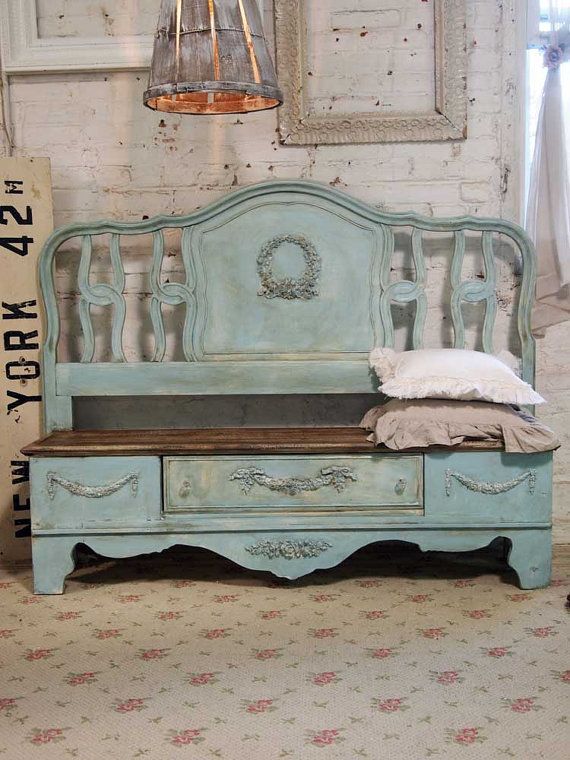
Style the bench to the room. Soft chalky paints suit farmhouse entries; dark stains suit hallways with wood floors; bold color works if the rest of the space is quiet. New hardware—cup pulls, leather pulls, or simple knobs—updates the piece without changing the silhouette. Keep original hardware if it is part of the charm and still functional.
Photograph progress. If something goes wrong mid-project, photos help a carpenter understand what you already changed. Label drawer parts if you remove them temporarily so runners go back in the right order.
When to call a professional
Hire help if the case is veneered and you need invisible edge repairs, if the piece is antique with real value, or if you need electrical work for built-in lighting nearby. Call a pro if joints are failing in multiple places, if you lack a way to make square cuts safely, or if the bench must carry heavier-than-usual loads (commercial entry, frequent guests). Structural failure on seating is not a cosmetic problem.
Also step back if you discover pests in the wood, or if cutting reveals that the “solid” sides are crumbling core. A carpenter can often rebuild a carcass faster than a beginner can salvage it, and the cost may still beat buying a comparable custom bench.
If you enjoy finishing but not framing, split the work: pay someone to cut and brace the case, then paint and upholster yourself. That hybrid approach keeps the project personal without gambling on safety.
A practical build sequence
- Measure the room and mark target seat height including cushion.
- Empty, clean, and inspect the dresser; test for lead paint if needed.
- Remove hardware, drawers, and any parts you will not reuse; label them.
- Cut the case to height; keep cuts square and support the piece so it does not tear out.
- Add braces and a seat platform; check for racking by pushing diagonally.
- Repair drawers that remain; wax runners; replace broken bottoms.
- Sand, prime, paint or stain; reinstall hardware.
- Build or order a cushion; attach non-slip pads or ties so it stays put.
- Load-test gradually—sit carefully, then have a second person sit—before you trust it daily.
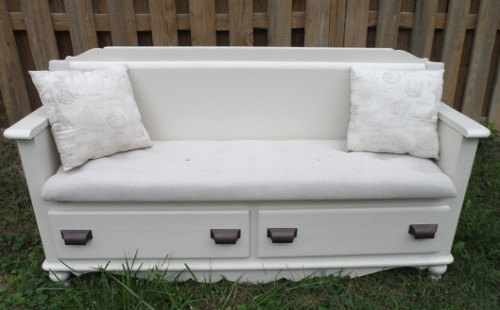
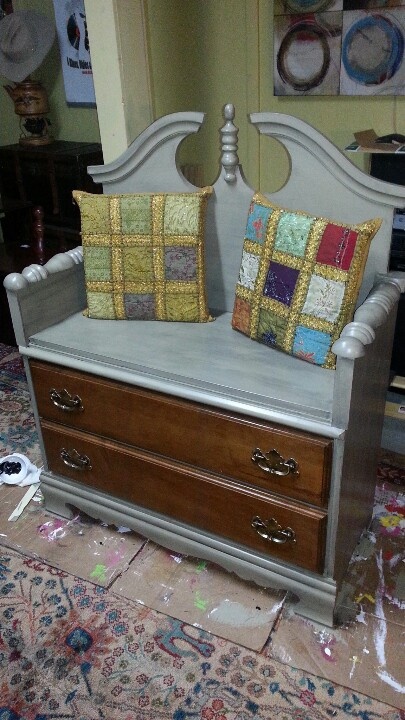
Keep the first project modest: one solid low dresser, a clear mudroom layout, and a durable finish. Once you have felt how much bracing a seat needs, more ambitious cuts become easier to judge—and easier to refuse when the wood is not worth saving.

Comments
Continue reading
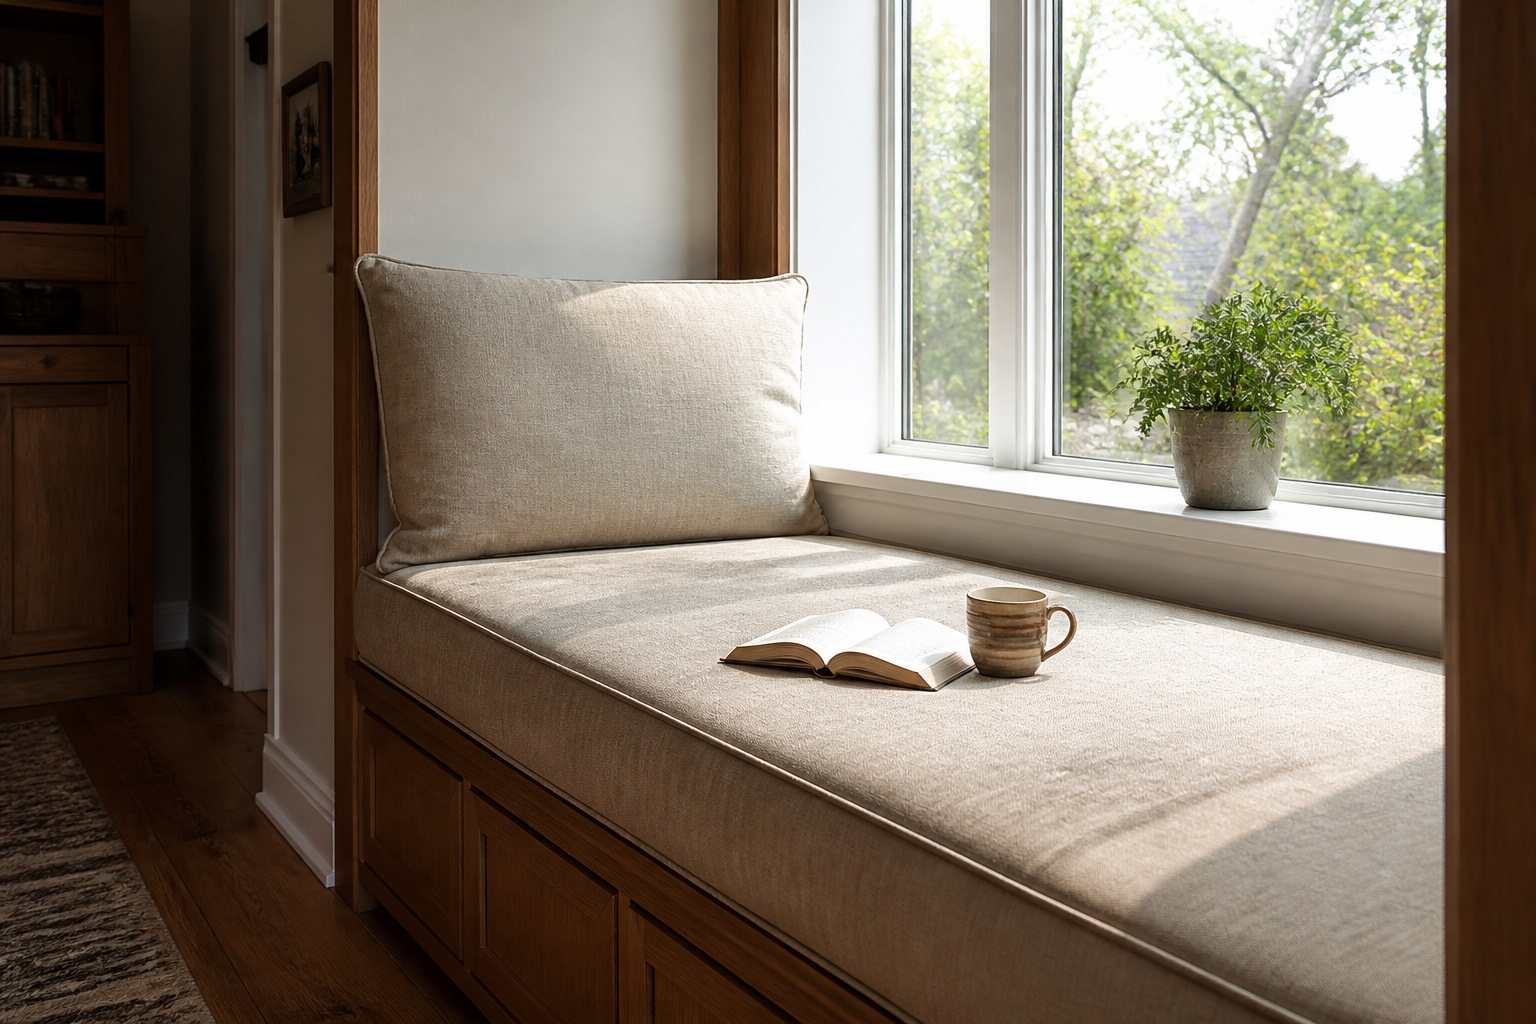
Window Seats That People Actually Sit In
Depth, cushions, storage, and light—how to build or dress a window seat so it becomes a reading spot instead of a dumping ground for laundry.

Garden Decoration Beyond Beds: Lace, Mosaiculture, and Upcycled Yard Art
From dressed topiary and floral cyclists to license-plate dragonflies and lace between trees—garden decorations that give a yard a voice.
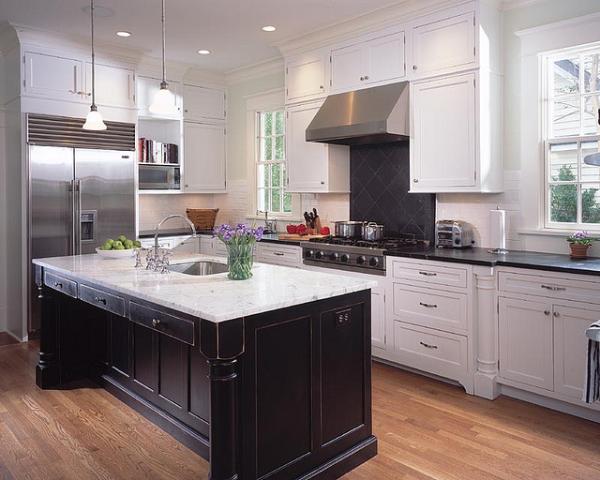
Kitchen Design Ideas: Layout, Storage, Light, and Finishes That Work
Practical kitchen design ideas—work zones, cabinetry, lighting, and durable finishes—so inspiration translates into rooms that cook and gather well.