
How to Make a 4th of July Wreath
Build a patriotic door wreath with ribbon, mesh, rope, or star motifs—materials, step-by-step methods, hanging tips, and weatherproofing for July heat.
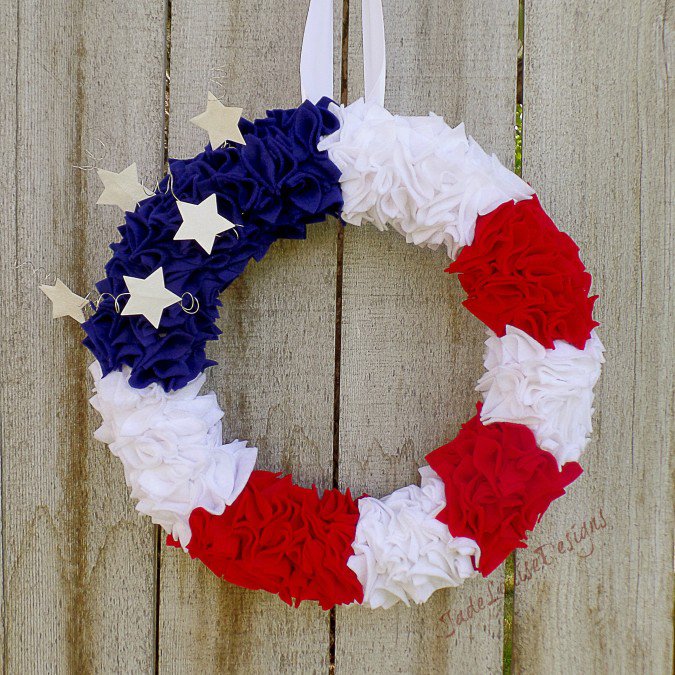
Red, white, and blue on the front door is a classic Independence Day welcome—and a handmade wreath is one of the fastest ways to get that look without buying a fragile store display. Whether you are hosting a cookout or simply want the porch to feel festive, a 4th of July wreath can be built from basic craft-store materials in an afternoon. The project below covers materials, several construction methods, hanging tips, and weatherproofing so your wreath survives more than one photo.
Start with the image for mood: bold patriotic color, circular form, and a clear focal point (bow, star cluster, or flag motif). Then choose a method that matches the tools you already own.
Materials checklist
You do not need every item on this list. Pick one base and one decoration family.
- Base: grapevine wreath, wire wreath frame, foam ring, or embroidery hoop
- Wrap or fill: burlap ribbon, deco mesh, fabric strips, rope, or yarn
- Color: red and navy ribbon, white accents, metallic pipe cleaners, wooden stars
- Hardware: floral wire, hot glue gun, scissors, wire cutters, zip ties
- Optional motifs: small flags, bottle caps painted as stars, paper pinwheels, cookie cutters for templates
- Hanger: wreath hanger, wide ribbon loop, or Command hook rated for the weight
Buy ribbon wider than you think you need for bows; skinny ribbon disappears on a full wreath. If the wreath will hang outdoors, prefer UV-resistant ribbon and waterproof adhesives over paper-heavy designs.
Method 1: Classic ribbon or burlap wrap
This is the most beginner-friendly path and works on grapevine or wire frames.
- Secure the starting end. Hot-glue or wire the ribbon to the back of the base so the join never faces the street.
- Wrap on a slight overlap. Keep tension even. Alternate red and white sections, or wrap the whole base in burlap and add color later with bows.
- Fill gaps. On a wire frame, push ribbon loops through the rings for a fuller “bubble” look; fluff from the front.
- Add a focal bow. Build a multi-loop bow in red, white, and blue; wire it at 4 o’clock or 7 o’clock rather than dead center if you want a more designed look.
- Tuck accents. Wire in a cluster of stars or a small flag pick near the bow so the eye has one landing place.
Stand back every few minutes. Wreaths look denser up close than from the sidewalk; add volume until the circle reads solid from ten feet away.
Method 2: Mesh or deco-mesh poufs
Deco mesh creates a full, weather-tolerant wreath quickly.
- Cut mesh into rectangles (often about 10×10 inches, adjust to your frame).
- Pinch the center of each square and attach it to the wire frame with pipe cleaners or floral wire.
- Alternate colors around the circle—navy, red, white—or do a field of blue with red-and-white accents on one side for a flag-inspired layout.
- Trim wild edges so the silhouette stays round.
- Finish with a bow and a few star picks pushed deep enough that wind cannot rip them out.
Mesh sheds less than tissue paper and handles humidity better than crepe. It is a strong choice for July heat on a sunny door.
Method 3: Rope, yarn, or fabric-strip wrap
For a more tactile, handmade look, wrap thick cotton rope or torn fabric strips around a foam or grapevine base. Keep stripes intentional: measure equal sections with masking-tape markers before you wrap so red/white bands stay even. A navy bow or a cluster of wooden stars finishes the piece without needing glitter.
Fabric-strip wreaths are forgiving. If a section looks thin, add another strip rather than restarting. Wash and dry cotton scraps first so dye does not bleed in rain.
Method 4: Motif wreaths (stars, bottle caps, paper)
If you like a craftier surface, cover a foam ring with painted bottle caps, paper stars, or folded book-page stripes painted in patriotic colors. Work in small glued sections and let each area set before rotating the wreath. These designs photograph beautifully indoors or on a covered porch; they are less ideal for driving rain unless sealed.
For paper elements, a clear acrylic spray sealer helps. Test on a scrap first—some sprays wrinkle thin paper.
Color layout ideas that read clearly
- Half-and-half: blue field on one side, red-and-white stripes suggested with ribbon on the other
- Even spiral: repeating red/white wraps with a navy bow
- Neutral base, bold accents: natural burlap or grapevine with only a few strong color hits—less costume, more porch-friendly
- Monochrome plus metal: navy and white with gold or silver stars for evening parties
Limit yourself to three main materials. A wreath with mesh, burlap, glitter stems, pinwheels, and five bows usually looks busy rather than festive.
Bow building without frustration
If bows intimidate you, cheat elegantly: buy a pre-made patriotic bow and wire it on, or layer two simple loops of different widths. Anchor with floral wire through the wreath base, not only glue. Glue fails in heat; wire does not.
Keep bow tails long enough to move slightly in a breeze—they add life—but short enough that they do not slap the doorbell camera all day.
Hanging and door etiquette
Measure your door hanger before the wreath gets huge. A wreath that covers the peephole or scrapes the storm door will annoy you by July 5. Over-the-door hangers are fine for lightweight designs; heavier grapevine-plus-mesh builds may need a screw hook into the door trim or a sturdy command system rated for outdoor use.
If you rent, avoid permanent holes. Use a hanger that distributes weight and put a soft pad where metal meets paint.
Weatherproofing for real July days
- Prefer synthetic ribbon outdoors; cotton burlap browns and sags when soaked.
- Use outdoor-rated hot glue or combine glue with wire.
- Avoid candles or anything that can shed onto guests.
- Bring paper-heavy wreaths inside overnight if storms are forecast.
- After the holiday, store the wreath in a box away from attic heat so next year’s bow does not melt into a lump.
Party-day extras
Match the wreath to a simple porch story: one planter with white flowers, a striped outdoor pillow, or a small flag in a pot. Repeating one ribbon from the wreath on the table runner ties the entry to the cookout without decorating every surface.
If kids want to help, give them star painting or ribbon-cutting jobs while an adult handles the glue gun and wire. Shared making is half the point of a handmade holiday piece.
Thirty-minute version
Short on time? Wrap a grapevine wreath with one wide navy ribbon, add a red-and-white bow, wire on three wooden stars, and hang it. Done. You can always fluff and upgrade later. A finished simple wreath beats an ambitious unfinished pile of mesh on the dining table.
Hang the wreath, step to the sidewalk, and check the silhouette one last time. If the circle reads clearly and the bow does not fight the stars for attention, you are ready for guests—and for the first sparkler photo of the night.

Comments
Continue reading
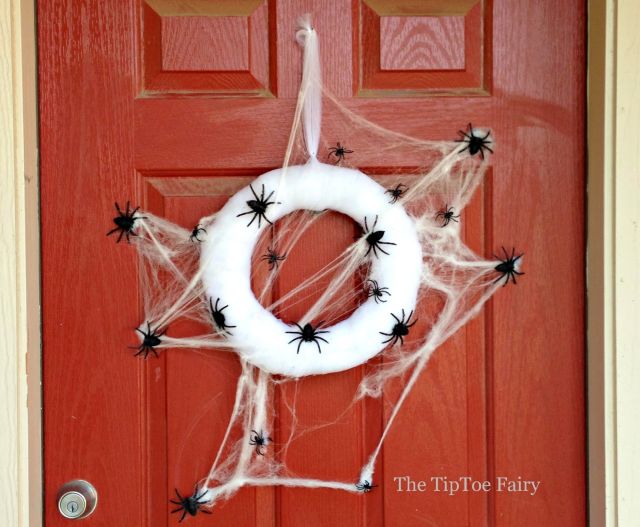
Spooky Halloween Wreath Ideas You Can Actually Make
Practical Halloween wreath methods—burlap wraps, googly eyes, ravens, glitter, ribbon, and snake coils—using leftovers, not a stack of spammy tutorial links.
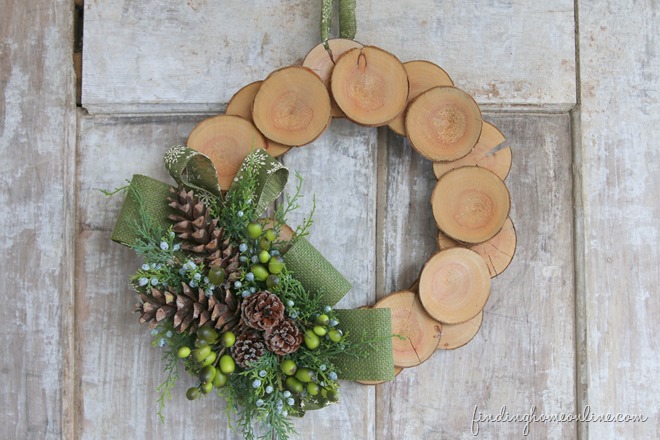
DIY Christmas Wreath Ideas: Wood, Yarn, Ornaments, and Natural Materials
Handmade Christmas wreath ideas for your door—wood slices, yarn, ornaments, cork, pinecones, cinnamon, and paper—with practical build tips.
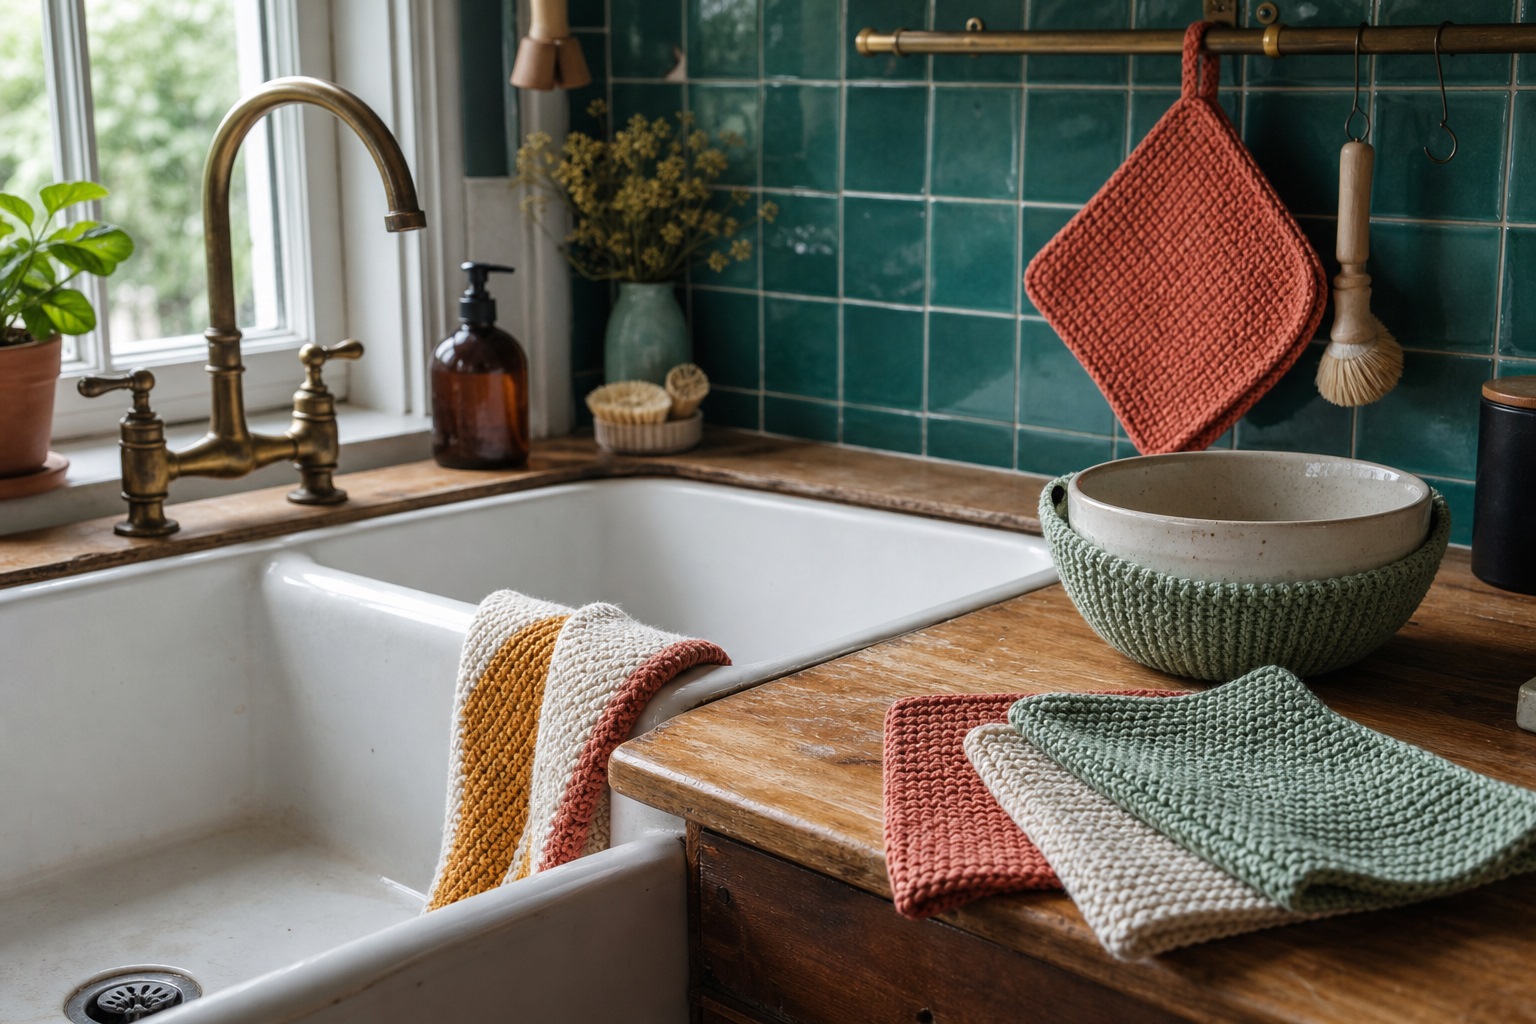
Knit Kitchen Tools You Will Actually Use
Dishcloths, pot holders, bowl cozies, and other small knits for the kitchen—yarn choices, cotton vs wool, and projects that survive heat, water, and daily mess.