
How to Make Cute Arm Warmers from Socks
Turn stretchy crew or knee-high socks into fingerless arm warmers—step-by-step cutting, thumb openings, finishing, and easy style variations.
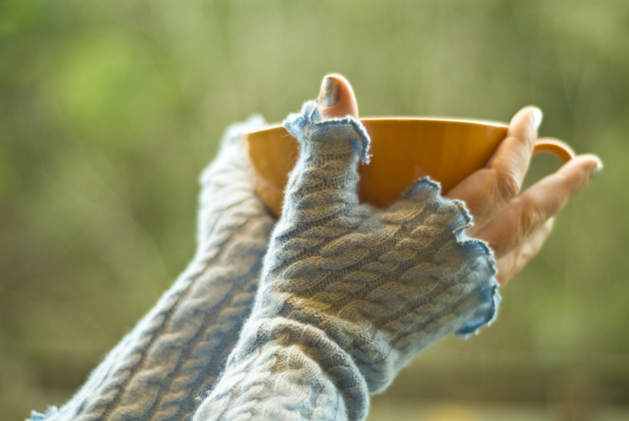
Cold days freeze fingers first—and full gloves are not always practical. If you type, sew, drive, turn pages, or simply dislike covered fingertips, fingerless arm warmers keep wrists and forearms warm while leaving hands free. One of the quickest homemade versions starts with socks you already own: stretchy knit, finished cuffs, and almost no pattern drafting required.
This tutorial walks through a reliable sock-to-warmer method, fit checks, cute variations, and fixes for common problems so you can finish a wearable pair in an evening.
What you need
- One pair of stretchy crew or knee-high socks (adult size; taller socks make longer warmers)
- Sharp fabric scissors
- Needle and thread that matches the sock, or a sewing machine with a stretch or zigzag stitch
- Pins, clips, or tailor’s chalk
- Optional: small buttons, ribbon, lace, embroidery floss, or a scrap of contrasting jersey for trim
Pick socks with enough recovery to hug the forearm without digging in. Thick knits feel cozy for outdoor errands; thinner knits layer cleanly under coat sleeves. Skip socks that are already thin at the heel or toe—those weak spots become edges of your warmers and wear out first. Wash and dry the socks before you cut so shrinkage happens before sewing.
Basic tutorial: sock arm warmers
1. Fit the sock like a prototype
Pull one sock onto your arm as if it were already finished. The toe end usually faces the hand; the ribbed cuff faces the elbow. Mark where your thumb needs to exit—typically 1 to 2 inches (2.5–5 cm) from the future hand opening. Note how far up the arm you want coverage. If the sock is longer than you like, mark a trim line near the elbow rather than guessing later.
Do this marking while the knit is slightly stretched on your arm. Flat measurements alone often make thumb holes sit in the wrong place.
2. Cut the toe (and decide about the heel)
Take the sock off. Cut straight across to remove the closed toe so you have an open tube. The heel pouch can be handled three ways:
- Rotate it to the outer wrist and keep it as a soft bulge or design feature.
- Position it at the inner wrist if that feels more comfortable for you.
- Cut the heel pouch away and stitch the opening closed for a smoother tube.
For a first pair, keeping the heel on the outer wrist is usually fastest and looks intentional on patterned knits.
3. Cut and reinforce the thumb opening
Wear the tube again. Pinch the fabric where the thumb sits and mark a short vertical slit—about 1 inch (2.5 cm) for most adult hands, slightly less for smaller sizes. Remove the warmer and cut the slit carefully. Try it on before you sew. The thumb should pass through without forcing, and the opening should not gape open when your hand is relaxed.
Reinforce immediately so the knit does not run. A tight whipstitch, blanket stitch, or machine zigzag around the cut works well. Stretch the fabric gently as you sew so the stitch line stays elastic. If the edge feels rough against skin, bind it with a narrow strip of soft jersey on the inside.
4. Finish cut edges
Keep the original sock cuff toward the elbow whenever you can—it is already finished and grips nicely. The newly cut hand edge needs a simple finish: a narrow turned hem if the knit cooperates, or a neat overcast stitch if it barely frays. Avoid bulky hems that create a ridge under a watch or bracelet.
If you trimmed length at the elbow, finish that edge the same way or fold it once and stitch so it mirrors the cuff’s neatness.
5. Match the second warmer
Repeat with the second sock, measuring against the first for length and thumb placement. Wear both together before you decorate. Check typing, holding a mug, and zipping a jacket. Warmers that stay put through those motions are ready for real use.
Cute style variations
Short wristlets
Use ankle socks or cut crew socks shorter for a cuff that covers only the wrist and lower palm. These suit mild cold, indoor offices, and layering under long sleeves without bulk.
Extra-long forearm warmers
Start with knee-highs. Keep more length toward the elbow and place the thumb opening as usual. Long warmers look especially good under rolled sweater sleeves and help when desks sit under cold air vents.
Buttons, bows, and lace
Sew two or three flat buttons along the outer wrist, stitch a thin ribbon bow near the hand opening, or cover the cut edge with lace. Keep decorations low-profile if the warmers need to slide under coat sleeves. Avoid glue-only trims on areas that stretch a lot; stitches hold better.
Two-tone cuffs and patches
Cut a cuff band from a second sock in a contrasting color and stitch it onto the elbow end. Appliqué a small felt heart, star, or initial with stretch stitches so the knit can still move. Patterned thrift-store socks often look “designed” once they become warmers—match left and right pattern direction before cutting thumb slits.
Convertible look
If you sometimes want full finger coverage, sew a small flap of leftover sock knit that can fold over the fingers and fasten with a button or snap. Keep the flap optional; the basic fingerless form should still work when the flap is folded back.
Fit and comfort tips
- Sliding down: take a tiny dart on the inner forearm or add a light elastic stitch near the elbow end.
- Thumb rub: lengthen the slit slightly or soft-bind the edge.
- Too tight: size up the sock pair or choose a knit with more stretch; do not force a child’s sock onto an adult arm.
- Gift sizing: make them slightly generous; sock stretch varies by brand.
If you have a watch or fitness band, try the warmers on with that wearable in place so the thumb hole and cuff do not fight each other.
Care
Wash as you would the original socks—usually gentle cycle or hand wash—then reshape flat to dry. Skip high heat if you added lace, plastic buttons, or delicate trims. Store pairs together with a clothespin or in a small pouch so singles do not disappear into the mitten basket.
Quick troubleshooting
Edge curling: Steam lightly or add a thin hem. Some knits curl by nature; a deliberate folded edge can look tidy rather than accidental.
Thumb hole tearing: Stop wearing them and reinforce with denser stitching or a tiny jersey patch inside.
Uneven pair: Trim and re-hem the longer warmer, or wear the longer one slightly higher until you fix it.
Itchy seams: Flip the warmer and move bulkier stitching to the outside, or cover the inside seam with a soft scrap.
You do not need a commercial pattern to start. One stretchy pair of socks, a careful thumb slit, and a reinforced edge will get you cute, useful arm warmers in a single sitting. Once the basic tube fits, decorate the next pair—lace, buttons, longer length, or bold patterned socks—and build a small cold-weather set that keeps wrists warm without hiding your fingers.

Comments
Continue reading
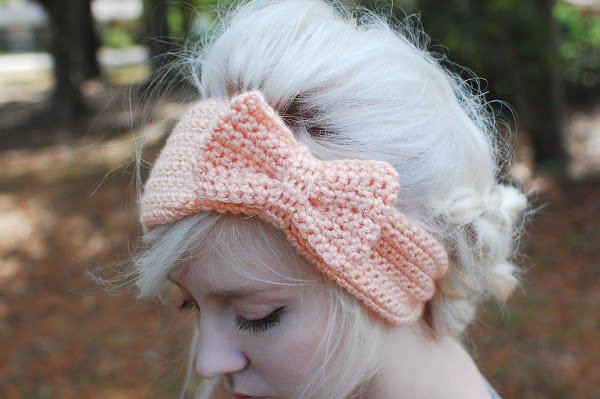
DIY Ear Warmer Tutorials: Knit, Crochet, Bow, and Buttoned Bands
Skip the hat and make ear warmers—bow headbands, chunky knit cuffs, textured crochet, buttoned bands, beaded accents, and fleece options with fit and care tips.
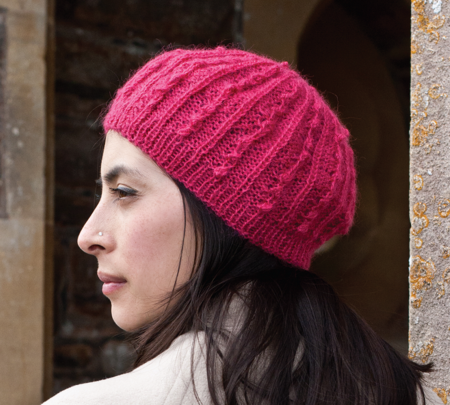
Cute Winter Crochet Beanie Patterns: Slouch, Shells, and Warm Brims
A practical guide to winter crochet beanies—fitted, slouchy, shell-stitch, and pom-pom styles—with yarn, fit, and finishing advice for cold-weather makes.
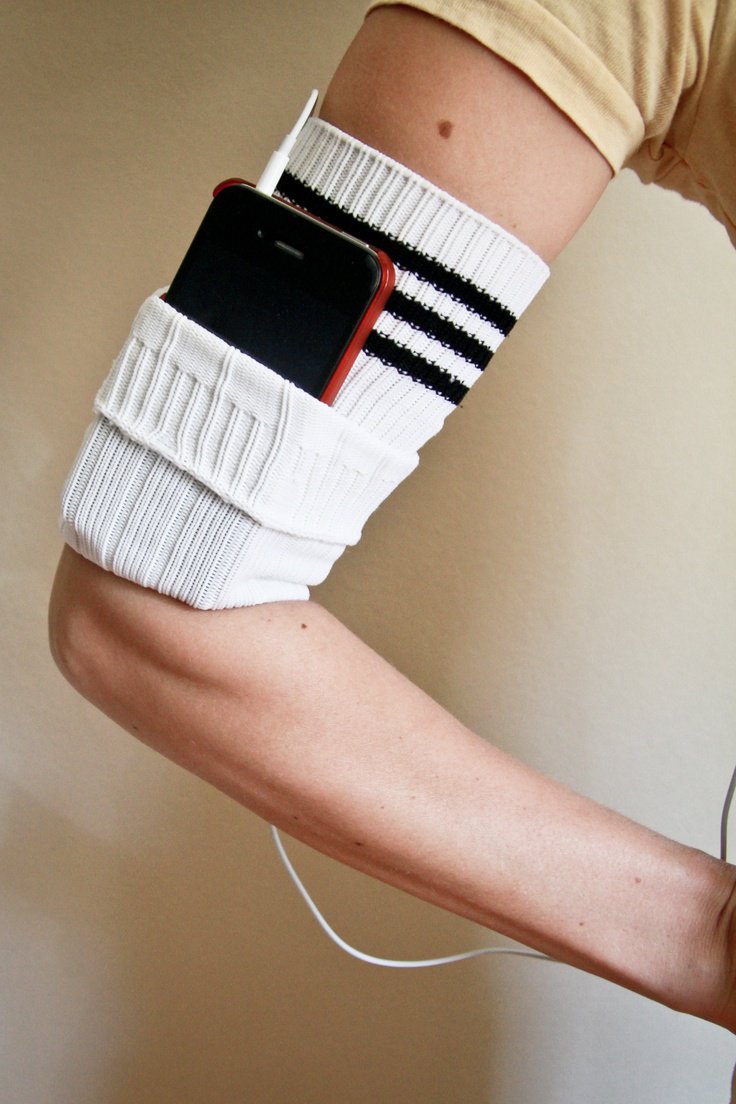
DIY Ideas for Old Socks: Rugs, Puppets, Mittens, and More
Sort leftover socks by fiber, then turn them into braided rugs, hand puppets, soft toys, mittens, and pin cushions with practical cutting and sewing tips.