
DIY Thrift Store Frames: Mirrors, Boards, Wreaths, and Headboards
Shop thrift frames for solid corners and the right depth, then turn them into mirrors, bulletin boards, wreaths, gallery walls, headboards, and trays with paint and simple inserts.
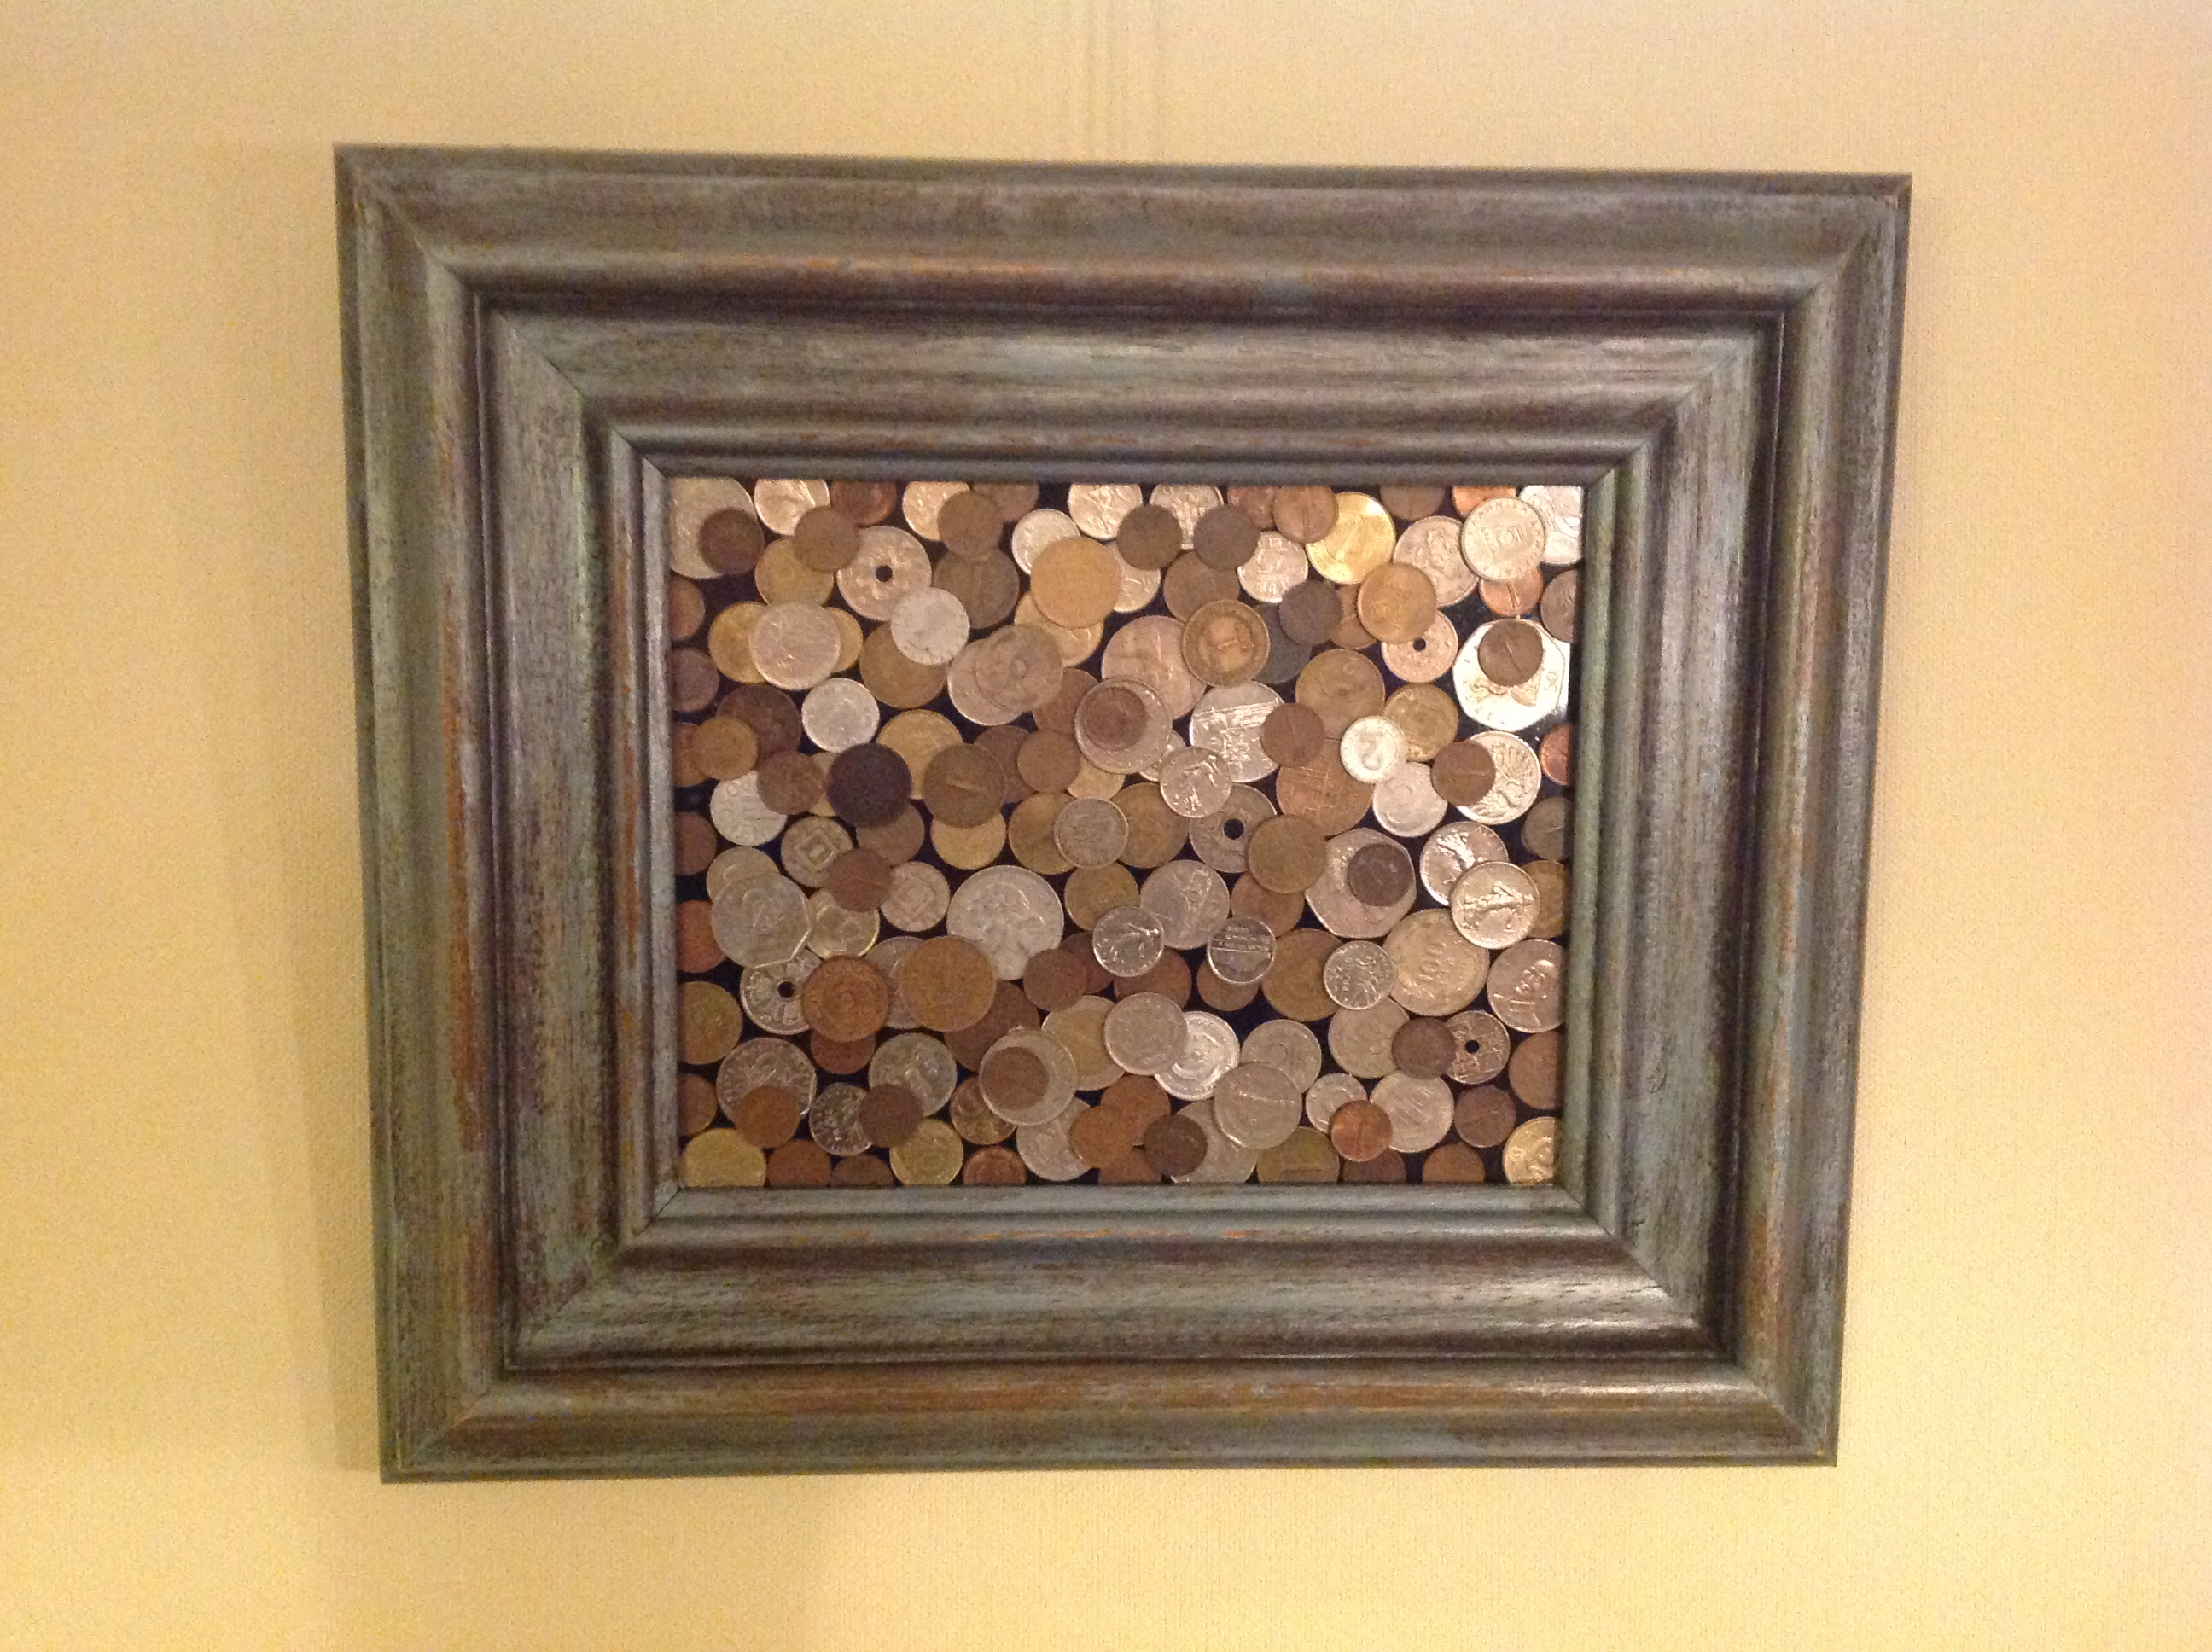
Thrift-store frames are one of the most flexible materials you can bring home for under a few dollars. The wood or metal shell is already cut, joined, and often glazed—work you would otherwise pay for at a craft store. What changes is how you use the opening: a photo, a mirror, cork for notes, fabric for texture, or empty space as a wreath or wall sculpture. The projects below start with how to choose frames that are worth restoring, then walk through transformations that match what crafty thrifters already make from the same kind of finds.
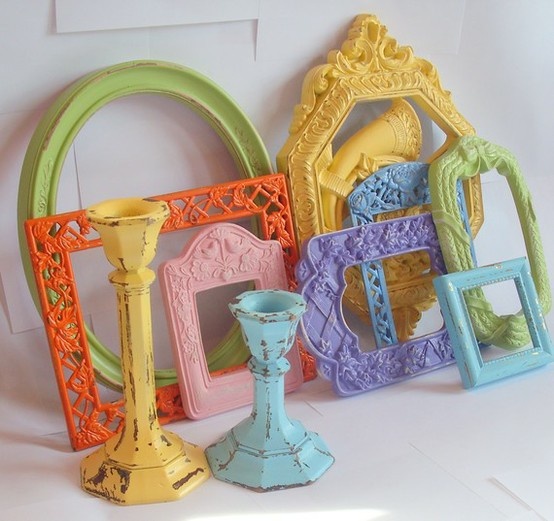
Before you buy, ignore the print inside. Focus on the outer structure: corners that meet cleanly, a hanging wire or solid back that can be replaced, and a depth that suits your plan. Deep shadow-box frames hold cork or fabric better than skinny photo frames. Ornate gold or painted wood can become a statement mirror; simple flat profiles stack well into a gallery wall or a headboard grid.
What to look for when you shop
Run a fingernail along the moulding. Soft, crumbling wood or active insect holes are a pass unless you enjoy major repair. Hairline cracks in the finish are fine—paint and wax hide them. Glass that is scratched can be swapped for acrylic, mirror tile, or left out entirely. Missing backboard is not a deal-breaker; foam board or thin plywood from a hardware store fills the gap for a few dollars.
Measure the inner opening and jot it down. At home you will match cork sheets, fabric, and prints to that size, not to the outer dimensions. If you plan a mirror, buy frames with a flat inner lip so a mirror blank sits flush. For wreaths and empty-frame art, a sturdy outer edge matters more than a perfect rabbet.
Buy in odd numbers when you want a wall cluster, and buy matching profiles when you want a headboard or multi-panel look. Mismatched frames painted the same color still read as a set. Leave the glass in the cart bag until you get home so you do not crack it in transit.

Clean, strip, and finish the shell
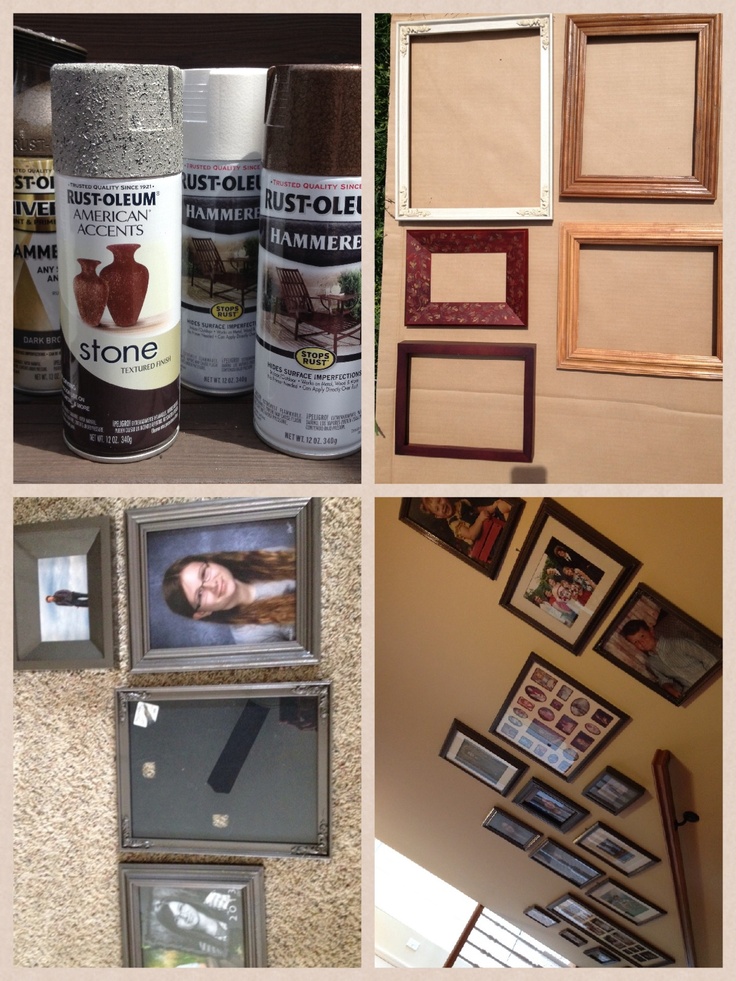
Wipe frames with a damp cloth and mild soap. Sticky price tags lift with a little oil or adhesive remover, then wash again. Sand glossy varnish lightly so new paint grips. Spray primer helps when you go from dark wood to a light color; brush-on chalk or latex paint suits detailed moulding where spray can pool.
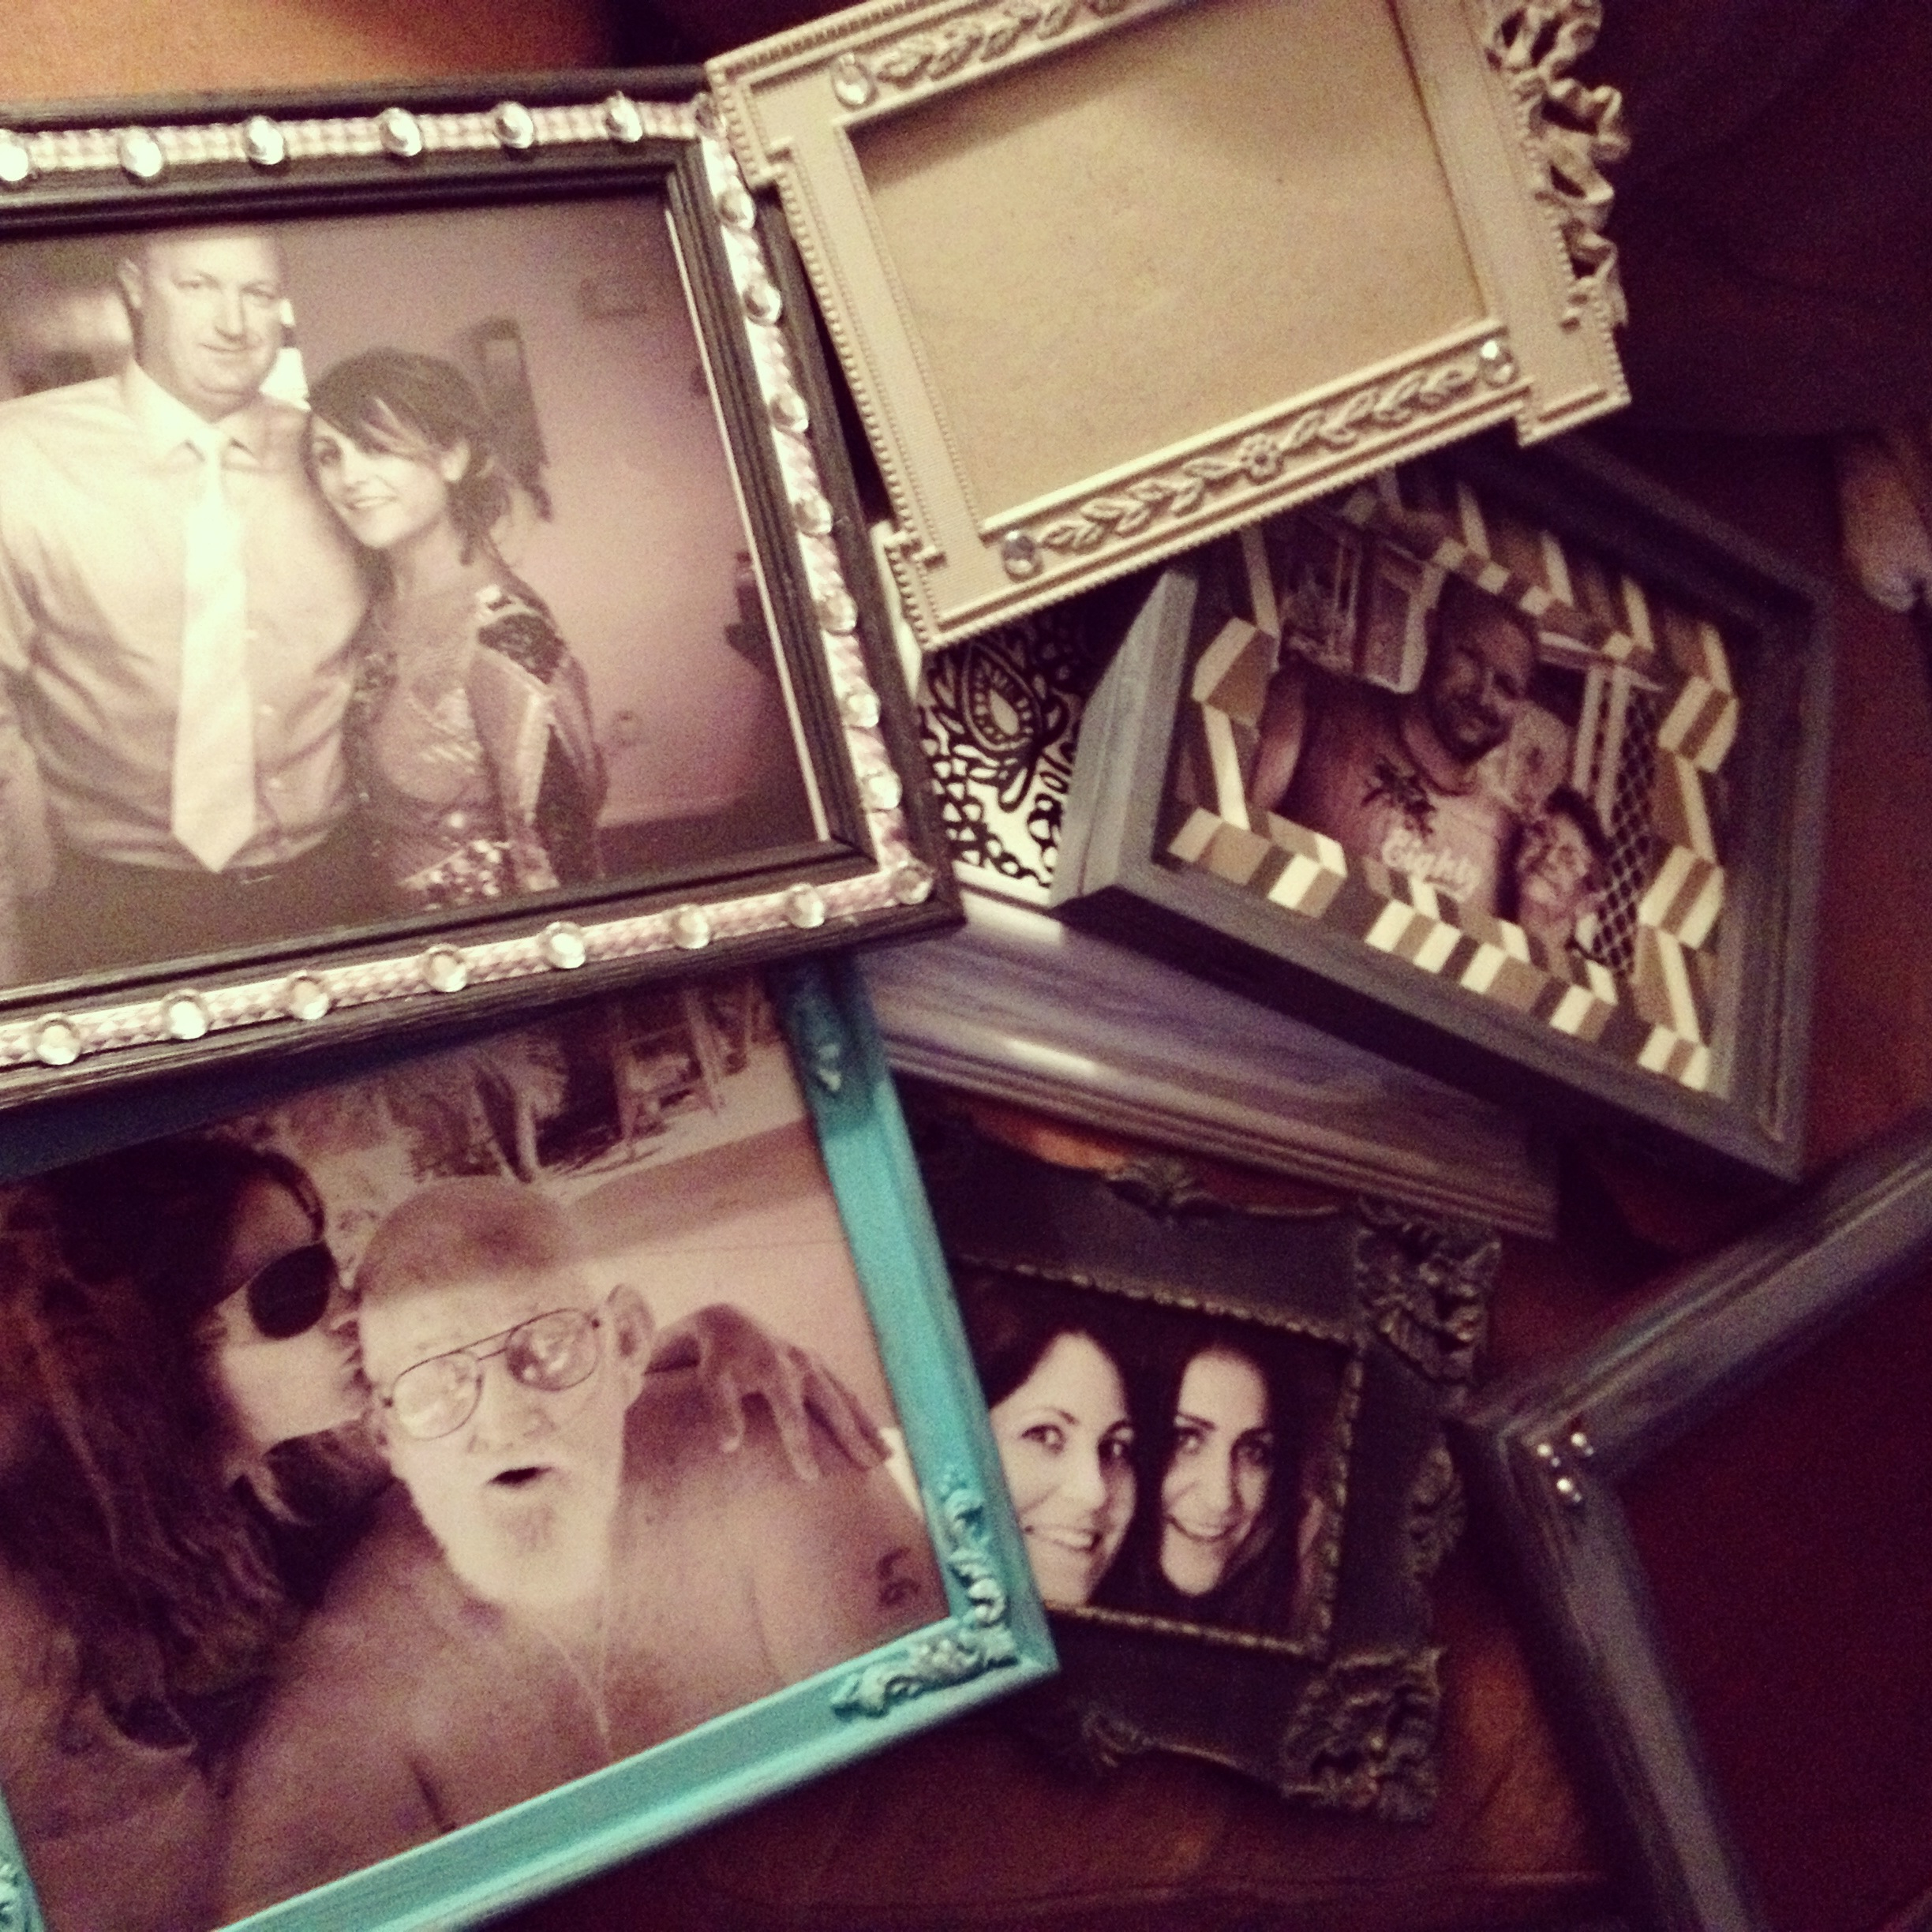
Two thin coats beat one thick coat that drips into carved corners. Dry fully between coats. A soft wax or clear matte sealer protects high-touch pieces such as bulletin boards and headboards. Metallic wax rubbed on raised edges gives thrift gold a more intentional shine without full stripping.
Turn a frame into a mirror
Remove the old print, backboard, and glass. Measure the opening accurately and have a mirror cut to fit, or buy a pre-cut mirror blank close to size and shim with thin cardboard strips. Wear gloves; mirror edges are sharp. Set the mirror face-down into the frame so the reflective side faces the room when hung, then secure with the original points, glazier points, or a new plywood back screwed carefully into the frame—not through the mirror.
Hang with two points and a level. Large mirrors need wall anchors rated for the weight of wood plus glass. A thrift frame with a fresh mirror often costs less than a comparable new piece and already has character in the moulding.
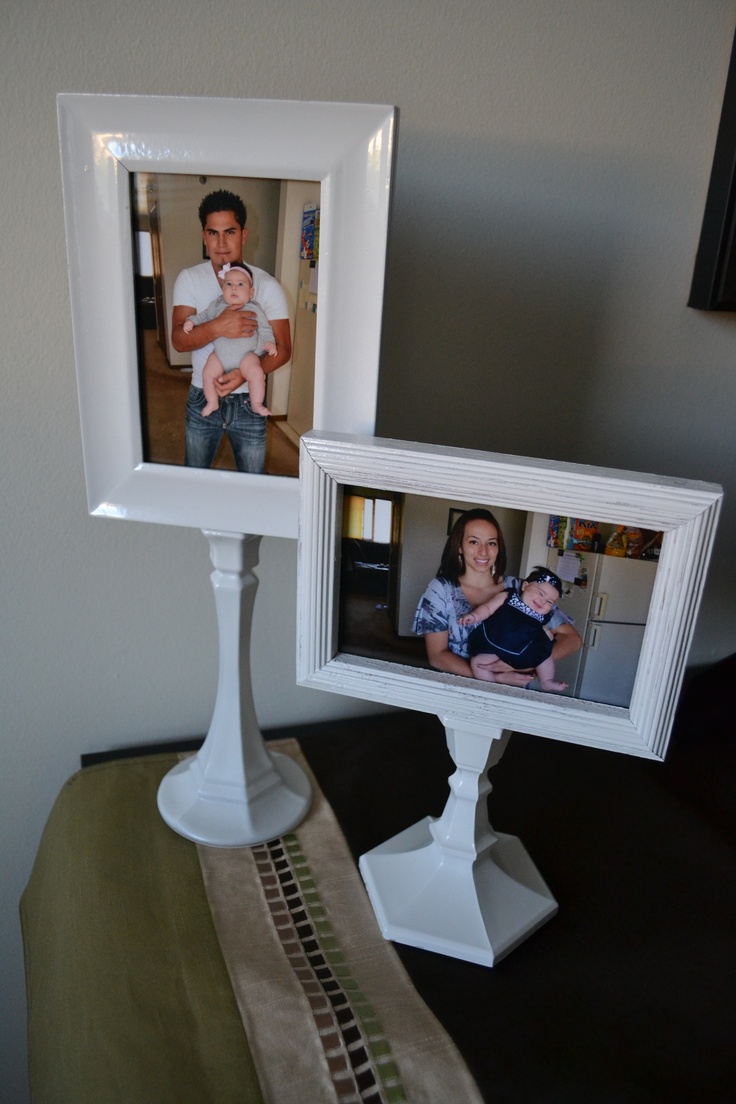
Bulletin boards and memo frames
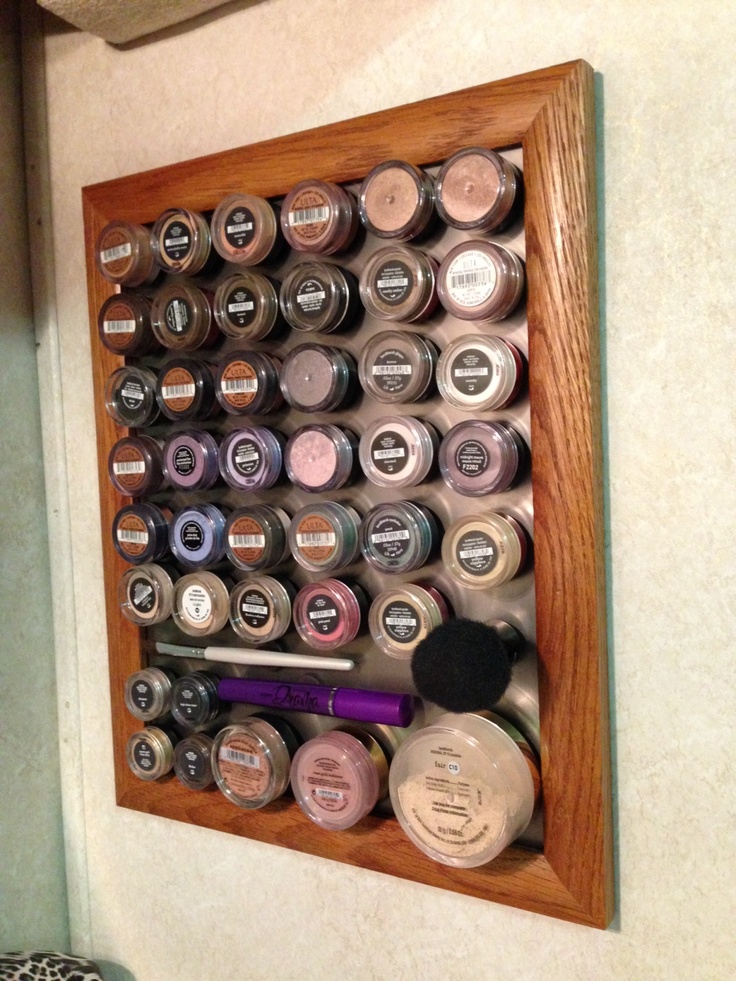
Cut cork tile or a sheet of cork to the inner opening. Glue it to foam board or thin plywood cut to the same size so the panel stays flat. Press the panel into the frame and secure from behind. Cover cork with linen or burlap if you want a softer look—stretch the fabric around the backing board and staple on the reverse before inserting.
Keep pushpins or small clips in a cup nearby. These boards work well in kitchens, entryways, and craft rooms where lists and photos change weekly. Avoid hanging heavy objects from the cork; the frame is for notes and lightweight paper.
Wreaths and empty-frame wall pieces
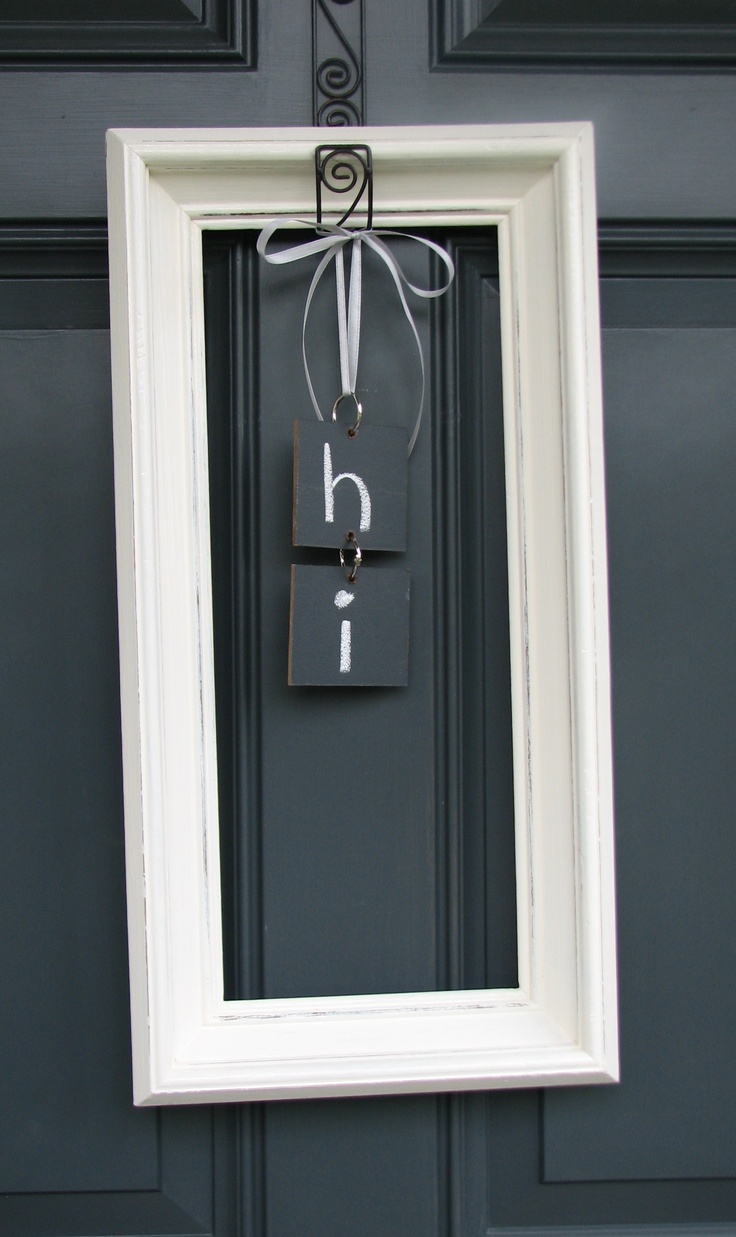
Some of the best thrift projects leave the center open. Wrap the outer moulding with greenery, ribbon, or fabric scraps, or hot-glue seasonal stems only to the top corners so the empty rectangle becomes a doorway-style wreath. Hang with ribbon from the top rail rather than relying on a weak sawtooth hanger.
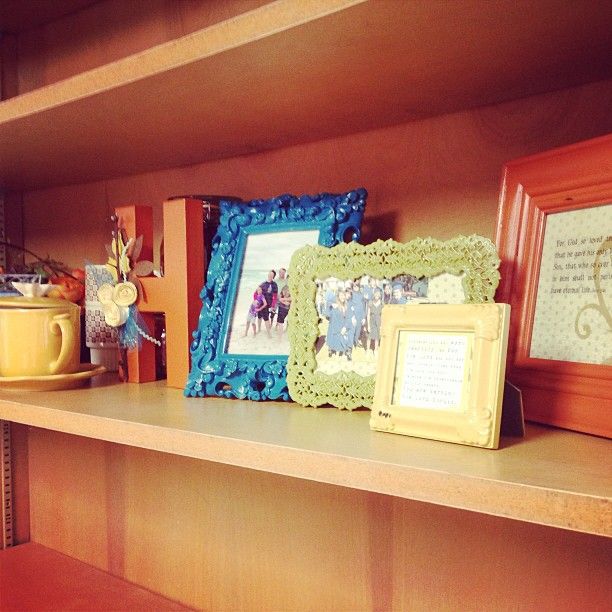
Empty frames also stack: lean several sizes against a mantel, or hang one frame inside the opening of a larger one for a layered look. Paint them related colors so the stack feels planned rather than leftover.
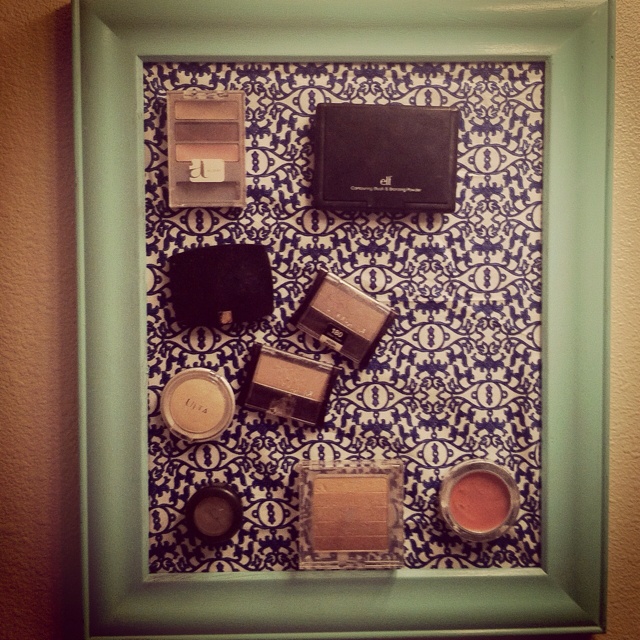
Headboards and multi-frame walls
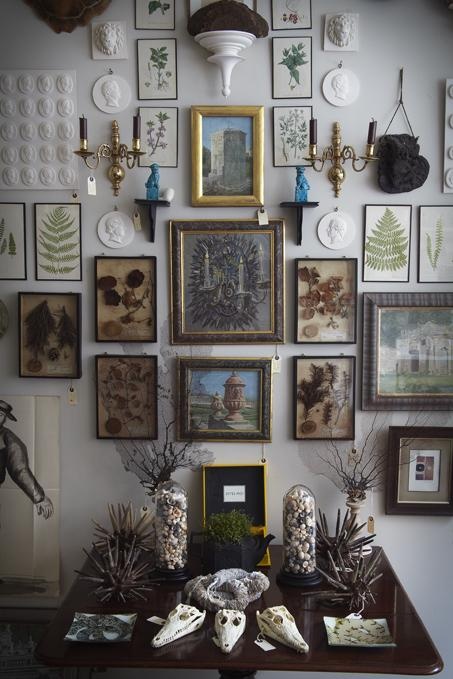
Identical or similar frames mounted in a grid above a bed create a headboard without carpentry skills. Measure the mattress width, lay frames on the floor first, and leave even gaps. Attach each frame to the wall with proper anchors; do not hang them from a single shared wire. Soft fabric panels or matching prints inside the openings add color without needing a solid wood headboard.
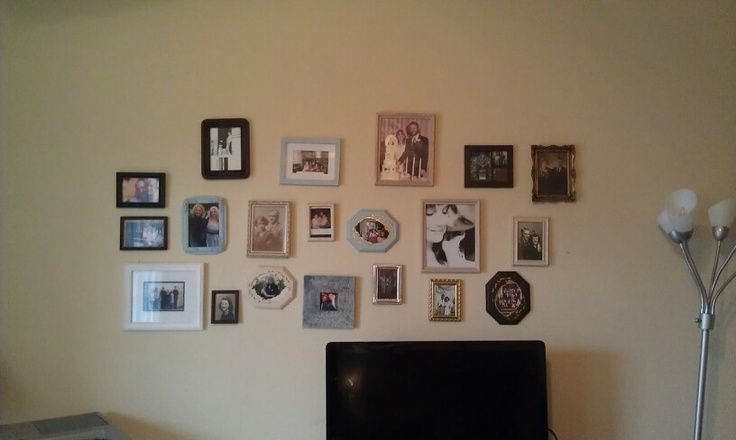
For a gallery wall, mix thrift sizes but keep one finish family—all black, all whitewashed, or all natural wood. Start with the largest piece at eye level and build outward. Use paper templates taped to the wall before you drive nails.
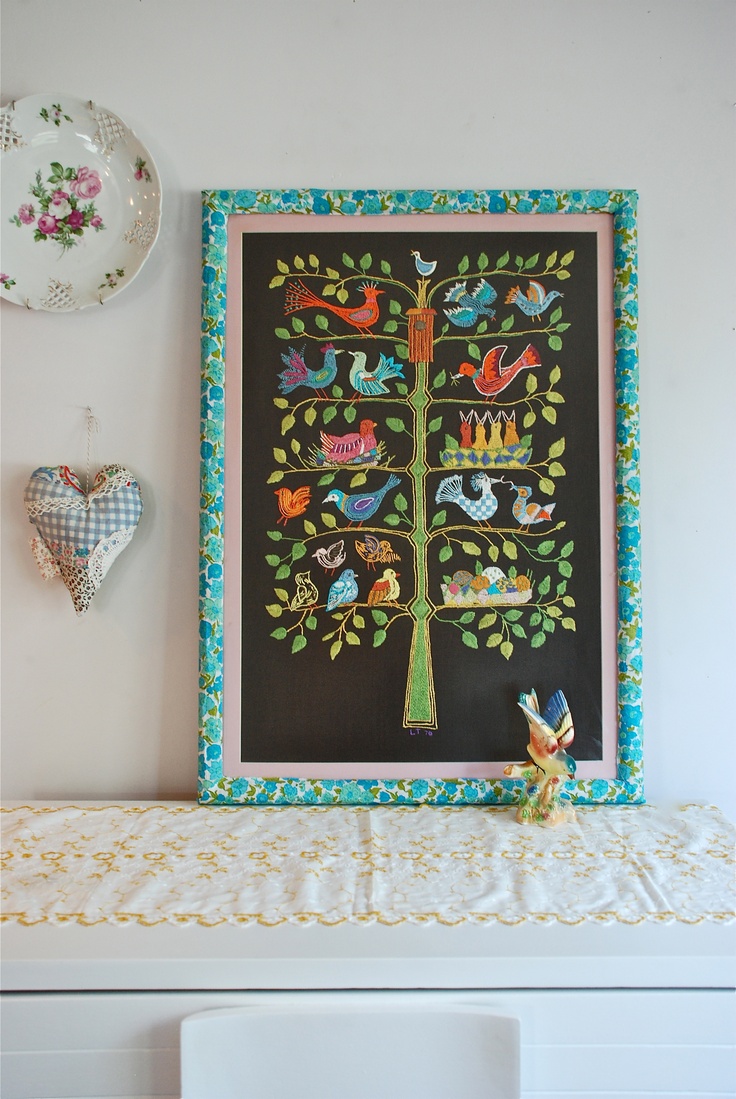
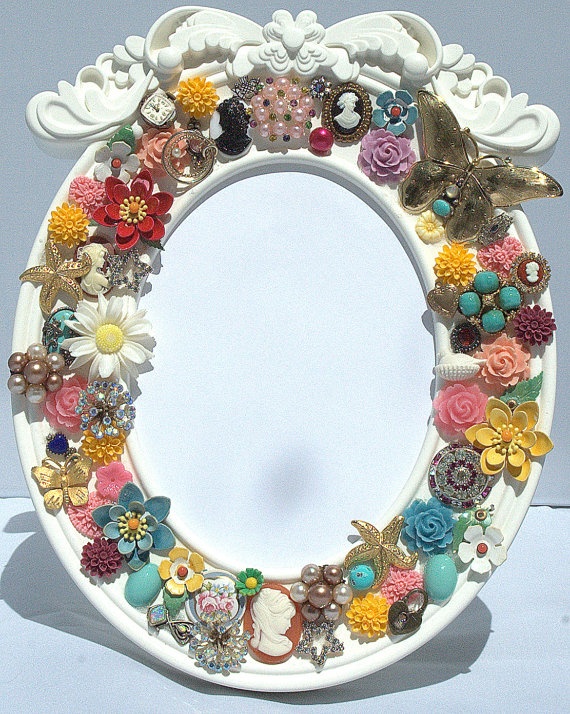
Jewelry trays, chalkboards, and small accents
Shallow frames with the glass left in become jewelry or trinket trays when you add a fabric-covered insert or velvet liner on the backboard and set the frame flat on a dresser. Deep frames can hold small shelves or pegboard for hanging earrings. Chalkboard paint on a backboard insert turns a thrift frame into a kitchen or office memo board with a finished border.
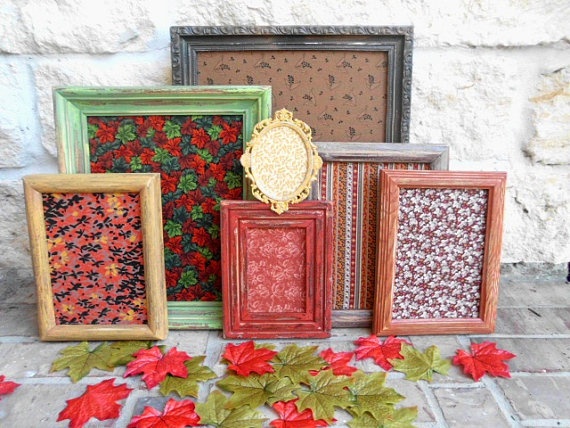

Jewelry and tray projects need frames that sit flat without rocking. Sand the back edges if needed. For wall chalkboards, season the painted surface with the side of a chalk stick, wipe, then write so erasing stays clean.

- Solid corners and a usable depth beat fancy but broken moulding.
- Measure the opening before you buy cork, mirror, or fabric.
- Paint after cleaning and light sanding; seal high-touch pieces.
- Match the hanging hardware to the finished weight, especially for mirrors.
- Lay out grids and wreaths on the floor before you commit to wall holes.
Next thrift run, pick one frame you would hang this week—not a pile “for someday”—and finish it as a mirror, memo board, or empty wreath before you buy the next one. A single completed piece teaches more than a stack of unfinished bargains in the garage.

Comments
Continue reading
Knit Kitchen Tools You Will Actually Use
Dishcloths, pot holders, bowl cozies, and other small knits for the kitchen—yarn choices, cotton vs wool, and projects that survive heat, water, and daily mess.

Botanical Christmas Ornaments from Citrus, Herbs, and Dried Flowers
Dried orange slices, rosemary, bay, and pressed flowers as tree ornaments—how to dry, string, and store them so they last the season without going moldy.

How to Wrap Gifts Without Wrapping Paper
Cloth, boxes, maps, leftover textile, and ribbon-only wraps—practical no-paper methods that still look finished under a tree or on a doorstep.